
Introduction
This article shows how to build an ARM-based Raspberry Pi environment on Windows 10 using the QEMU emulator.
Prerequisite knowledge
What is ARM architecture?
Arm architecture is a family of RISC architectures for computer processors. It is the most popular processor architecture in the world, with billions of Arm-based devices shipped each year, from sensors to wearables, smartphones, and supercomputers. https://www.arm.com/ja/why-arm/architecture/cpu
What is QEMU?
QEMU has an environment called system emulation, which emulates the entire machine, and an environment called user emulation, which emulates the Linux userland. https://www.qemu.org
What is Raspberry Pi?
Raspberry Pi is a single-board computer equipped with an ARM processor. It is being developed by the Raspberry Pi Foundation in the UK. In Japanese, it is also abbreviated as Raspberry Pi. https://www.raspberrypi.org/
What is Raspbian?
Raspbian is a Debian-based operating system optimized for Raspberry Pi hardware. https://www.raspberrypi.com/software/operating-systems/
Installing QEMU for Windows
Open the QEMU Binaries for Windows website

Download the latest installer
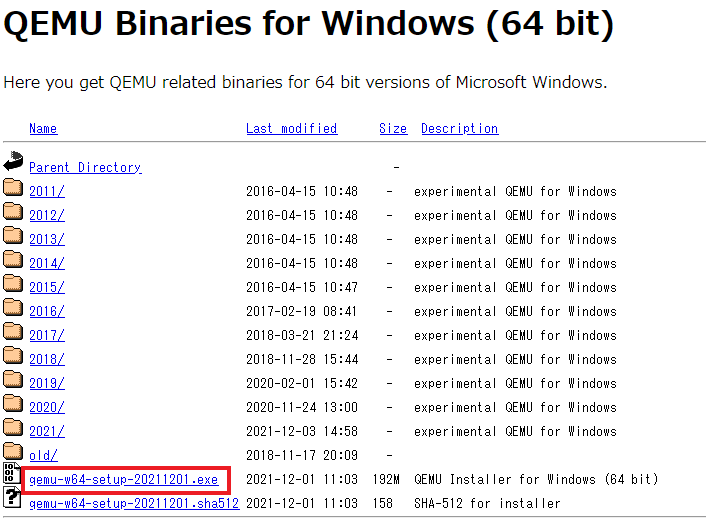
Run the installer
- Double-click the downloaded file.
- On the language selection screen, leave the default and click “OK”.
- When the setup screen opens, click “Next”.
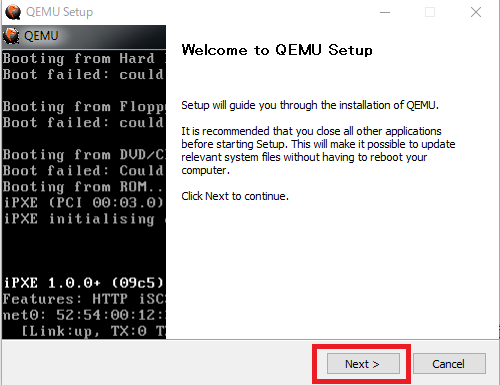
- After reviewing the license terms, click “I Agree”.
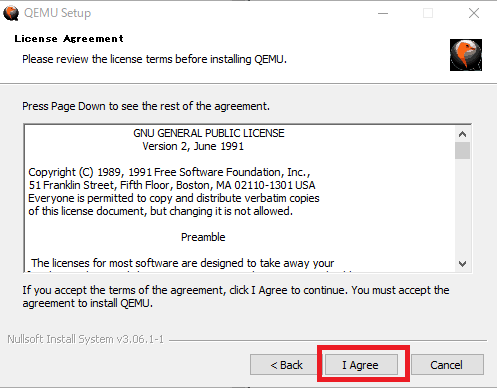
- Leave the component selection as default and click “Next”.
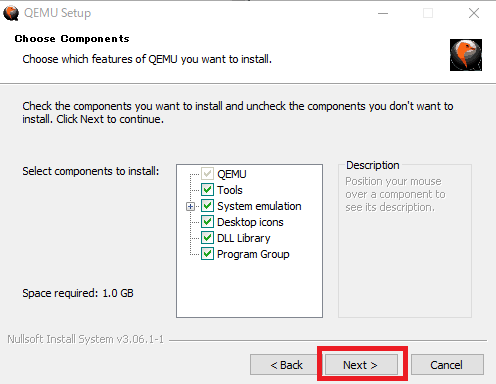
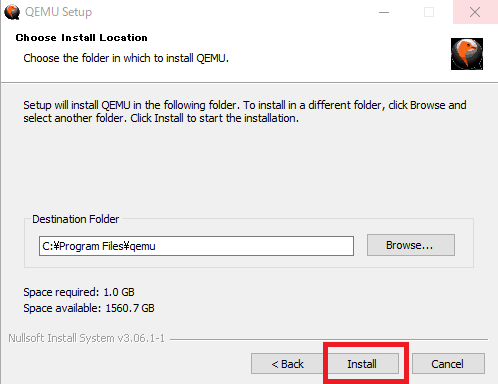
- After selecting the installation destination, click “Install”.
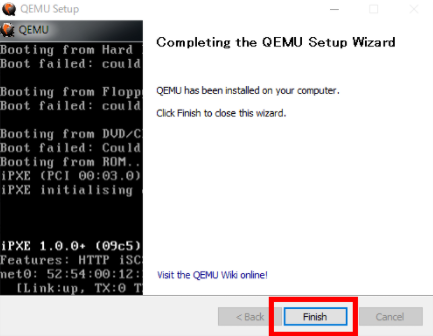
- When installation is complete, click “Finish”.
Download the QEMU kernel for emulating Raspberry Pi
QEMU kernel for Raspberry Pi emulation site

Prepare the required files from GitHub
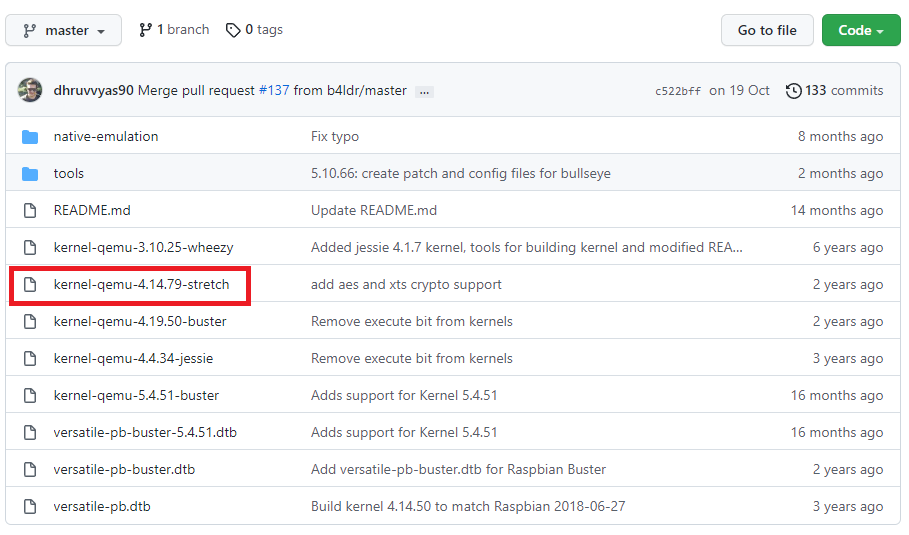
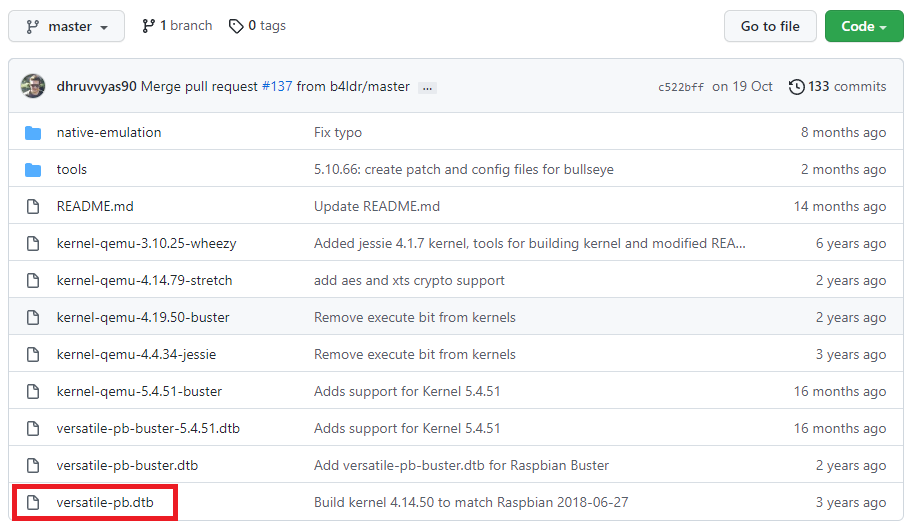
- Click “kernel-qemu-○○○-stretch”
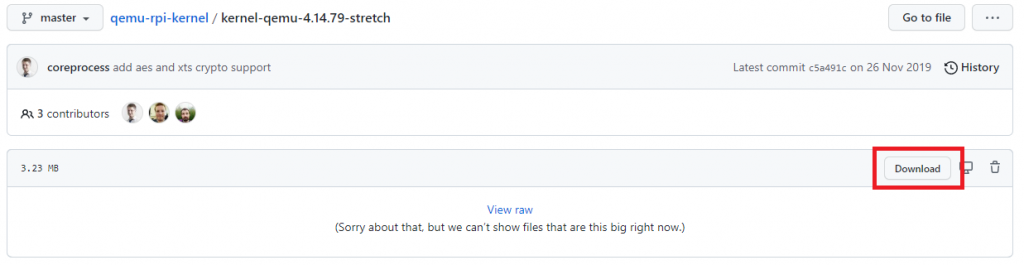
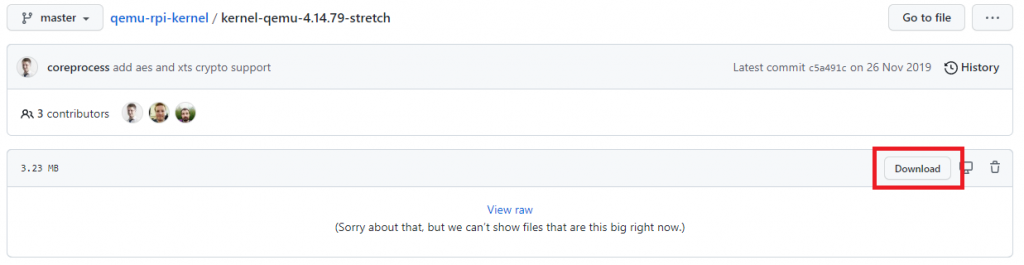
- Click the “Download” button
- Return to the previous page and click “versatile-pb.dtb”.
- Click the “Download” button
Raspbian download
Access the Raspbian download site
Preparing the image
- Download the latest ”○○○○○-raspbian-stretch.zip”
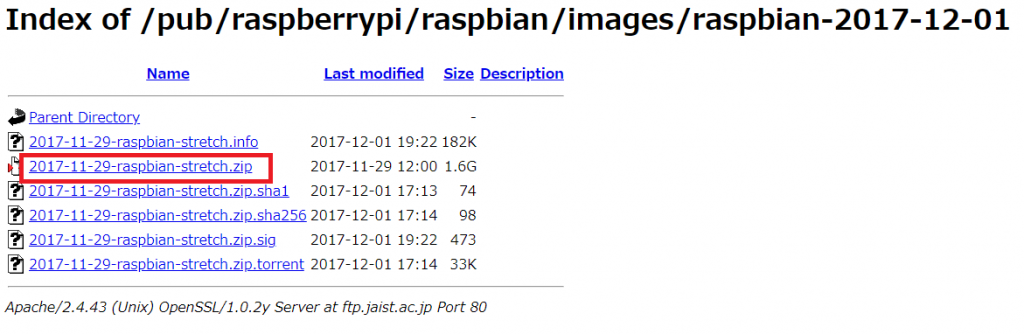
- Unzip the downloaded zip file.

Starting Raspbian
Preparing the files
- Create a folder in any location and put the three files you downloaded earlier: “kernel-qemu-○○○-stretch”, “versatile-pb.dtb”, and ”○○○○○-raspbian-stretch.img”.

Creating start.bat
-
Create a file called “start.bat” in the folder.

-
Right-click “start.bat”, click “Edit”, and enter the code below. *If you change the QEMU installation location, update
"C:\Program Files\qemu\qemu-system-arm.exe"to match your environment.
"C:\Program Files\qemu\qemu-system-arm.exe" -kernel kernel-qemu-4.14.79-stretch -cpu arm1176 -m 256 -M versatilepb -dtb versatile-pb.dtb -no-reboot -append "root=/dev/sda2 panic=1 rootfstype=ext4 rw" -net nic -net user,hostfwd=tcp::10022-:22 -hda 2017-11-29-raspbian-stretch.img

pause
Start
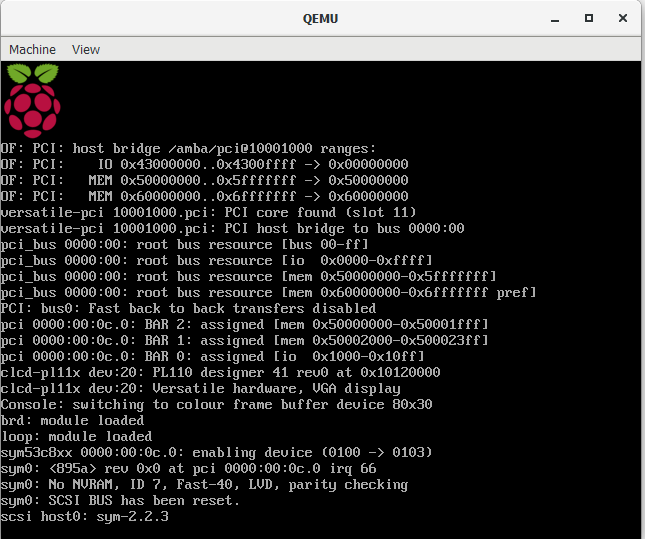
Double-click “start.bat” to start Raspbian. *Both the command prompt and Raspbian GUI will open during startup.
Enabling SSH in Raspbian
Start Terminal
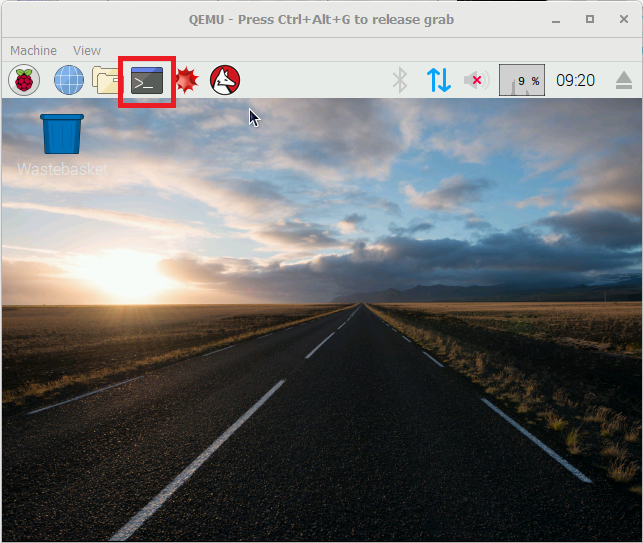
Click the “Terminal” icon.
Enable SSH
Enter the following command in the terminal.
sudo systemctl enable ssh

sudo systemctl start ssh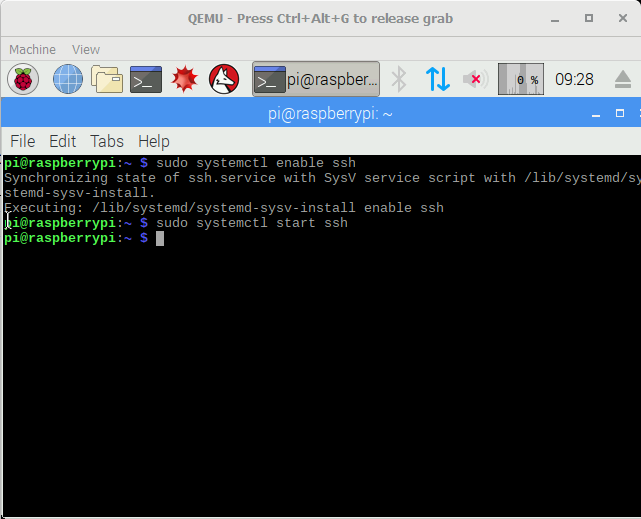
Access Raspbian via SSH from Windows 10
Start command prompt
On Windows 10, enter “command prompt” in the search field at the bottom left to start the command prompt.
Connect via SSH
Enter the following command in the command prompt to connect to Raspbian by SSH.
*The password for the pi account is raspberry.
ssh [email protected] -p 10022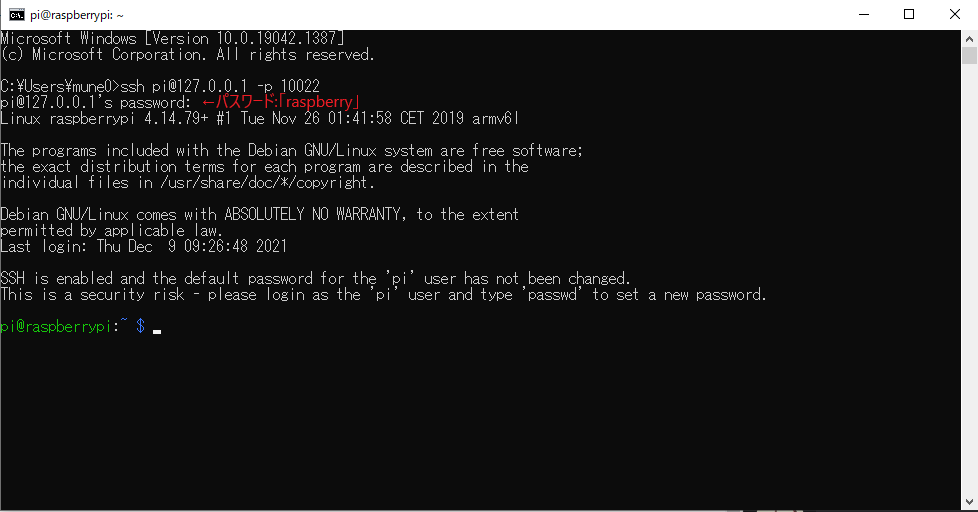
All steps are now complete. You can access it from the command prompt or from software such as PuTTY and WinSCP.
Conclusion
This article introduced how to build an ARM-based Raspberry Pi environment that runs on Windows 10. I am currently studying ARM assembly at school and wanted an ARM environment at home, so I built one. If you do not have a Raspberry Pi at home but want an ARM environment, try building one this way.