Introduction
In a VMware vSphere environment, you can easily build a Kubernetes environment with Tanzu Kubernetes Grid (commonly known as TKG). This article uses the standalone version, TKGm, which supports multi-cloud deployments. NSX ALB uses the Essentials license. This article describes how to build NSX ALB.
Environment
| Environment |
|---|
| VMware ESXi 8 |
| VMware vCenter 8 |
| Tanzu Kubernetes Grid 2.1.1 |
| NSX Advanced Load Balancer 22.1.3 |
Prerequisites
- VMware ESXi can be built and the datacenter can be managed with vCenter.
- Two or more VLAN networks are available.
- In this environment, I prepared a management network: VM Network (VLAN0), and a Kubernetes network: VLAN100.
- Servers and storage with sufficient resources
- NSX ALB uses 8 CPUs, 24 GB RAM, and 128 GB storage.
- Depending on the requirements, 4 to 12 Kubernetes node virtual machines will be deployed, each with 2 CPUs, 8 GB RAM, and 40 GB storage.
Building NSX ALB
From here, we will build the Avi Controller, which is the controller for NSX ALB.
Download NSX ALB
-
Access the site below. https://customerconnect.vmware.com/en/downloads/details?downloadGroup=NSX-ALB-10-NDC&productId=1092&rPId=55618#product_downloads
-
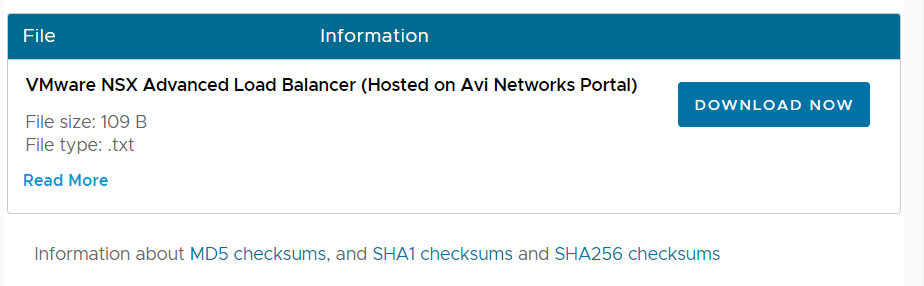
Click the “Download Now” button under “Products & Downloads”.
-
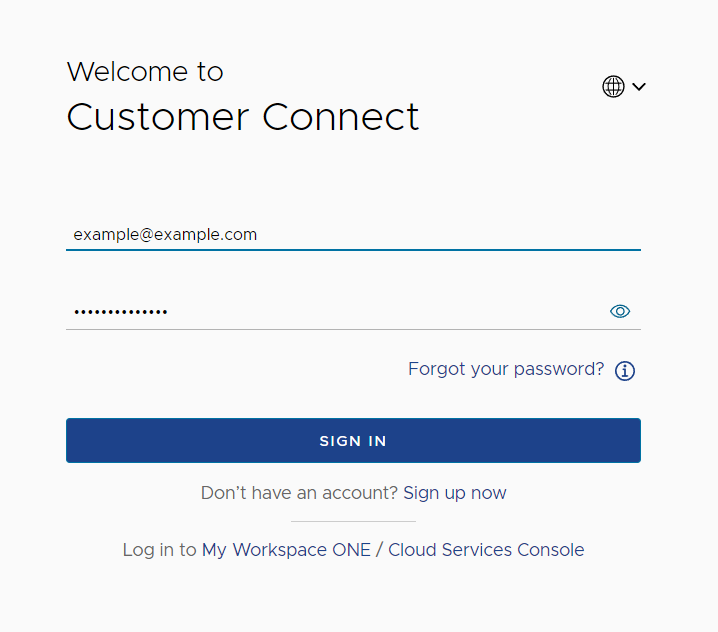
Log in with your VMware Connect account.
-
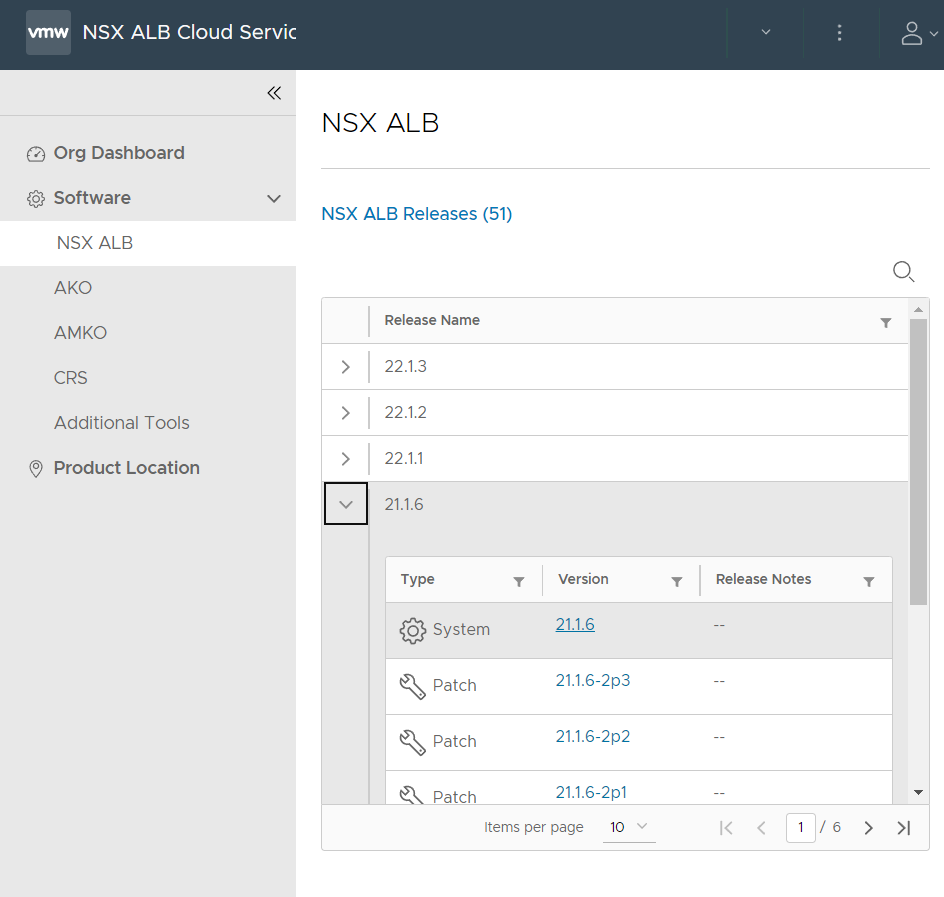
After logging in, you will be redirected to Avi Networks Portal. Go to “Software” → “NSX ALB” in the left pane. Then open “22.1.3” and click the “22.1.3” link.
-
Open the “VMware” tab in “Downloads” and click the download button (down arrow) for “Controller OVA” to download the NSX ALB OVA file. *At this time, the downloaded file name is “controller_sha1-22.1.3-9096.ova”
Deploy OVA for NSX ALB
-
Access VMware vCenter and log in.
-
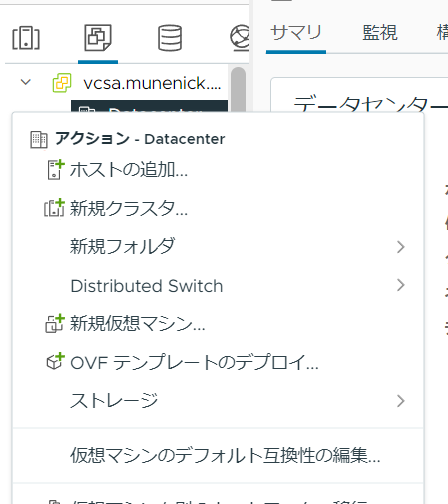
Right-click Datacenter and click Deploy OVF Template.
-
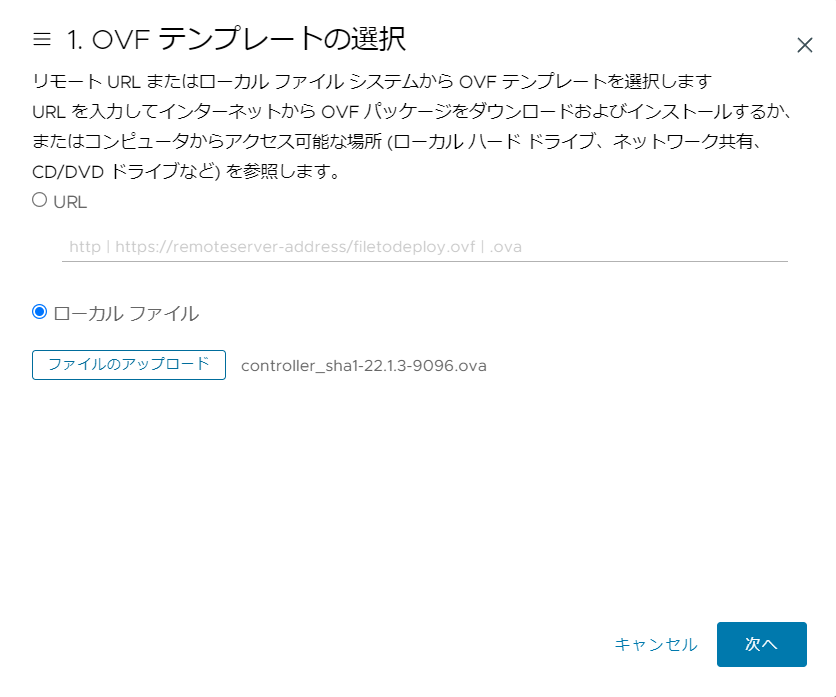
When selecting the OVF template, select Local File, click “Upload File”, and select the “OVA” file you downloaded earlier.
-
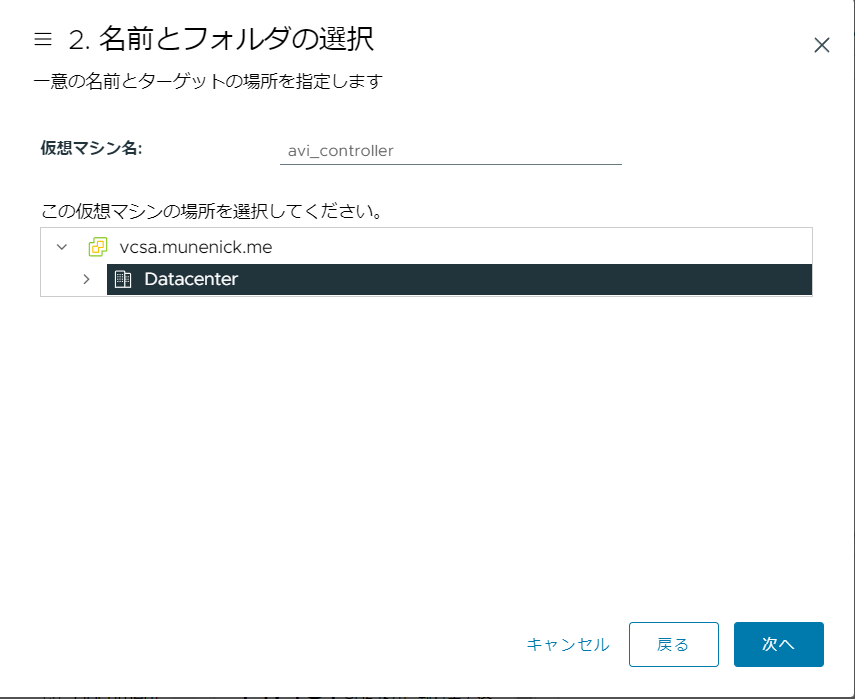
On the name and folder selection screen, specify any name and folder. (In this article, it is called avi_controller).
-
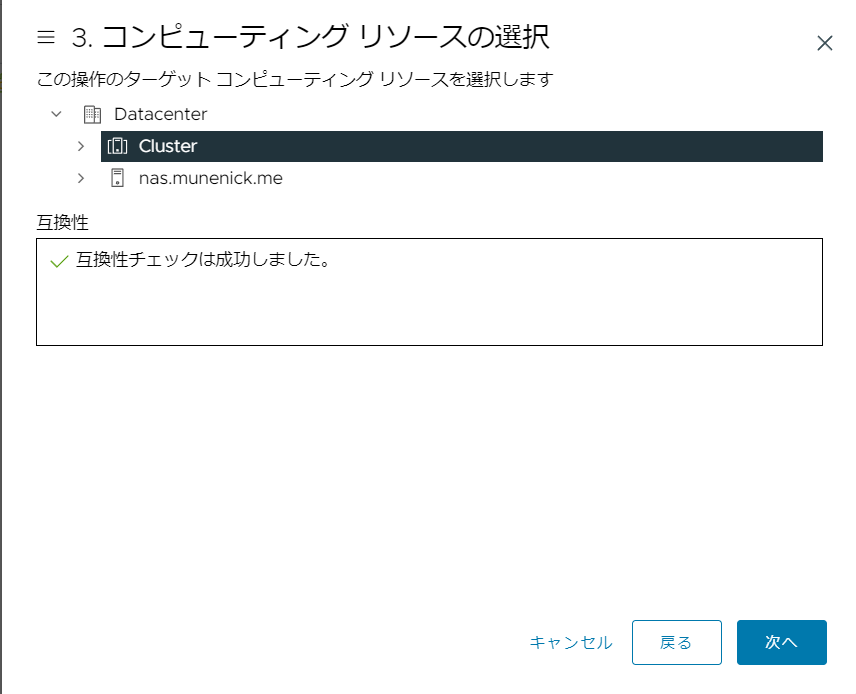
On the compute resource selection screen, choose the resources that suit your environment.
-
After confirming the details, click Next.
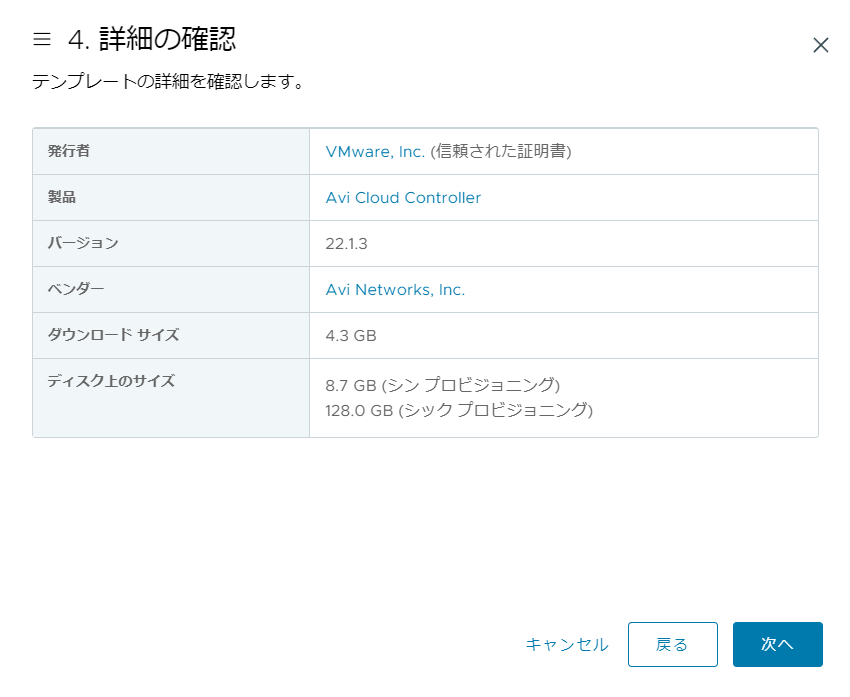
-
On the storage selection screen, choose the storage that suits your environment.
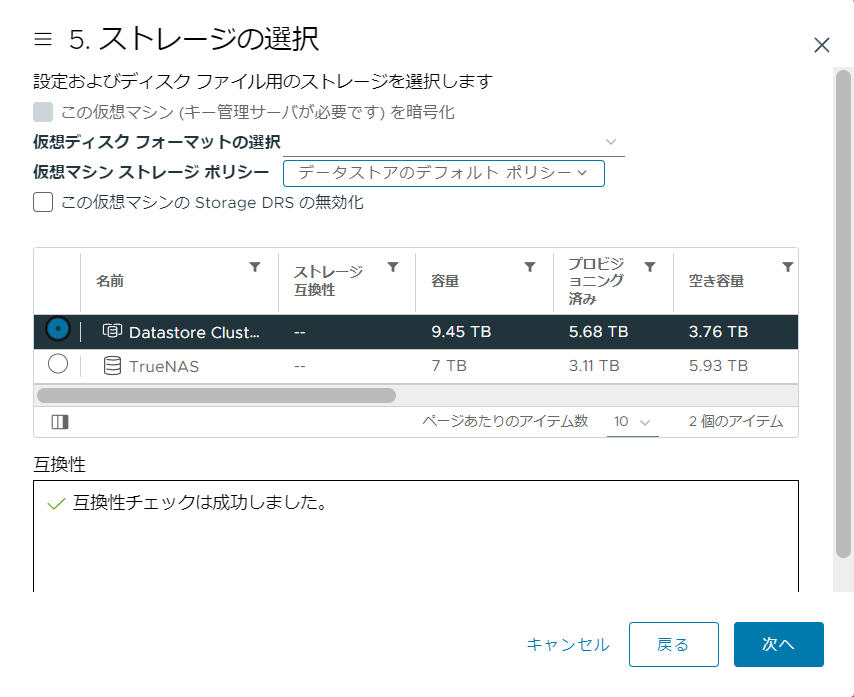
-
On the network selection screen, select the management network.
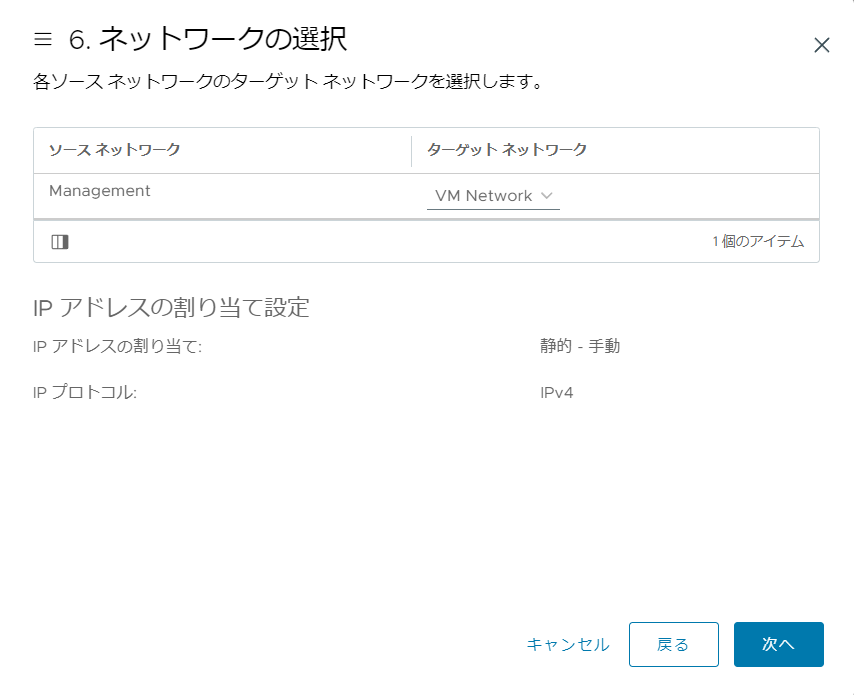
-
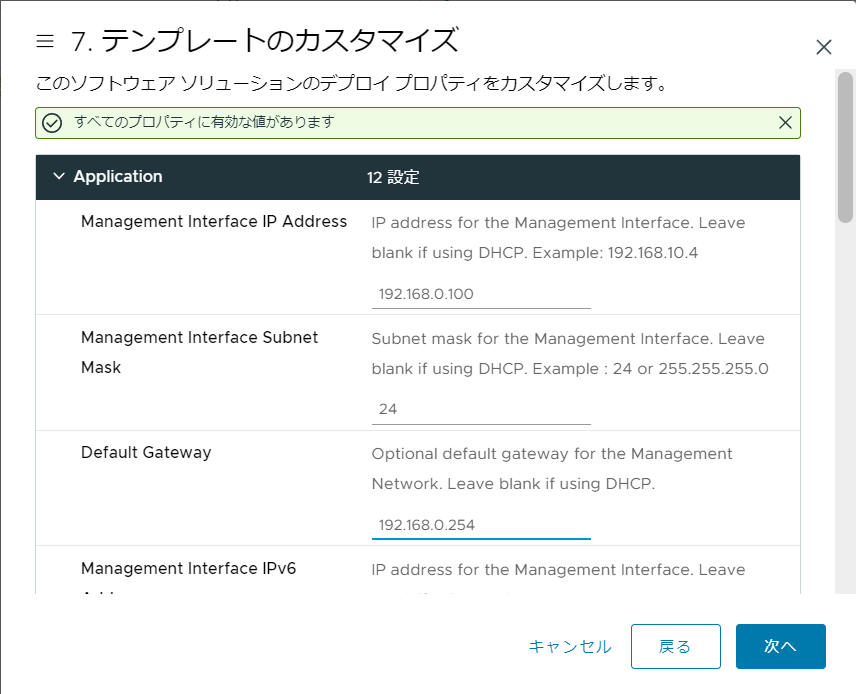
When customizing the template, set the following items.
- Management Interface IP Address: Specify the IP address to assign to this virtual machine. (If left blank, an IP address will be assigned by DHCP)
- Management Interface Subnet Mask: Specify the subnet mask of the management network.
- Default Gateway: Specify the default gateway.
The basic settings are now complete. Fill in other parameters according to your environment.
-
After confirming the settings, click the Finish button to deploy the OVA.
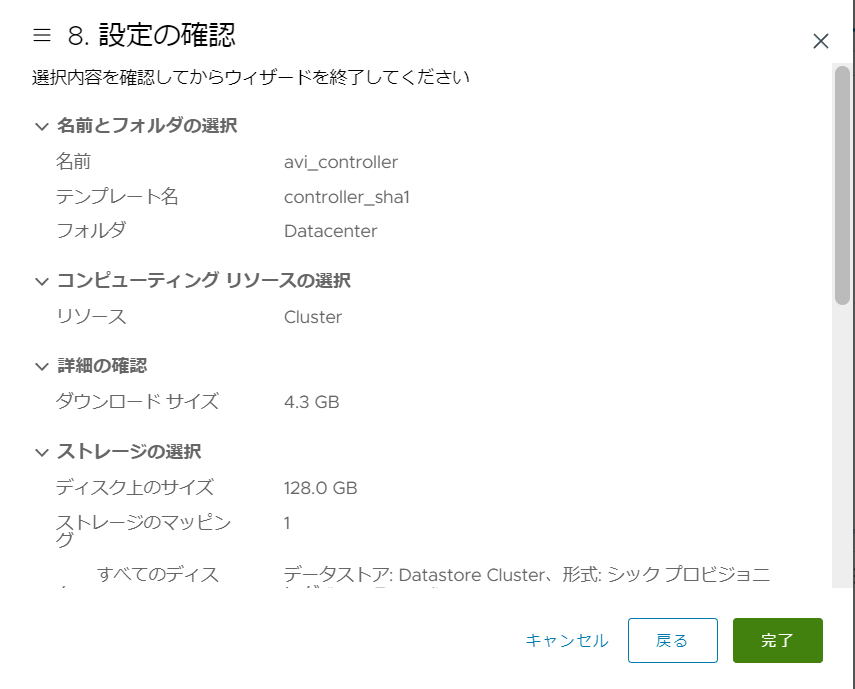
-
Once the OVA has been deployed, open and power on the virtual machine.
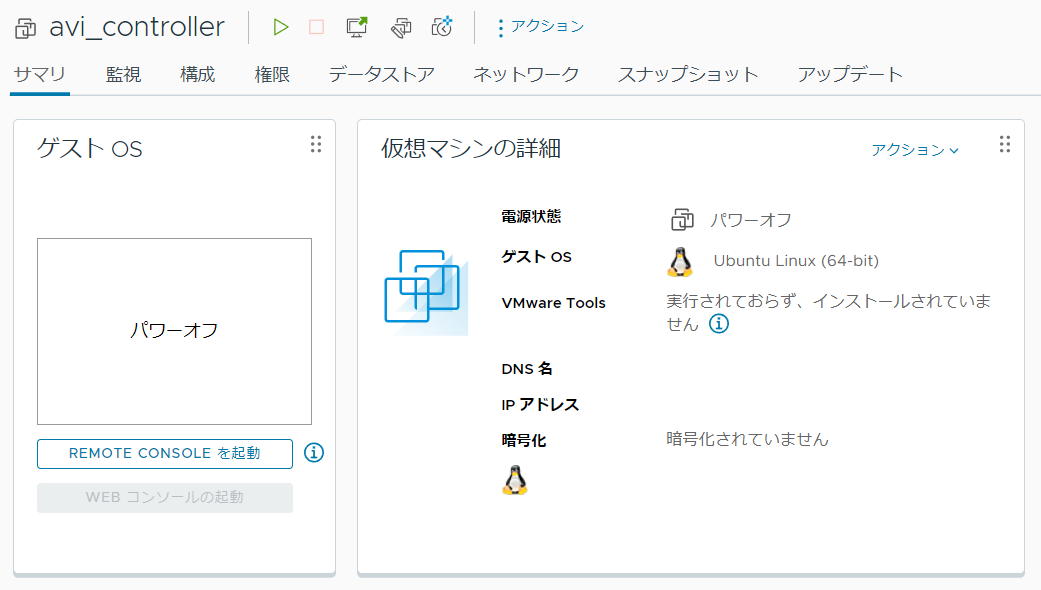
-
Access “https://avi_controller IP address” from your browser. A privacy warning appears when connecting; click “Advanced settings” → “Access ~”. *Startup takes time, so “502 Bad Gateway” or a similar message may be displayed if you access it too quickly.
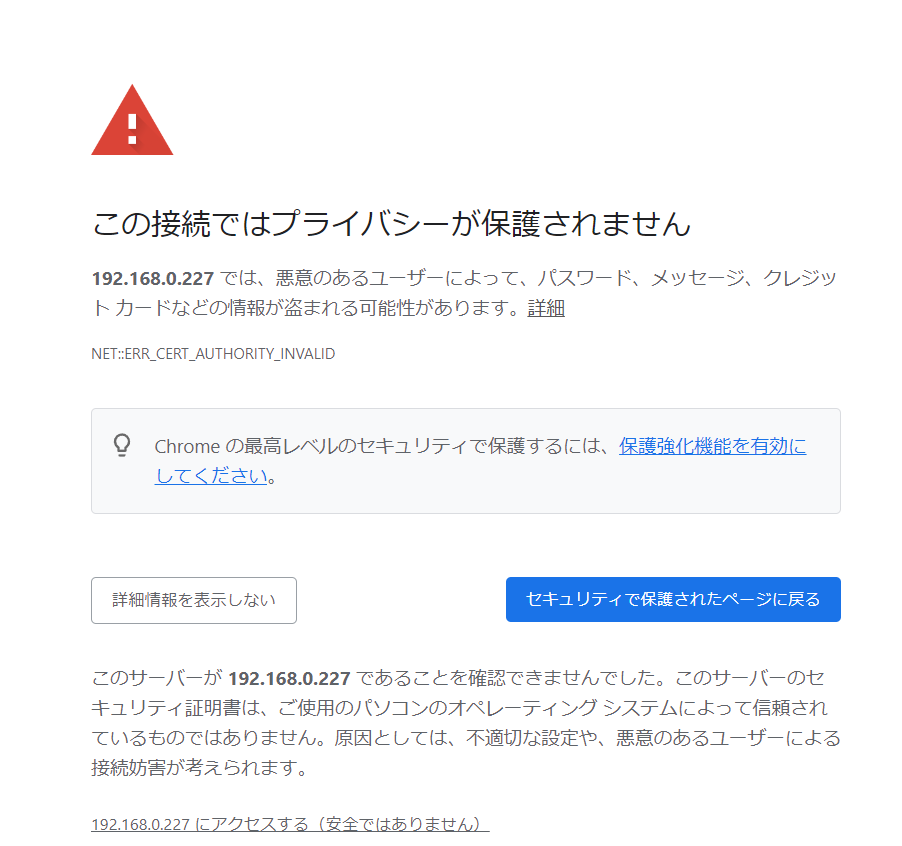
Initial setup of NSX ALB
-
When accessing it for the first time, set the password for the administrator account “admin”. You do not need to enter your email address.
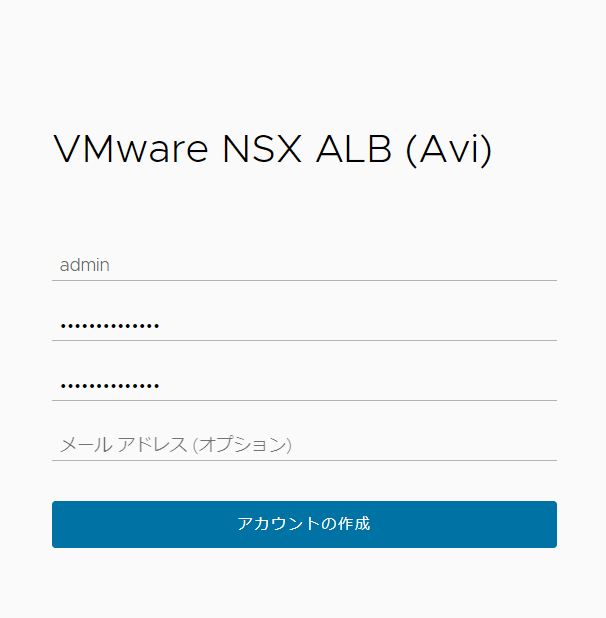
-
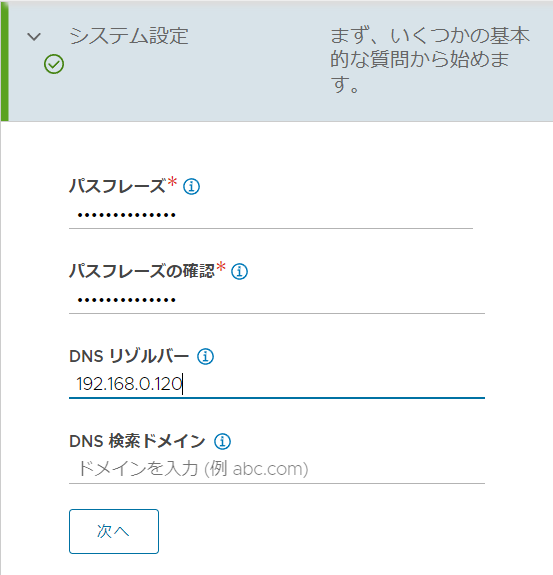
Set the following items in the system settings.
- Passphrase (required): Set the passphrase used for configuration export and regular backup.
- DNS Resolver: Specify the DNS server that Avi Controller uses when resolving DNS. If there is more than one, separate them with commas.
- DNS Search Domain: Specify the domain to use for DNS lookups.
-
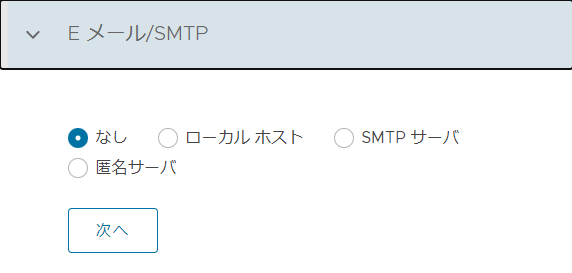
E-mail/SMTP configures email sending settings. Set it as necessary. Since we will not use it this time, select “None”.
-
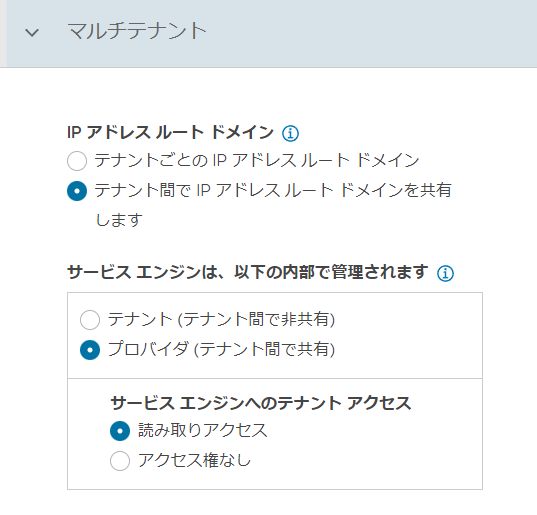
Multi-tenancy is not used, so proceed with the default. Once you have completed all of the above settings, click “Save” at the bottom right. You can then access NSX ALB.
-
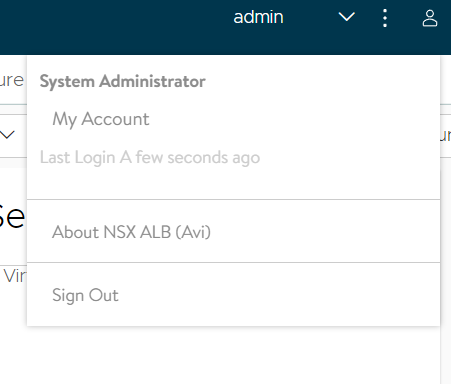
Optional: NSX ALB language settings. Click the user icon in the upper right corner and click “My account”. Then set the “Display” language to Japanese and click “Save” at the bottom right.
Default Cloud settings
Configure the settings that connect NSX ALB and vCenter.
-
Click the Edit button (pen mark) for “Default-Cloud” in the top tab “Infrastructure” → “Cloud”.
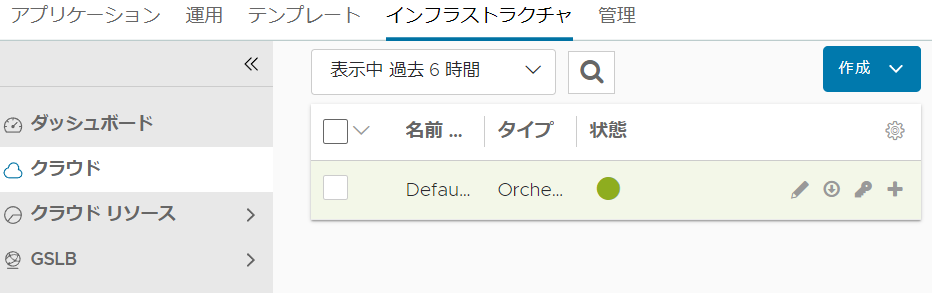
-
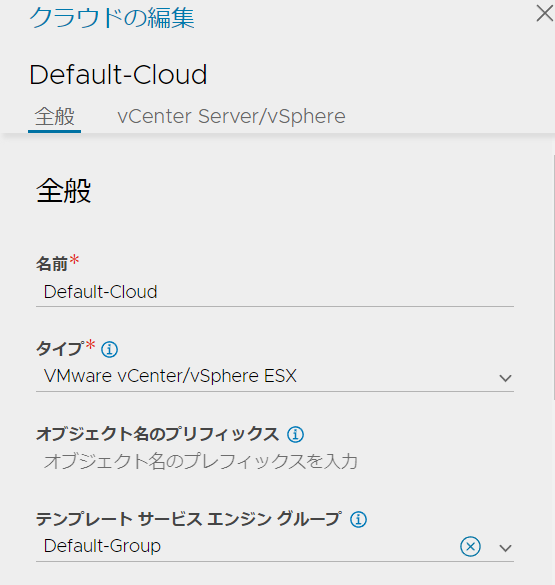
Set the following items here.
- Type: Select “VMware vCenter/vSphere ESX”. *It will appear when you click the bottom button of the pull-down menu.
- Template service engine group: Select Default-Group.
- Set credentials: Go to the “vCenter Server/vSphere” item and click “Set credentials.” You will be asked to enter a small amount of information, so enter the information to connect to vCenter Server and click “Connect”.
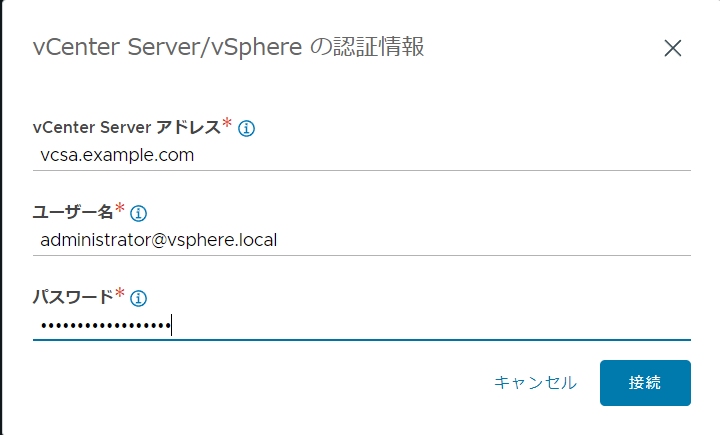 After entering the authentication information, more fields become available in the “vCenter/vSphere” item.
 - Data Center: Specify the data center to use.
- Use content library: We will not use it this time, so uncheck it. Adjust this for your environment.
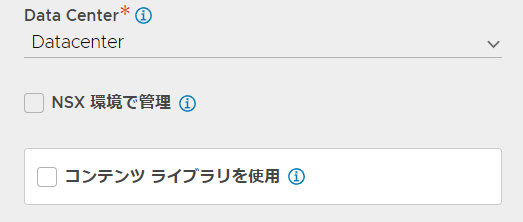 You will be asked to restart, so click “Save and Restart” at the bottom right. *vCenter and ESXi will not be restarted.
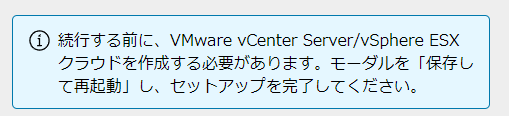
-
After rebooting, continue with the settings. Set the following items.
- Management network: Select the management network in the “vCenter Server/vSphere” field.
- Management network IP address management: If you use DHCP, check “Enable DHCP”.
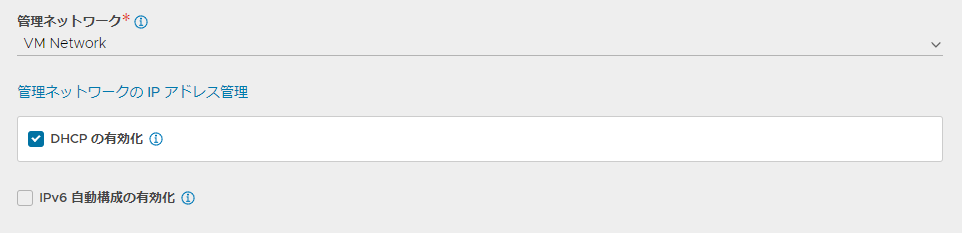 If you want to specify the IP address range yourself, uncheck “Enable DHCP” and specify an IP address range from the static IP address pool.
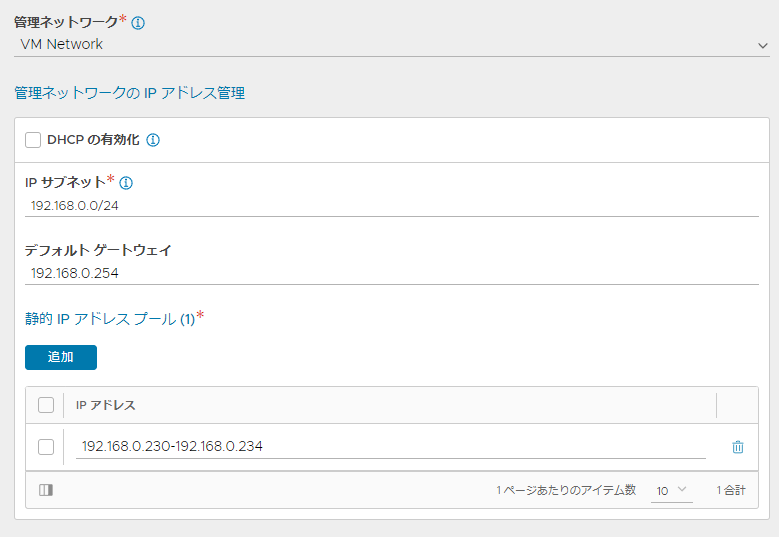
Once done, the Default-Cloud settings are complete. Click “Save” at the bottom right.
Service Engine Group settings
NSX ALB deploys virtual machines called Service Engines. Configure the machines to be deployed.
-
Go to Infrastructure → Cloud Resources → Service Engine Group.
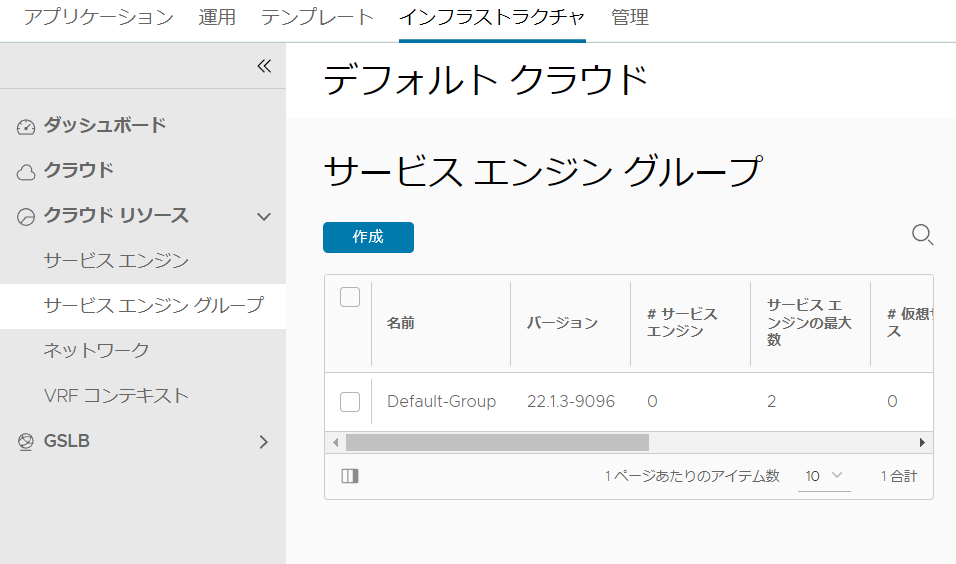
-
Click the edit button (pen mark) for “Default-Group”.
-
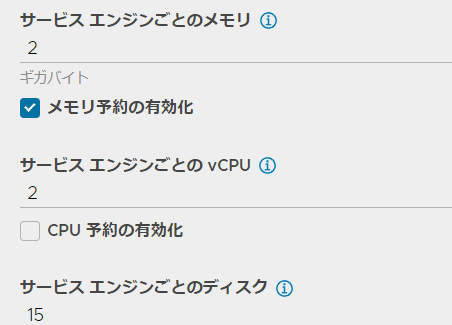
Set the following items here.
- vCPU per service engine: CPU count for the virtual machine being deployed. If CPU performance is low, change it from 1 to 2, etc.
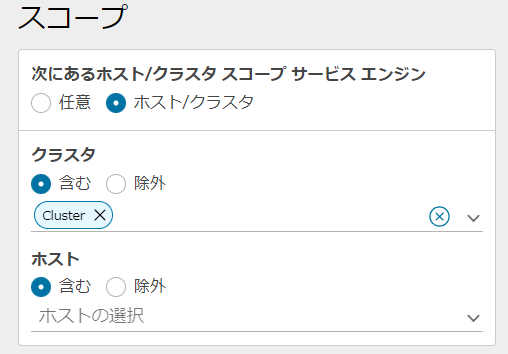
- Host/Cluster Scope Service Engine: Select Host/Cluster. Then select “Include” under “Cluster” and select your cluster. There is no problem even if you do not set “Host”, but if you want to deploy to any host, you can specify the host.
 This completes the Default-Group settings. This setting is only an example, so adjust it for your own environment.
- vCPU per service engine: CPU count for the virtual machine being deployed. If CPU performance is low, change it from 1 to 2, etc.
Network settings
-
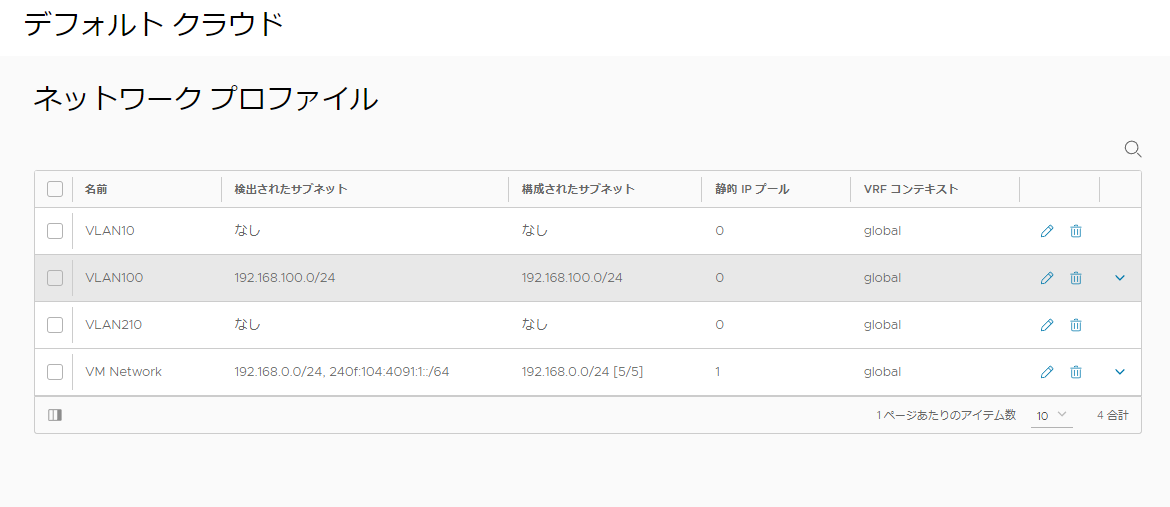
Click the Edit button (pen mark) for the Kubernetes network in “Infrastructure” → “Cloud Service” → “Network”.
-
Since there is an existing network address in the subnet, click the edit button (pen mark) for it.
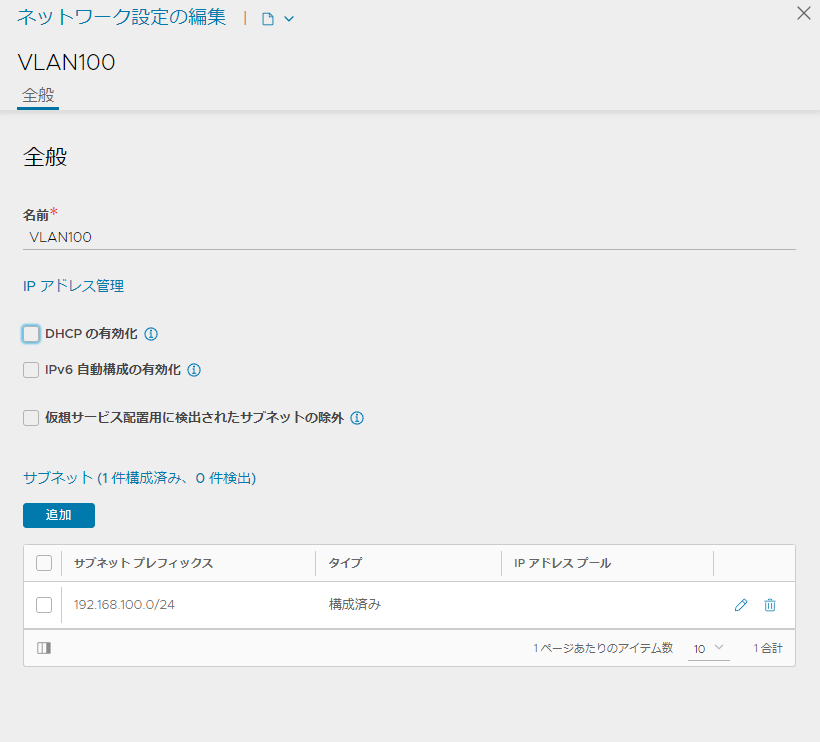
-
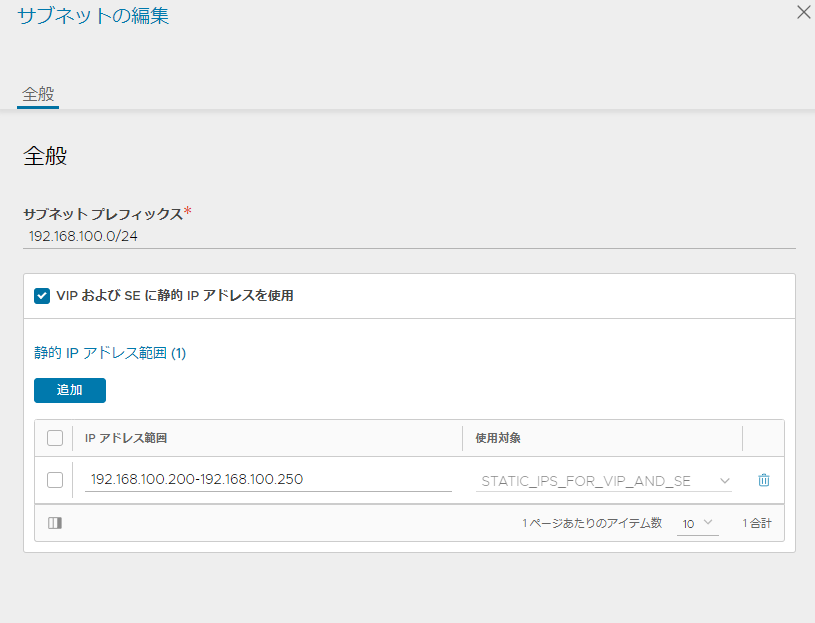
Check “Use IP address for VIP and SE” and specify any range allocated in the Kubernetes network.
Configuring IPAM profiles
NSX ALB creates a virtual service and assigns an IP address to it. This is called the VIP network. In this article, we will assign the Kubernetes network.
Creating an IPAM profile
-
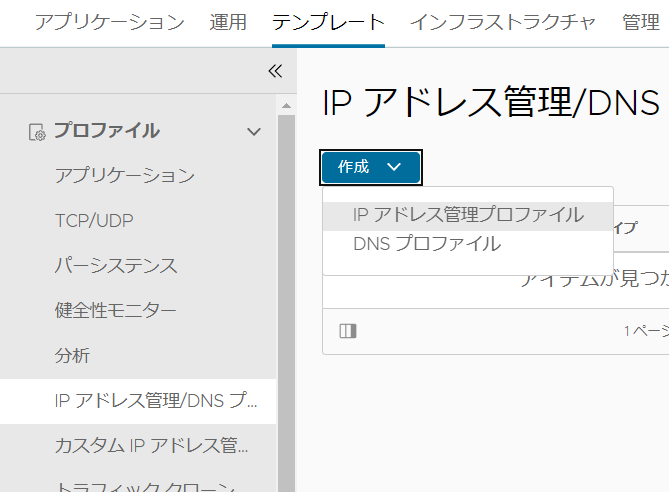
Go to “Template” → “IP Address Management/DNS Profile” and click “IP Address Management Profile” under “Create”.
-
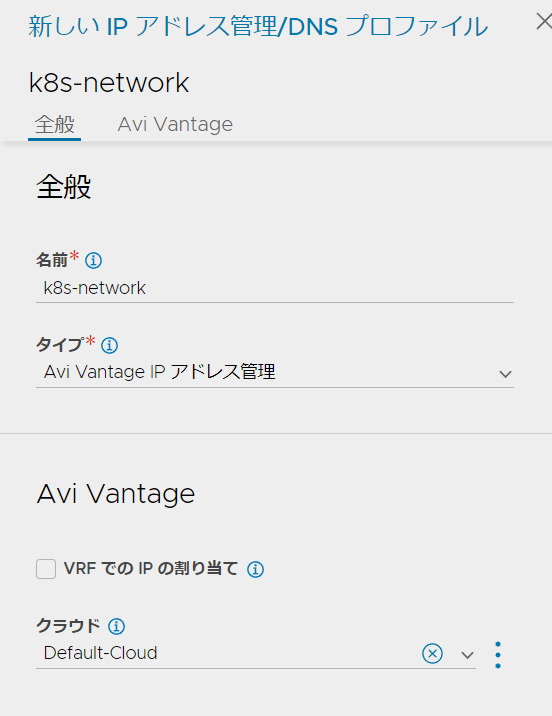
Enter the following items here.
- Name: Enter any name.
- Cloud: Specify “Default-Cloud”.
- Available networks: Click the Add button and specify the network for Kubernetes.
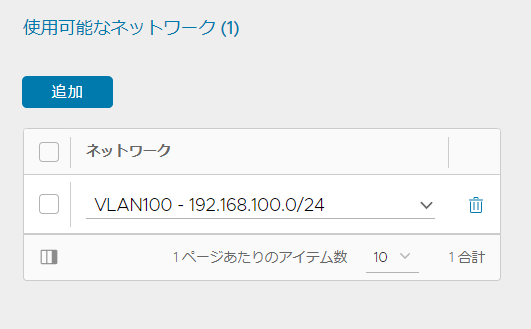 The settings are now complete. Click the “Save” button at the bottom right.
Applying an IPAM profile
IPAM profiles can be used by applying them to Default-Cloud.
-
Click the Edit button (pen mark) for “Default-Cloud” in “Infrastructure” → “Cloud”.
-
Specify the IPAM profile you created earlier in the IP address management profile in the “IP address management/DNS” field. Then click “Save”.
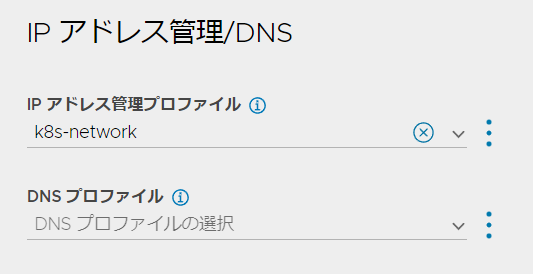
Configuring static routes
Configure VIP network routing.
-
Go to “Infrastructure” → “Cloud Resources” → “VRF Context” and click the Edit button (pen mark) for “global”.
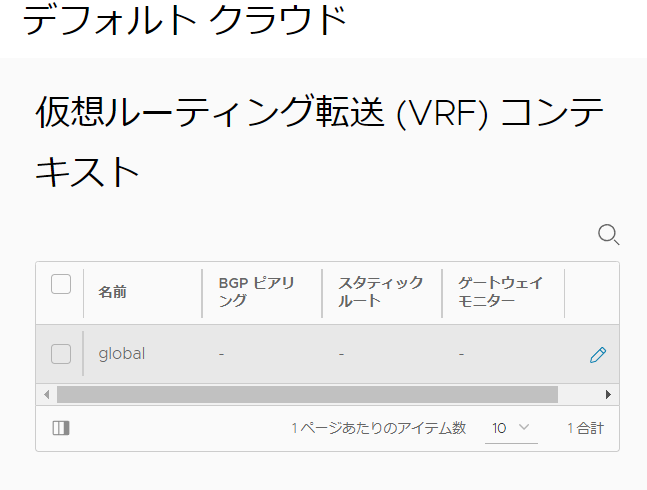
-
Click the “Add” button in the “Static route” field and specify “0.0.0.0/0” for the gateway subnet and the default gateway (IP of router, etc.) of the Kubernetes network for the next hop. Then click “Save”.
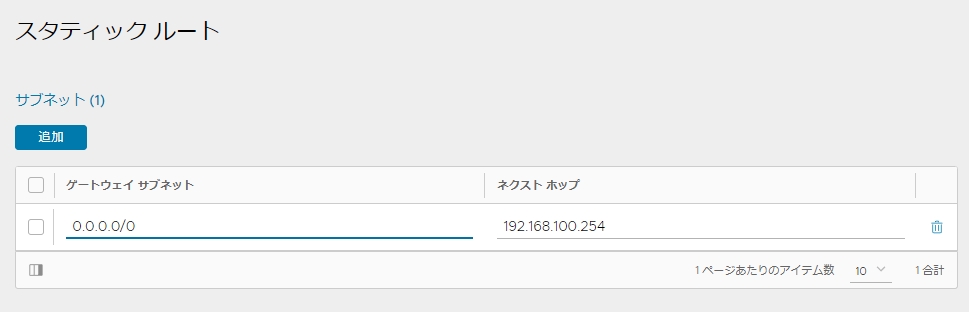
License changes
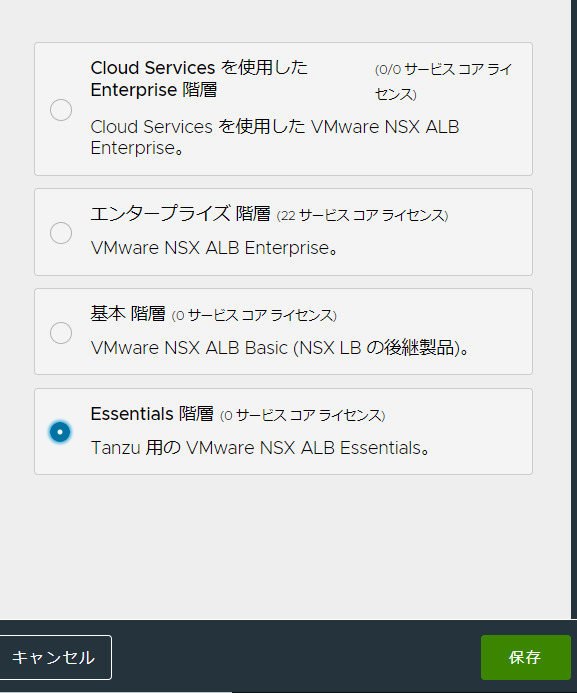
In this step, we will change from the Enterprise license to the Essentials license.
-
Go to “Management” → “License” on the top tab and click the settings button (gear mark).
-
Click the Essentials tier and click “Save” in the bottom right corner. This changes the license.
Creating a controller certificate
Create the controller certificate required to access NSX ALB from TKG.
-
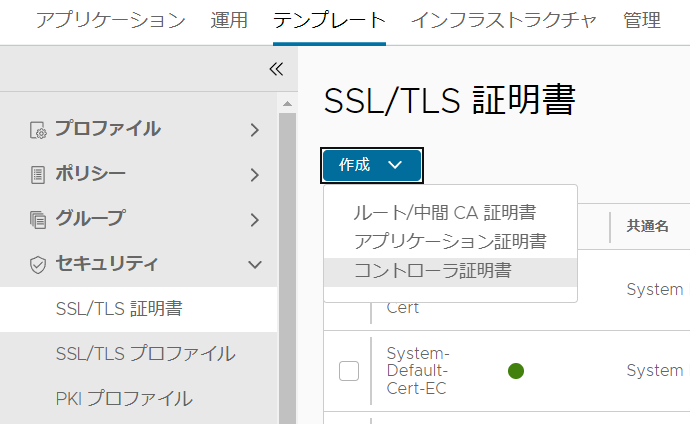
Go to the top tab “Template” → “Security” → “SSL/TLS Certificate”. Click “Create” and then “Controller Certificate”.
-
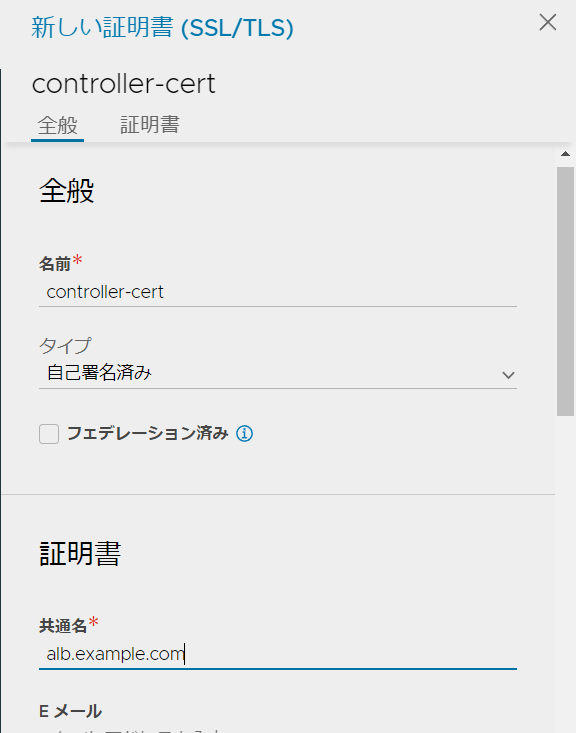
Set the following items.
- Name (required): Enter any name.
- Common name (required): Enter any FQDN.
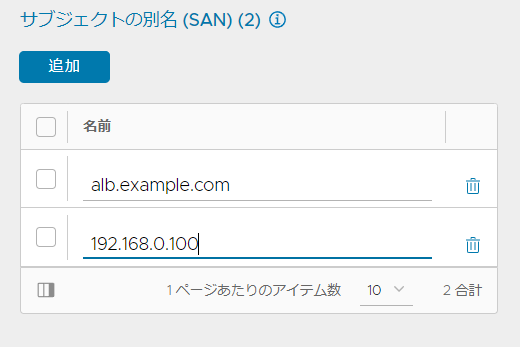
- Subject Alternative Name (SAN): Re-enter the FQDN you entered for Common Name. If you want to access the controller using an IP address, specify the IP address here.
-
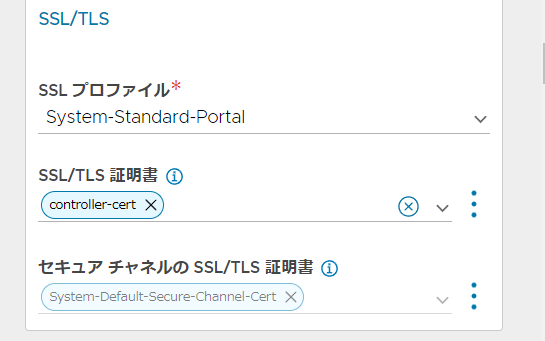
To apply the created certificate to the controller, click “Management” → “System Settings” → “Edit” on the top tab.
-
Delete the two “SSL/TLS certificates” in the “SSL/TLS” column, replace them with the certificate you created earlier, and click “Save” at the bottom right.
-
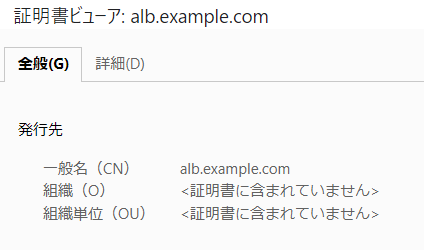
If you refresh the page, the privacy protection warning will be displayed again. You can view the details of the certificate by clicking “Unsecured Communication” → “Certificate is invalid”.
Obtaining a certificate
You need to obtain a certificate to access NSX ALB from TKG.
-
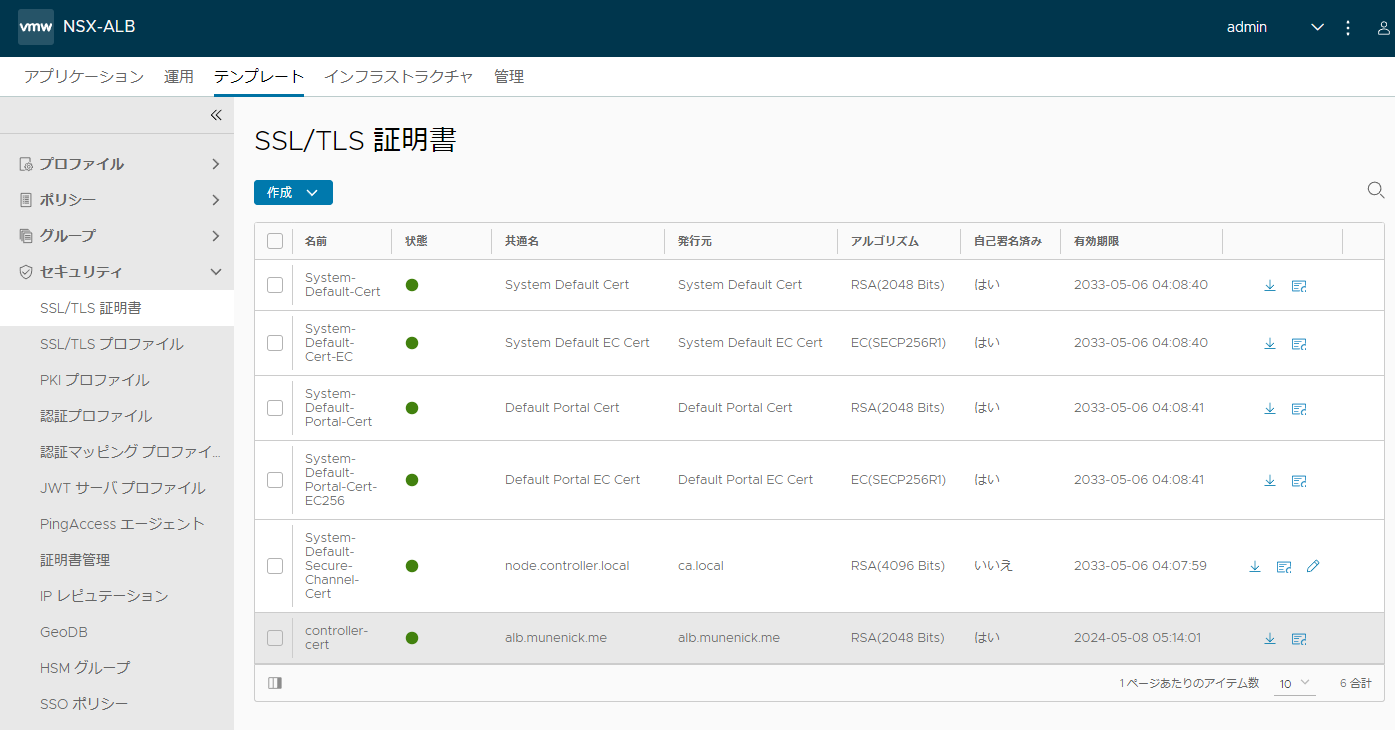
Click the “Export” button (down arrow) for the created certificate in “Template” → “Security” → “SSL/TLS Certificate”.
-
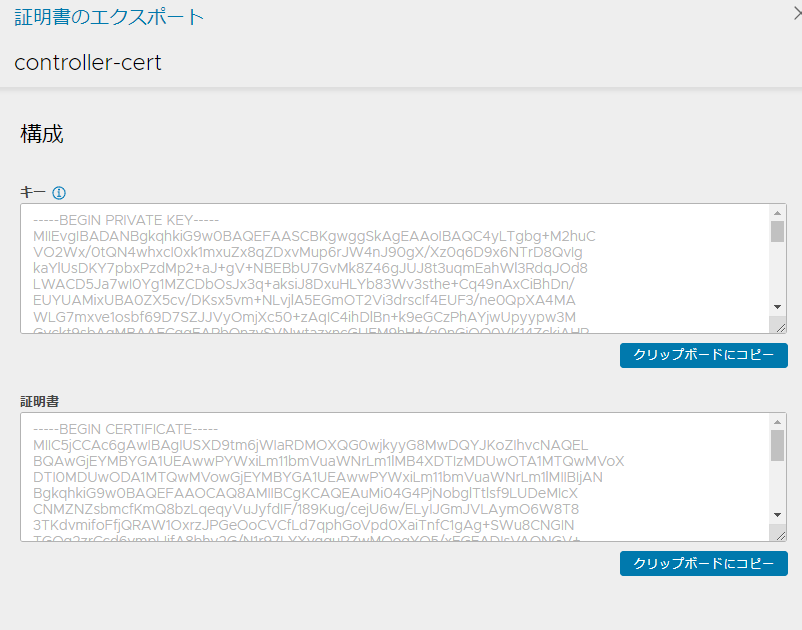
Click “Copy to clipboard” under “Certificate” and make a note of it somewhere.
This completes the NSX ALB configuration.
Next time
Next time, we will prepare to build Tanzu Kubernetes Grid with NSX ALB and create a bootstrap machine.