
Introduction
Omarchy, which I introduced earlier, has released version 2.0 and can now be installed easily from an ISO. This article explains how to install it.
Additionally, with the ISO-based installer, disk encryption (LUKS) has become mandatory. As a result, you will need to access the physical console and unlock it with a password every time you reboot. This article also describes how to use Clevis TPM mode to unlock the disk automatically.
Previous article
If you want to install the legacy version, enable VNC, or configure Japanese settings, refer to the article below. https://www.munenick.me/blog/omarchy
What is Omarchy?
Omarchy is an “omakase” remix environment based on Arch Linux + Hyprland developed by DHH (author of Ruby on Rails). It carefully selects and integrates the applications and settings needed for development. It can be built with one command.
Features
Arch Linux based It is based on Arch Linux, so you can use the latest packages and customize the environment freely.
Hyprland adopted
It uses Hyprland, a native Wayland tiling window manager, to provide a polished desktop experience.
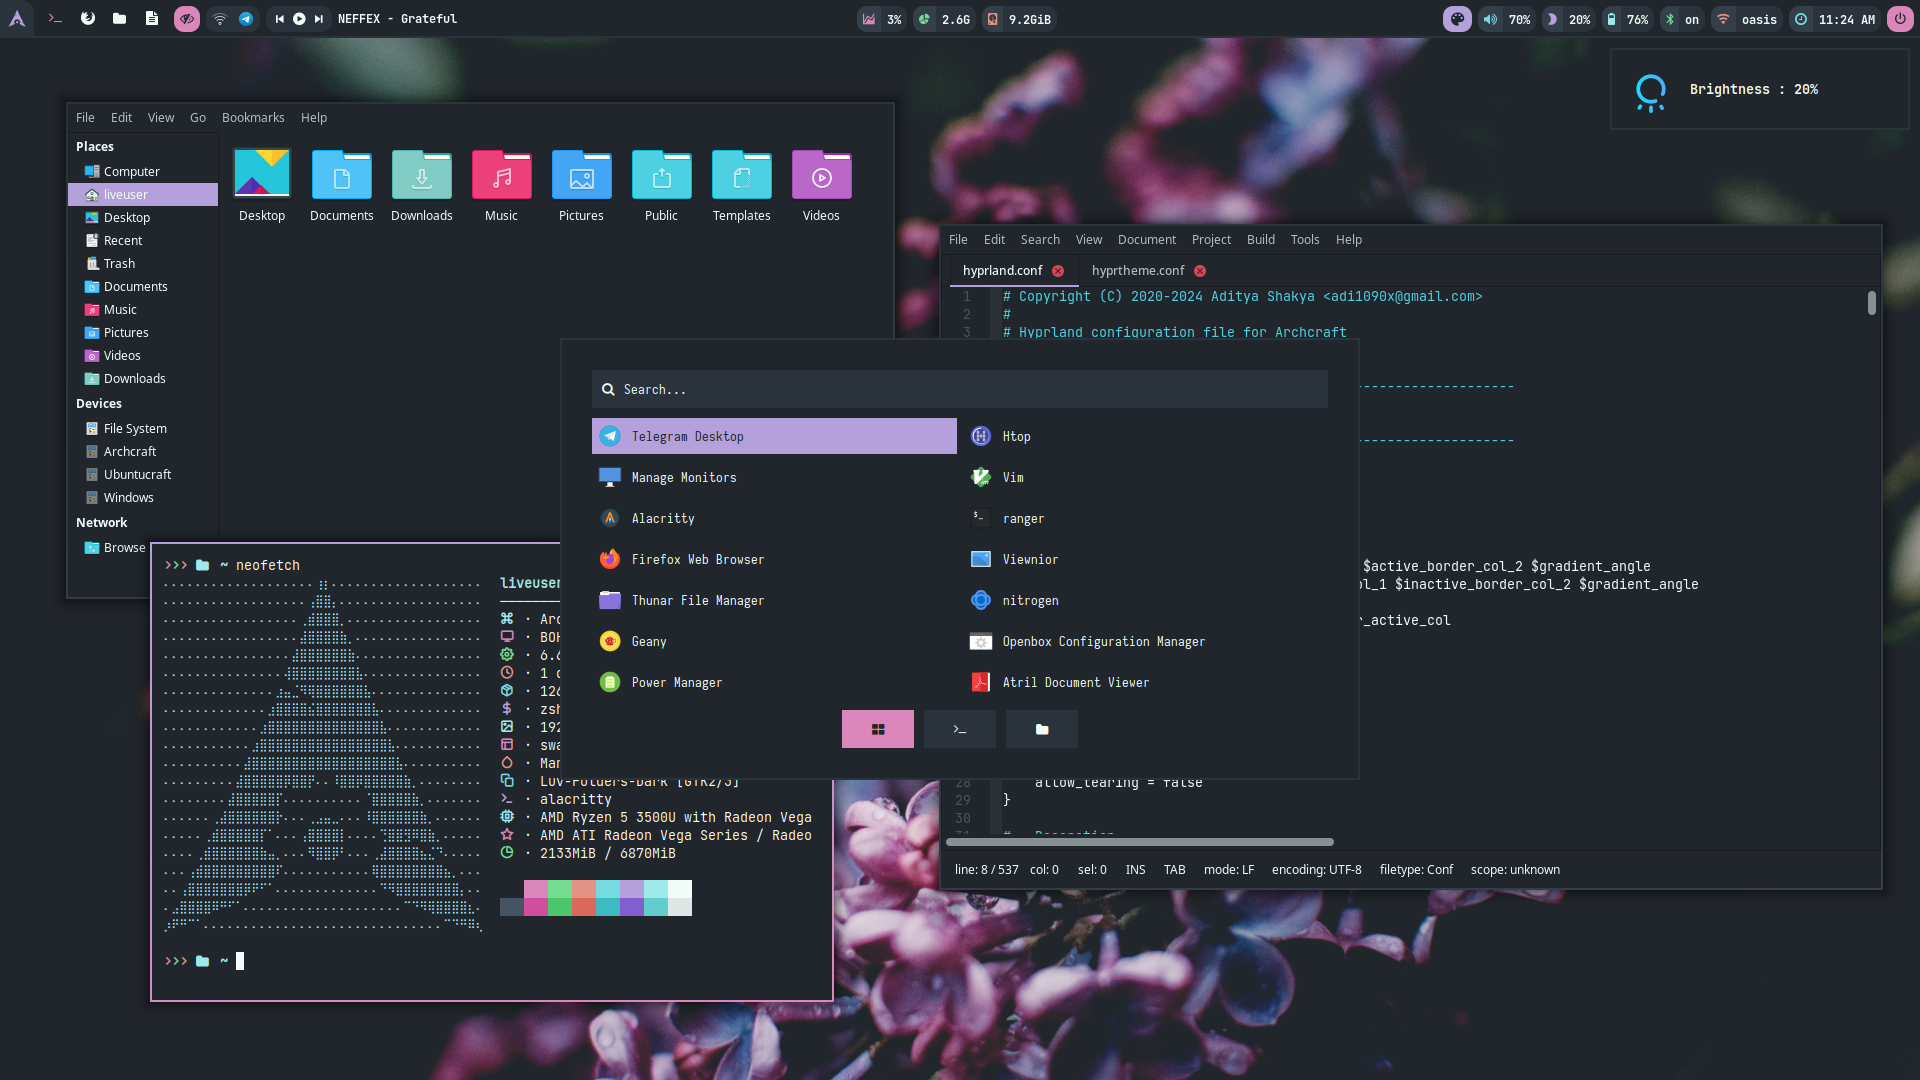
Opinionated design It was created with a clear opinion that “this is a good environment,” so the overall setup feels cohesive. You get an environment that can be used as is without thinking through every detail.
Includes development environment Neovim (with LazyVim configured) is included as the default editor, so you can skip the tedious Neovim setup. Other useful TUI tools include Lazygit, Lazydocker, and Btop.
ISO download
Visit the site below and click “ISO” to download the image file. https://omarchy.org/
Prepare USB installer (optional)
When installing on a server or PC, create a USB installer from Windows or macOS. Create the installer with a tool such as Rufus or balenaEtcher.
Official procedure:
After creating the installer, connect it to the server or PC and boot from it. If you are using a virtual machine, skip this step. Instead, mount the ISO to your virtual machine.
Once mounted, boot the machine.
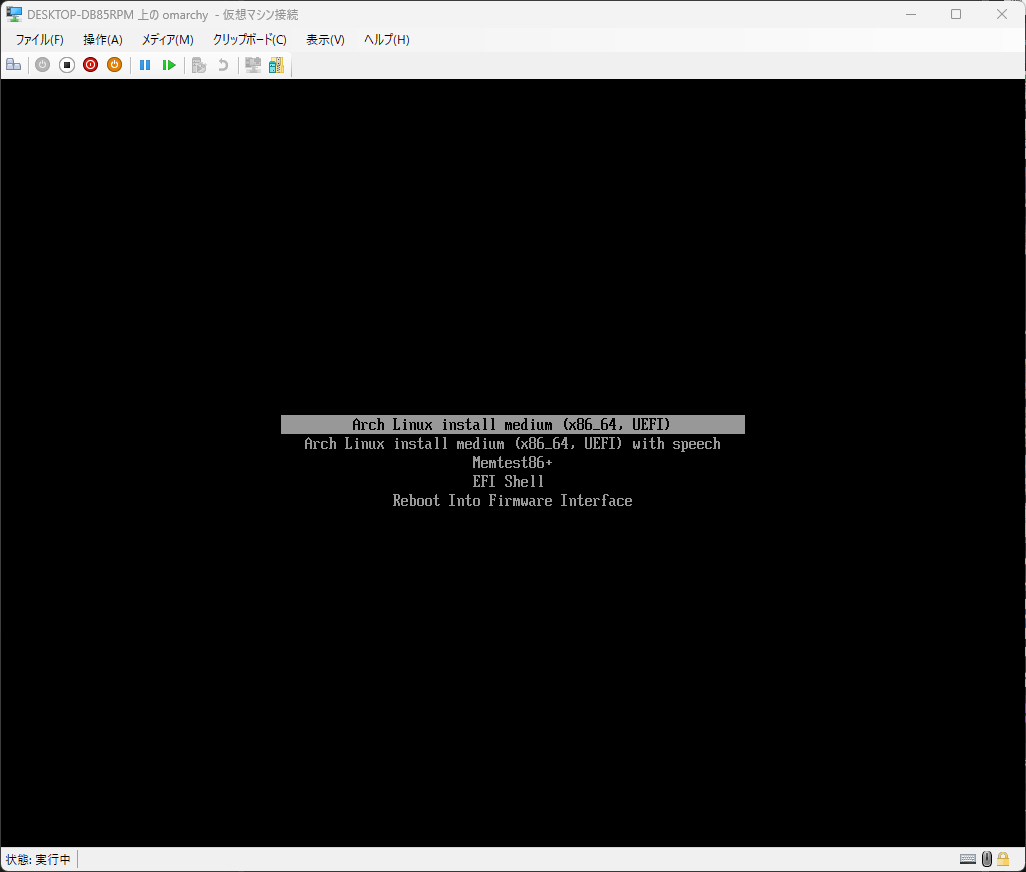
Click “Arch Linux install medium”. (It will start automatically if you leave it alone.)
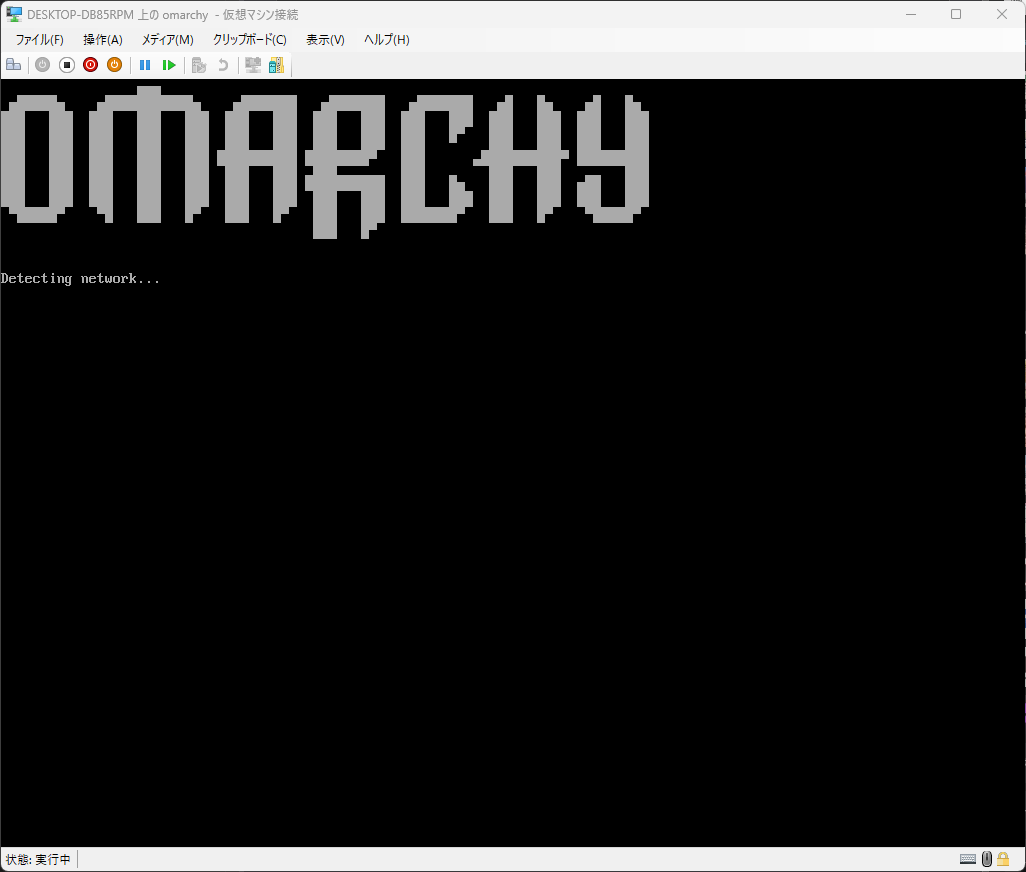
Installing Omarchy
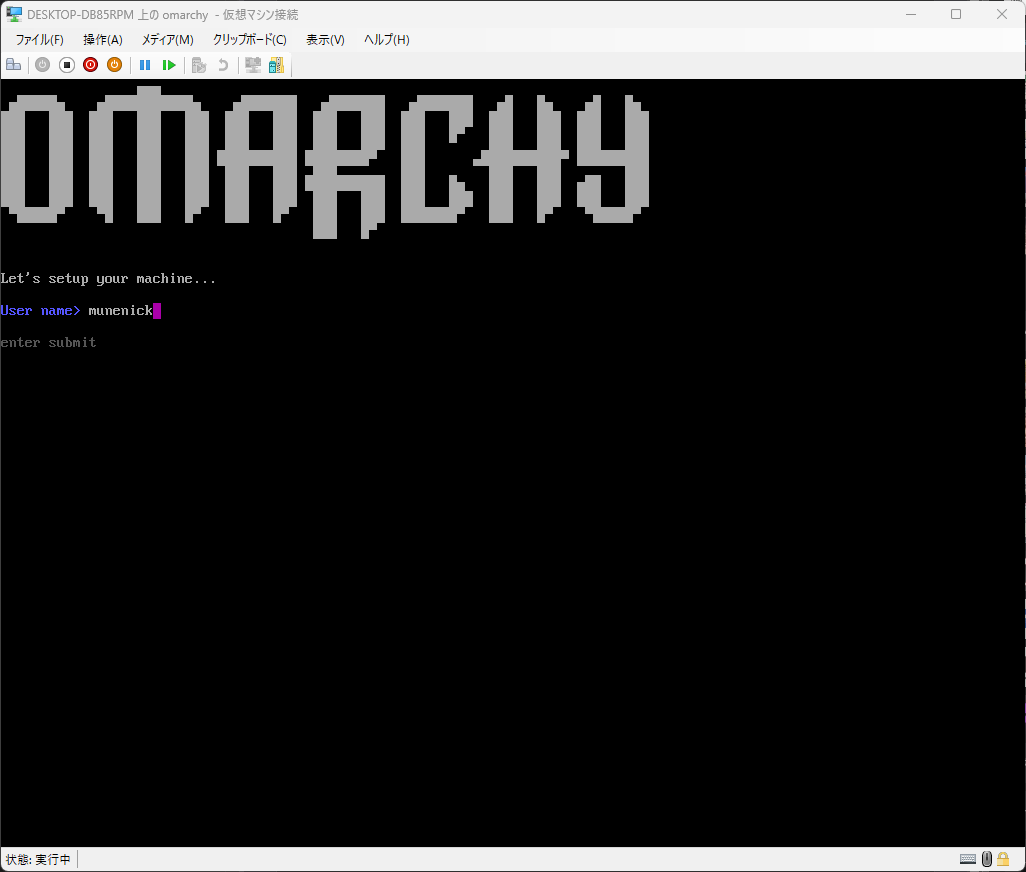
Setting the username
In “User name”, enter the user name to use in the OS.
Setting the password
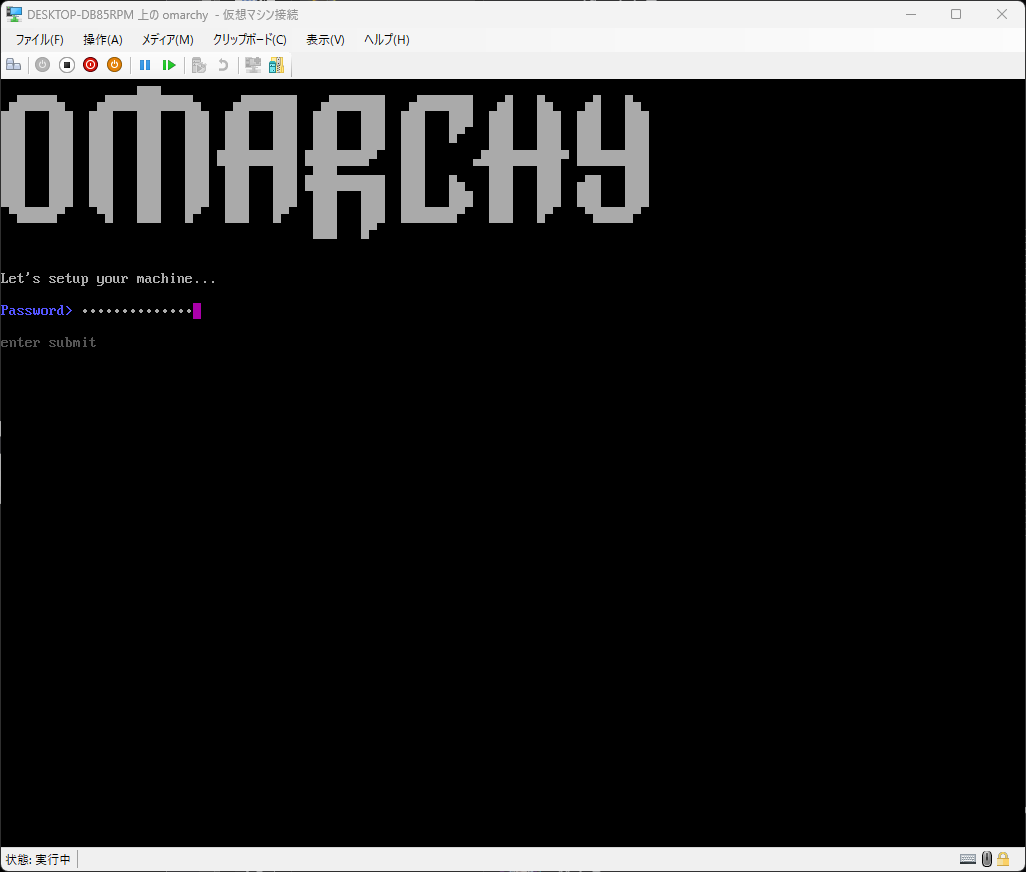
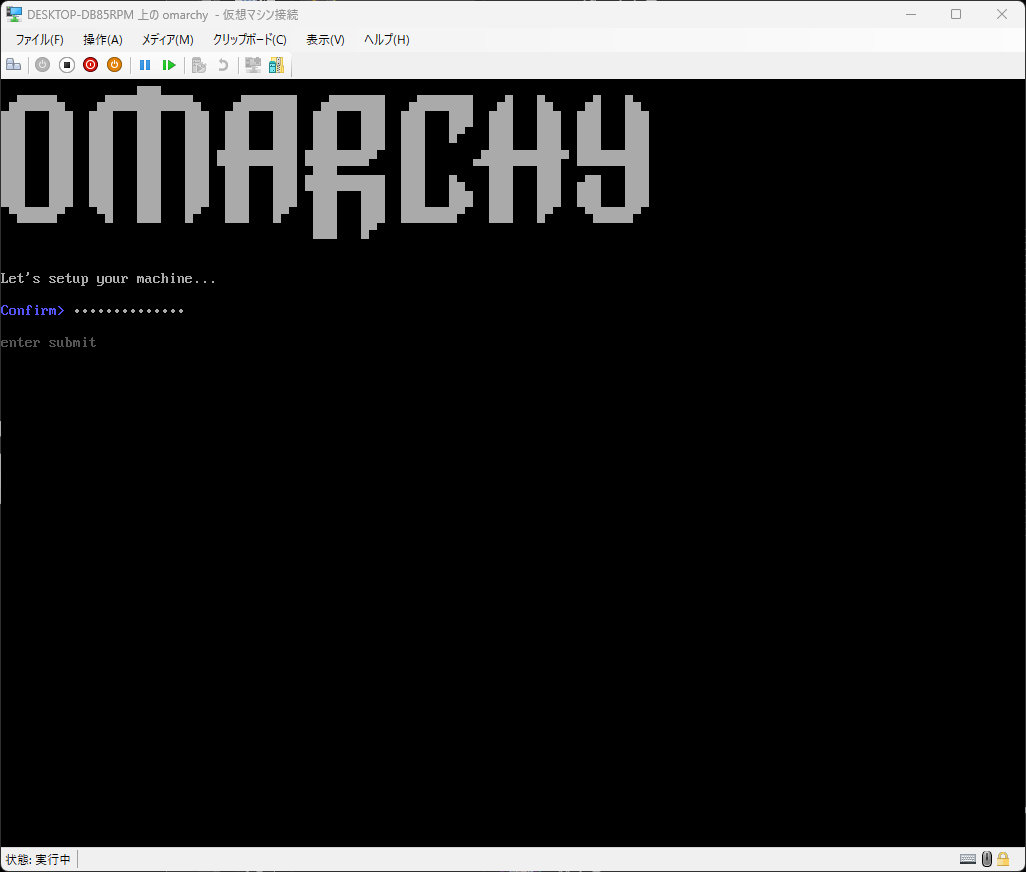
In “Password”, enter the password used for disk decryption, OS login, and sudo.
Full name setting (optional)
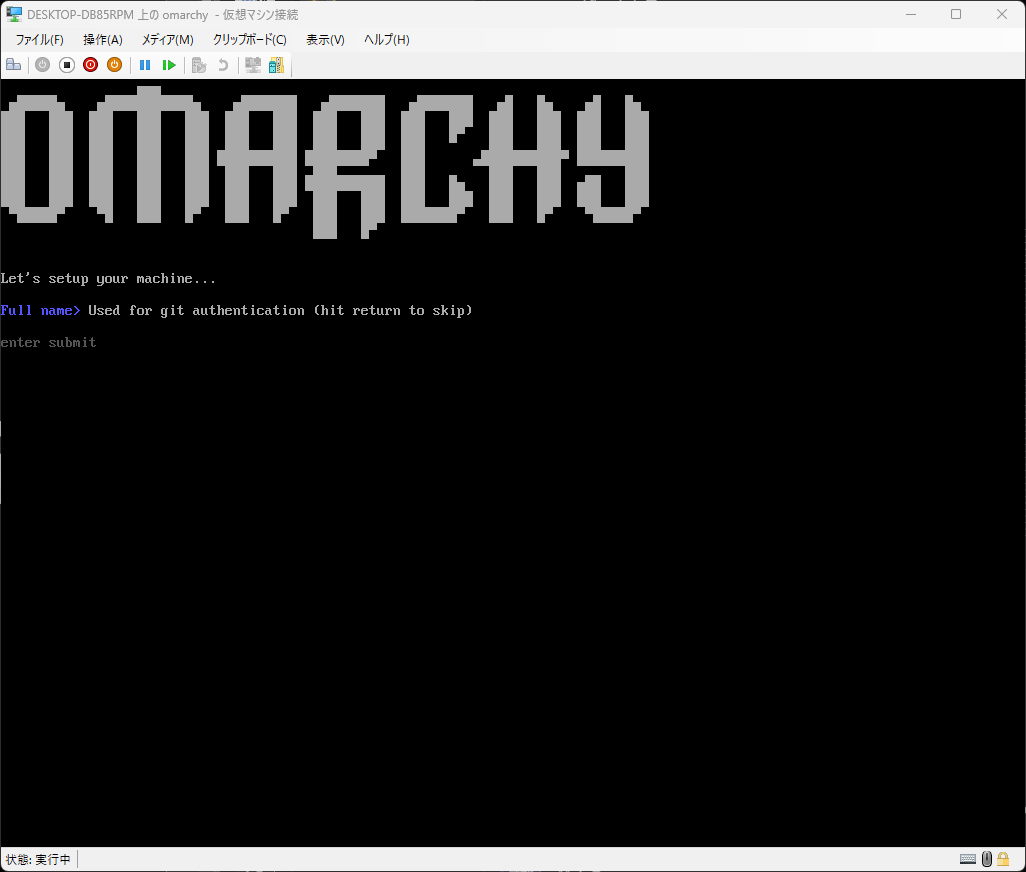
“Full name” specifies the full name. It seems to be used during Git authentication. This input is optional.
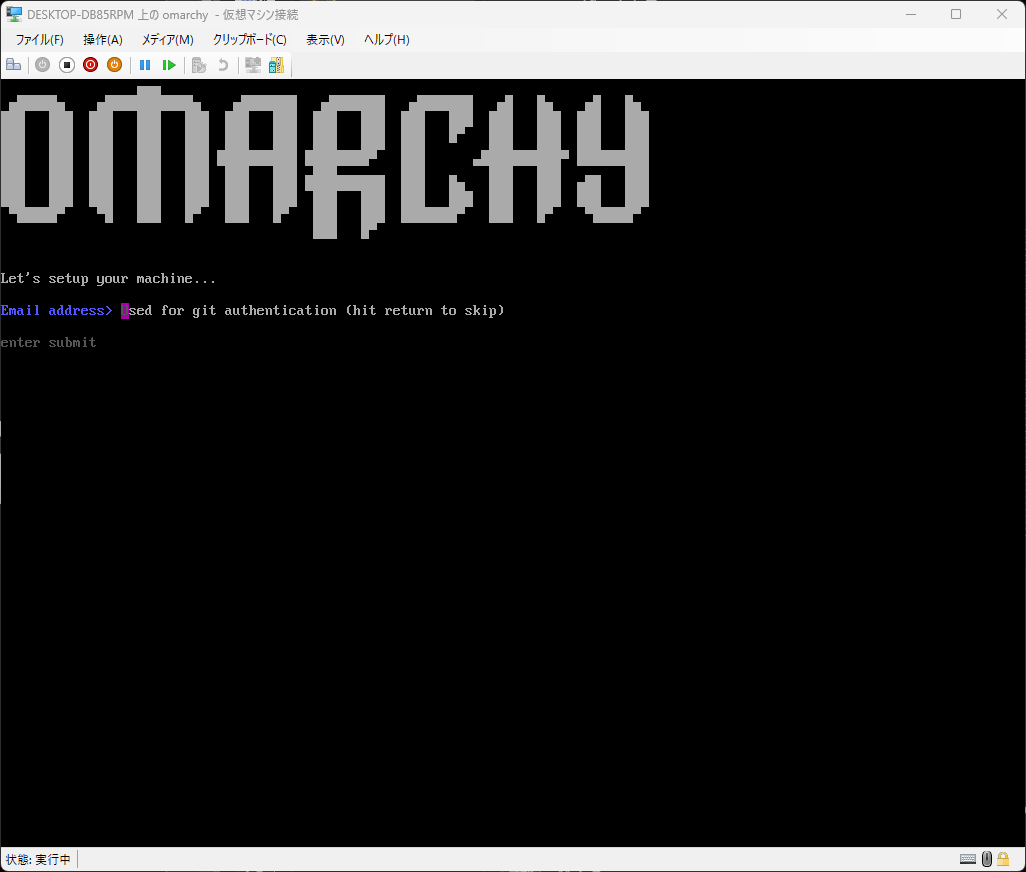
Email address settings (optional)
Specify the email address in “Email address”. This also seems to be used during Git authentication. This input is optional.
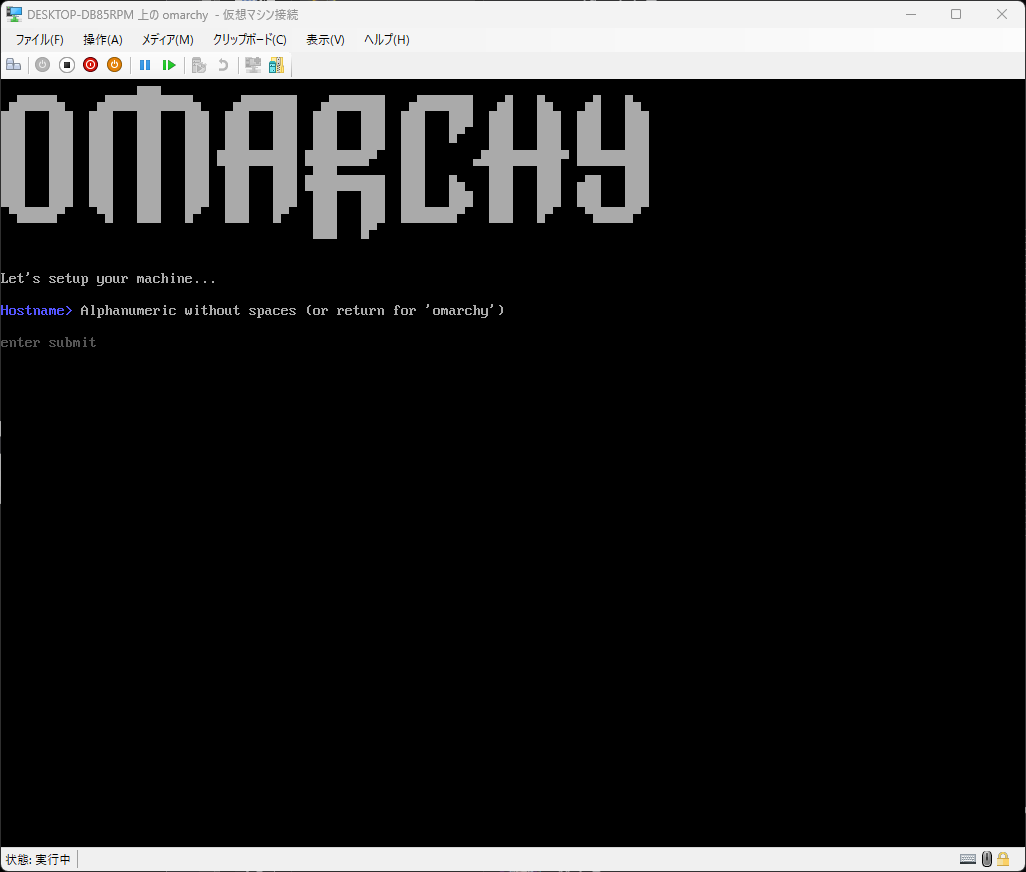
Setting the host name (optional)
“Hostname” specifies the host name of the OS. If you do not enter anything, the default is “omarchy”.
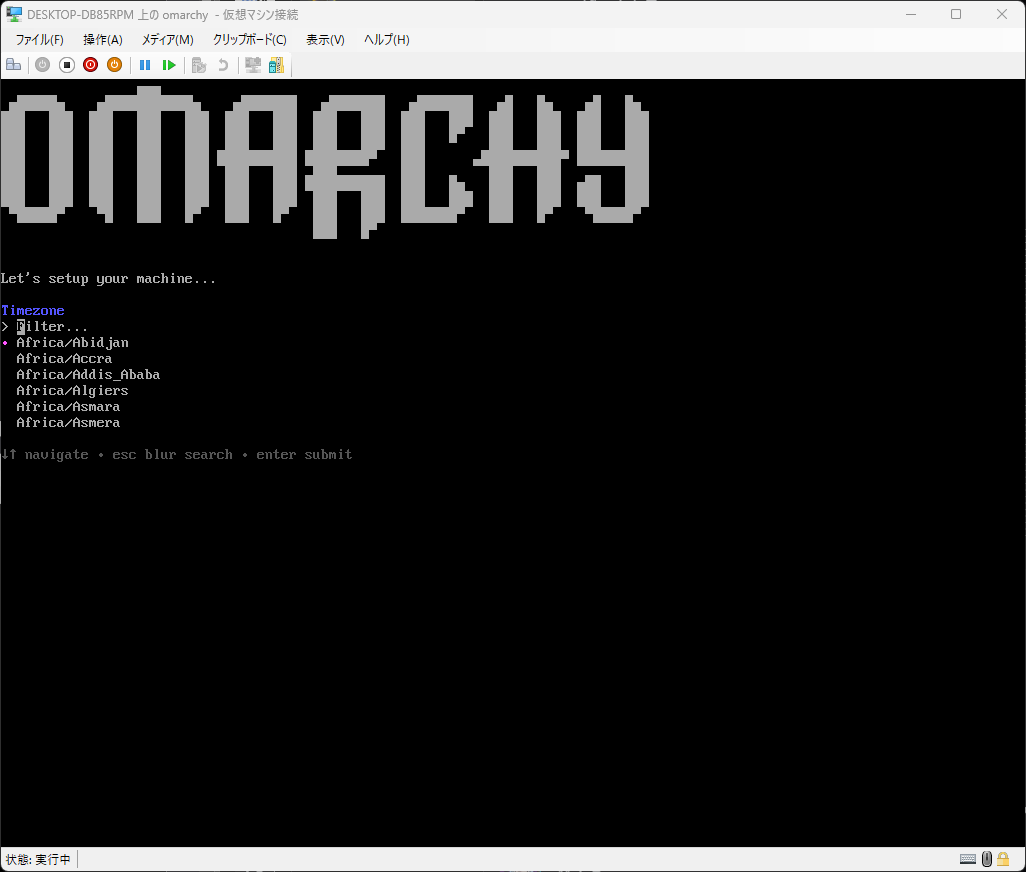
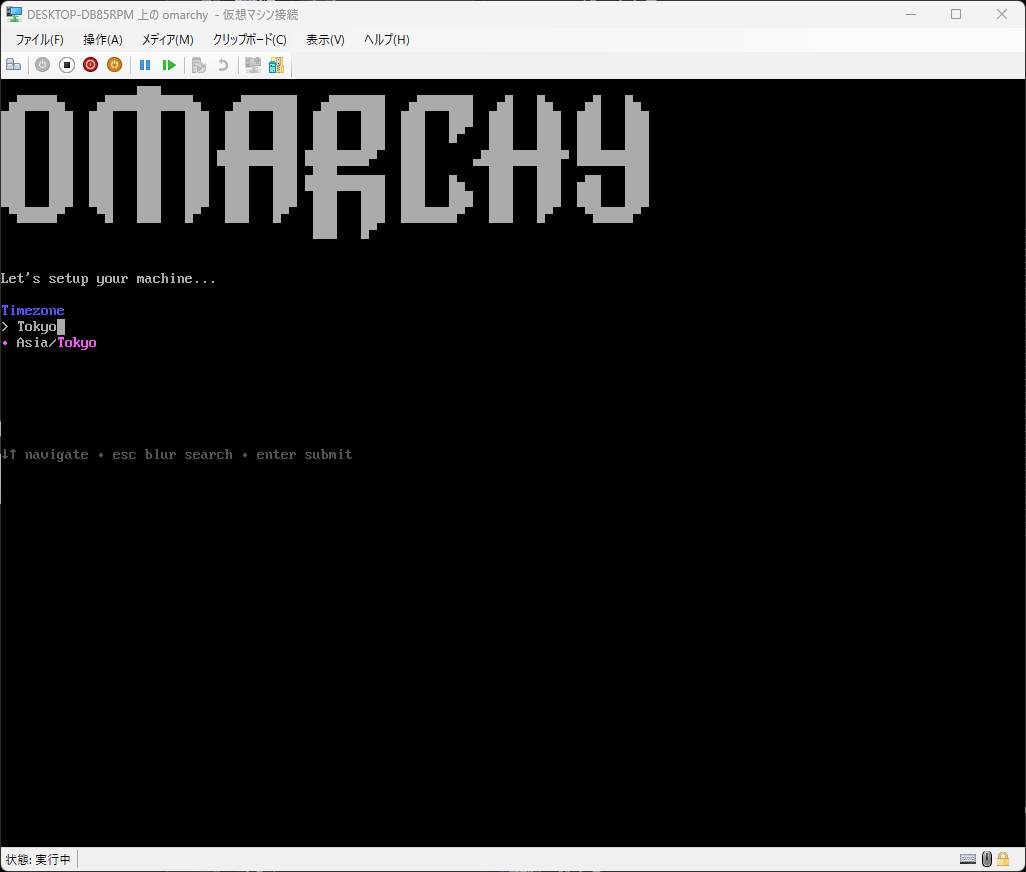
Setting the time zone
“Timezone” specifies the time zone of the OS. You can search by entering characters, and if you search for “Tokyo”, you can specify “Asia/Tokyo”.
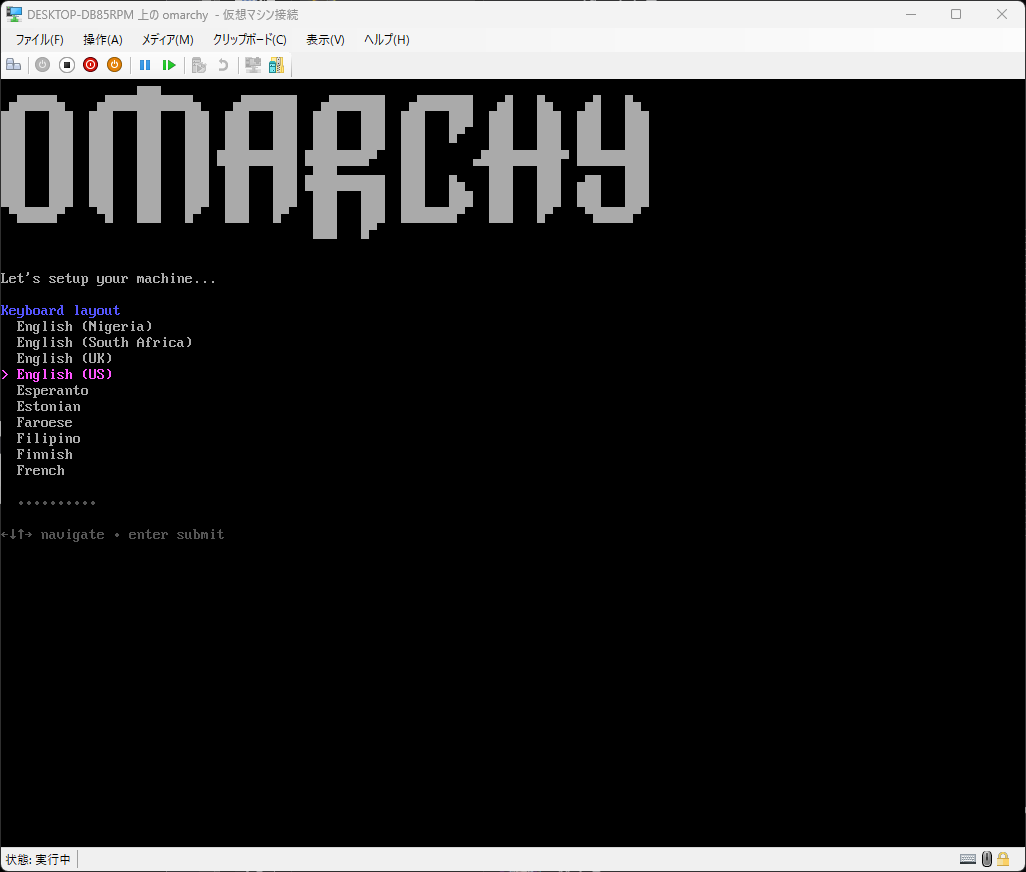
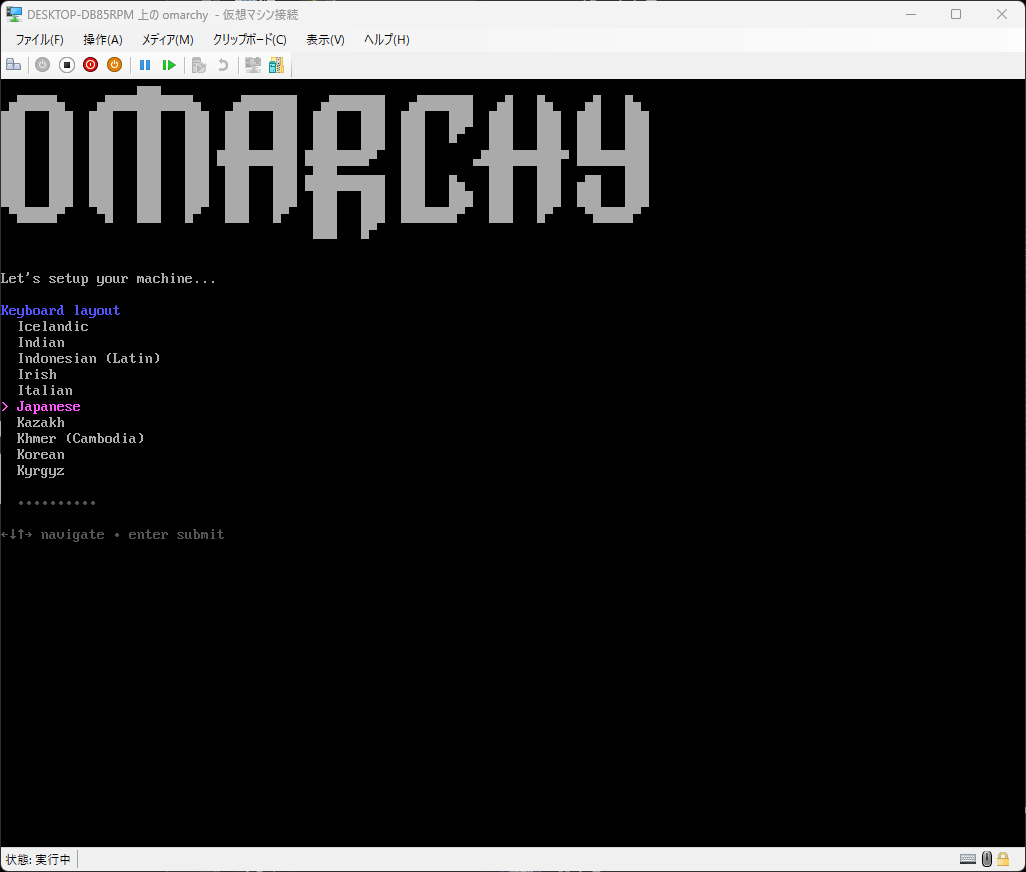
Setting keyboard layout
“Keyboard Layout” specifies the keyboard layout. Move the cursor and specify the keyboard layout you are using.
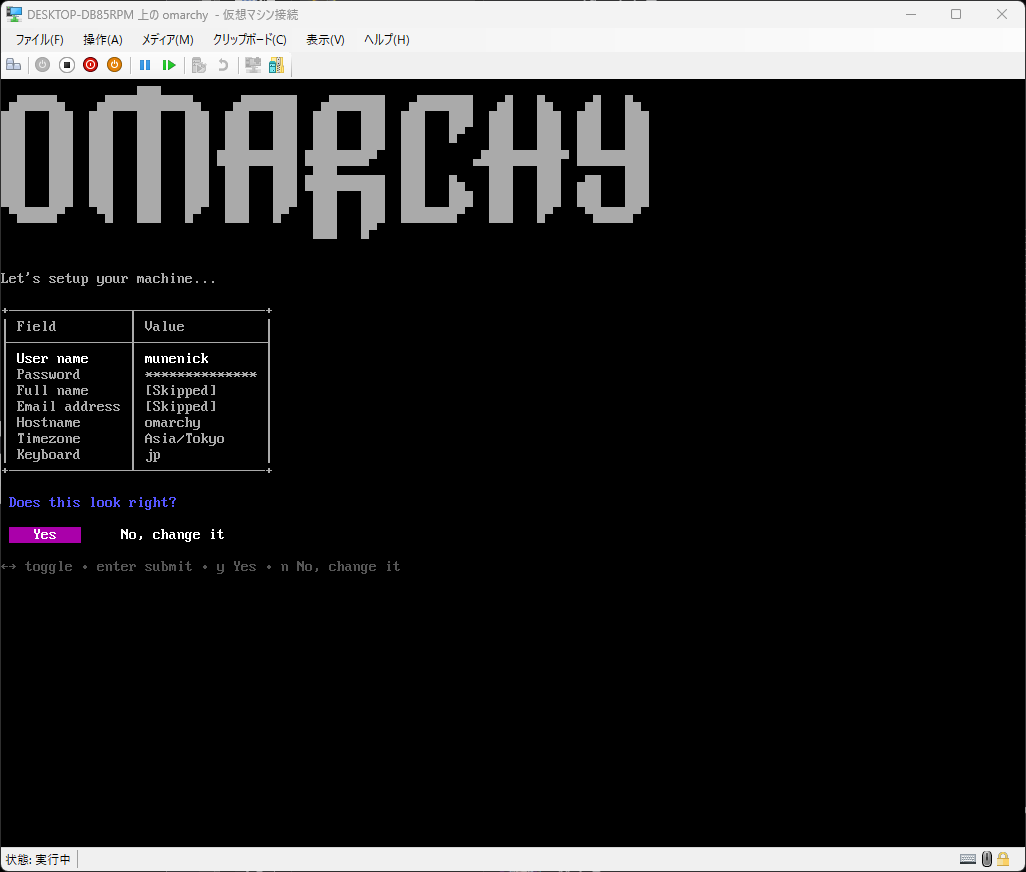
Confirmation
Check the settings, and if there are no problems, click “Yes” to start the installation.
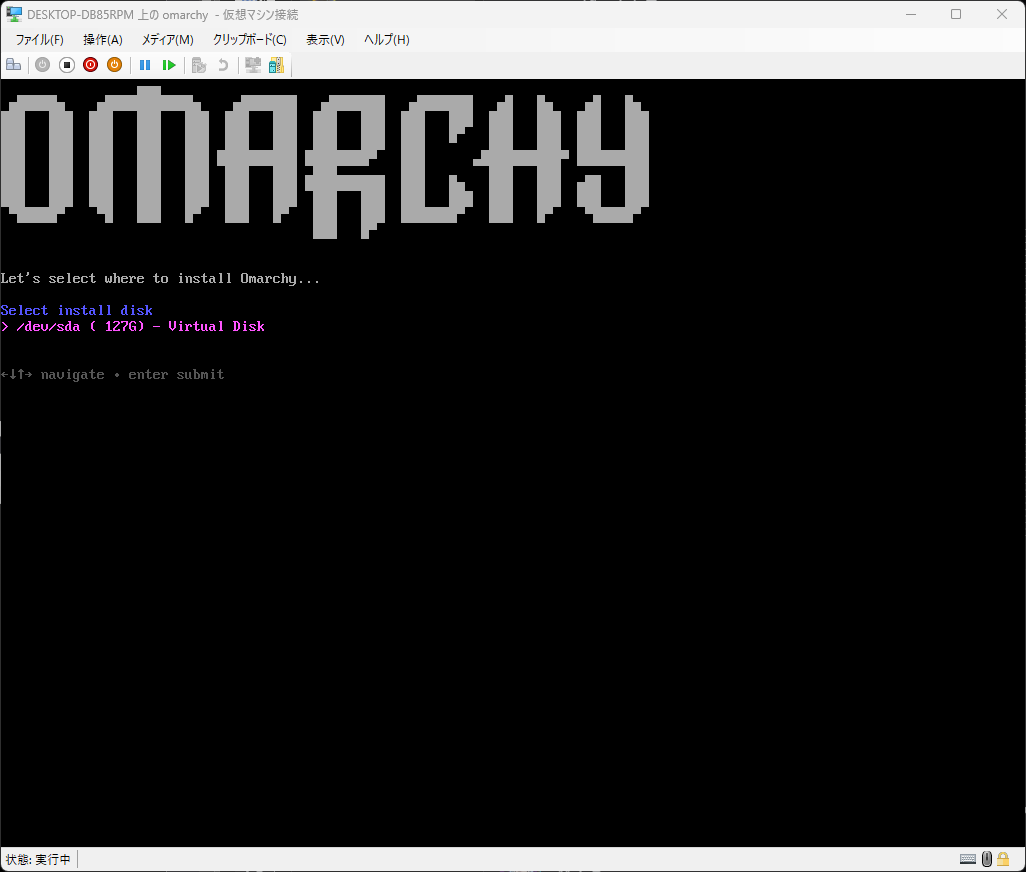
Specifying the installation destination disk
A list of disks will be displayed. Specify the disk where you want to install the OS.
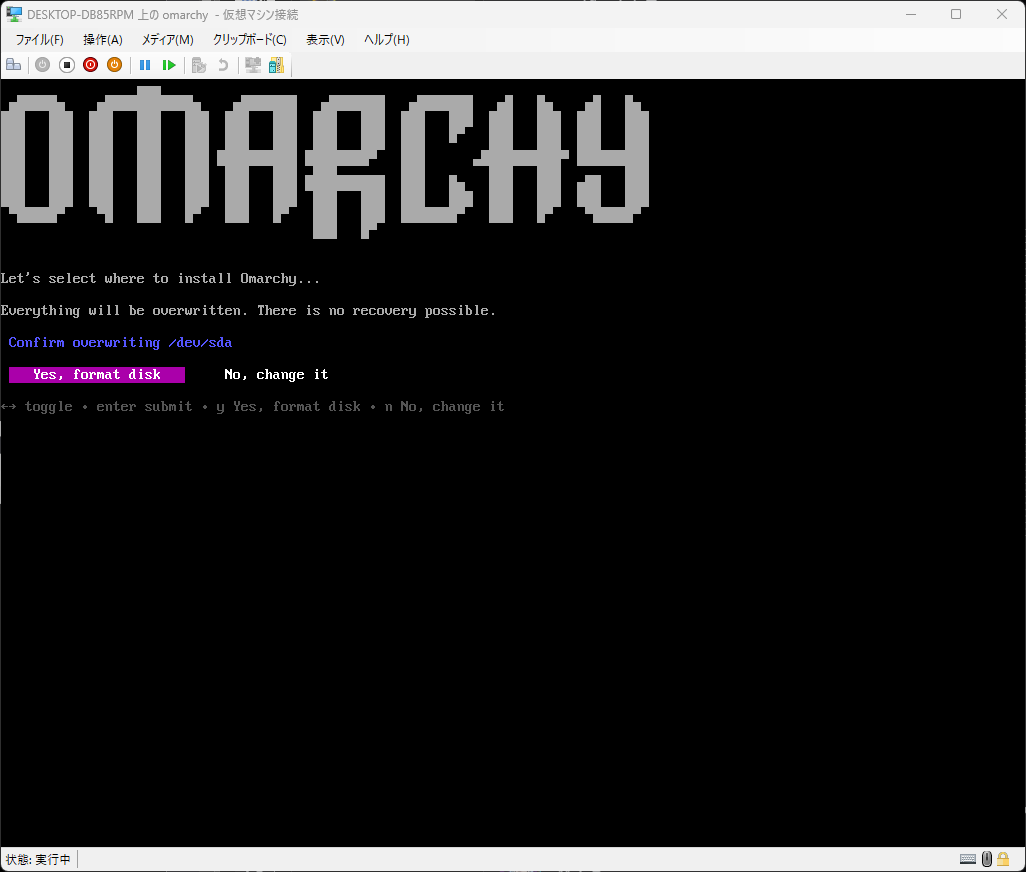
Check format
You will be asked if you want to format it. Data will be deleted when formatted.
Start installation
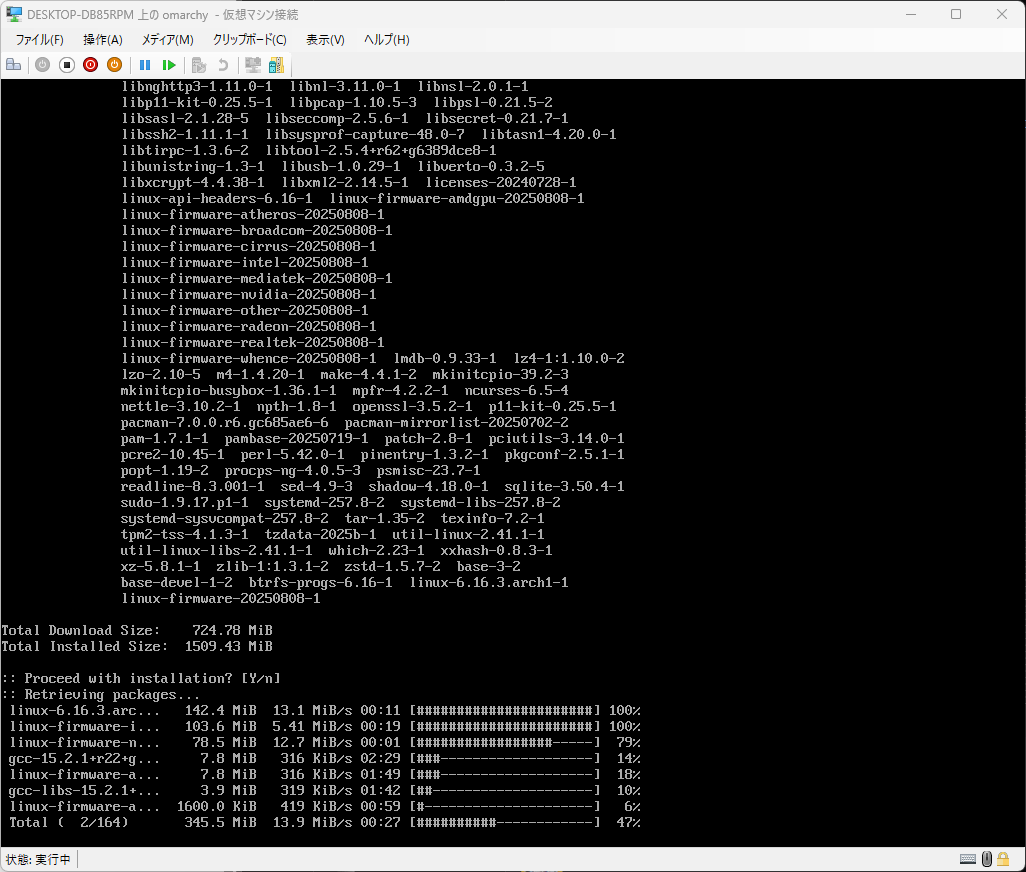
Installation will begin. Now all you have to do is wait until the OS boots.
Login
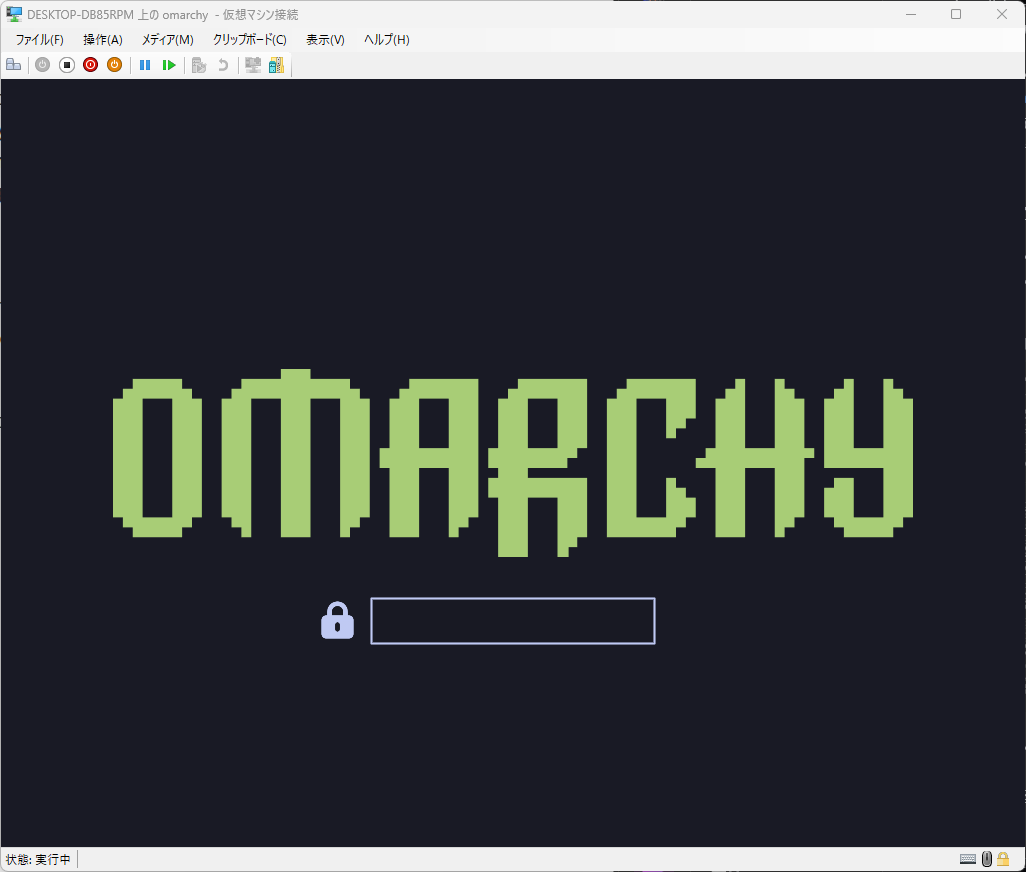
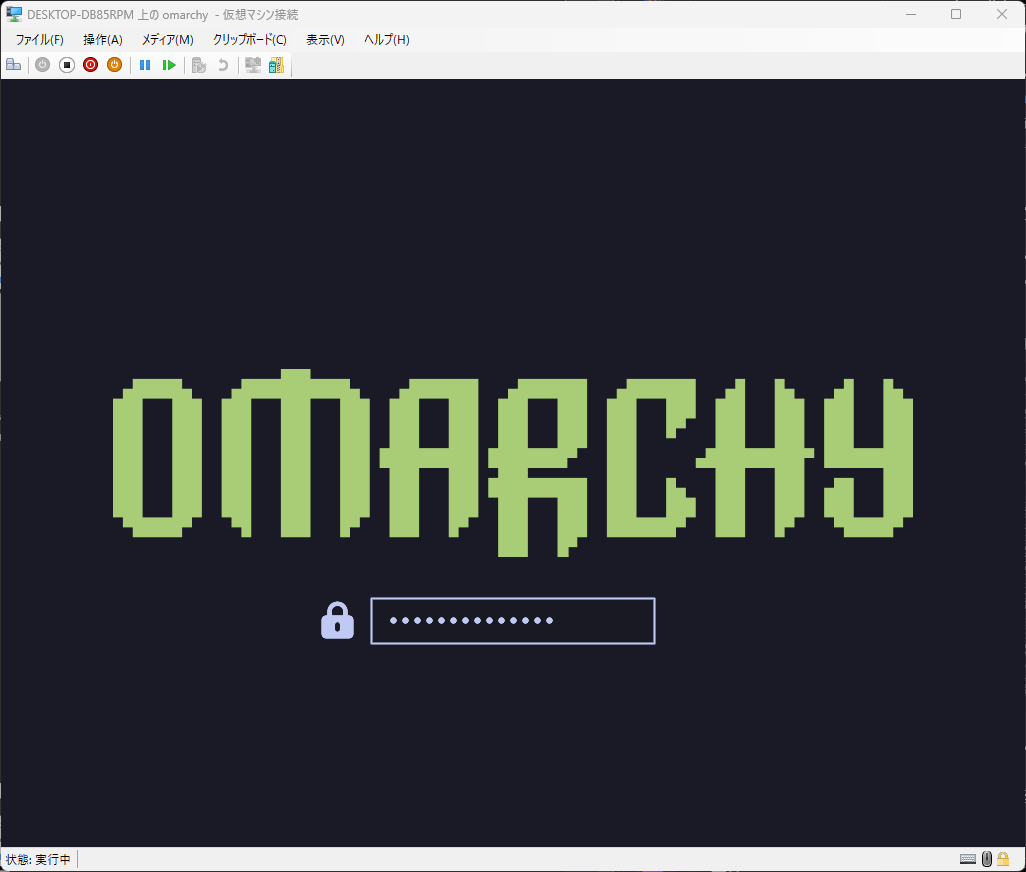
When the screen looks like the image below, the OS installation is complete. Log in with the password you set.
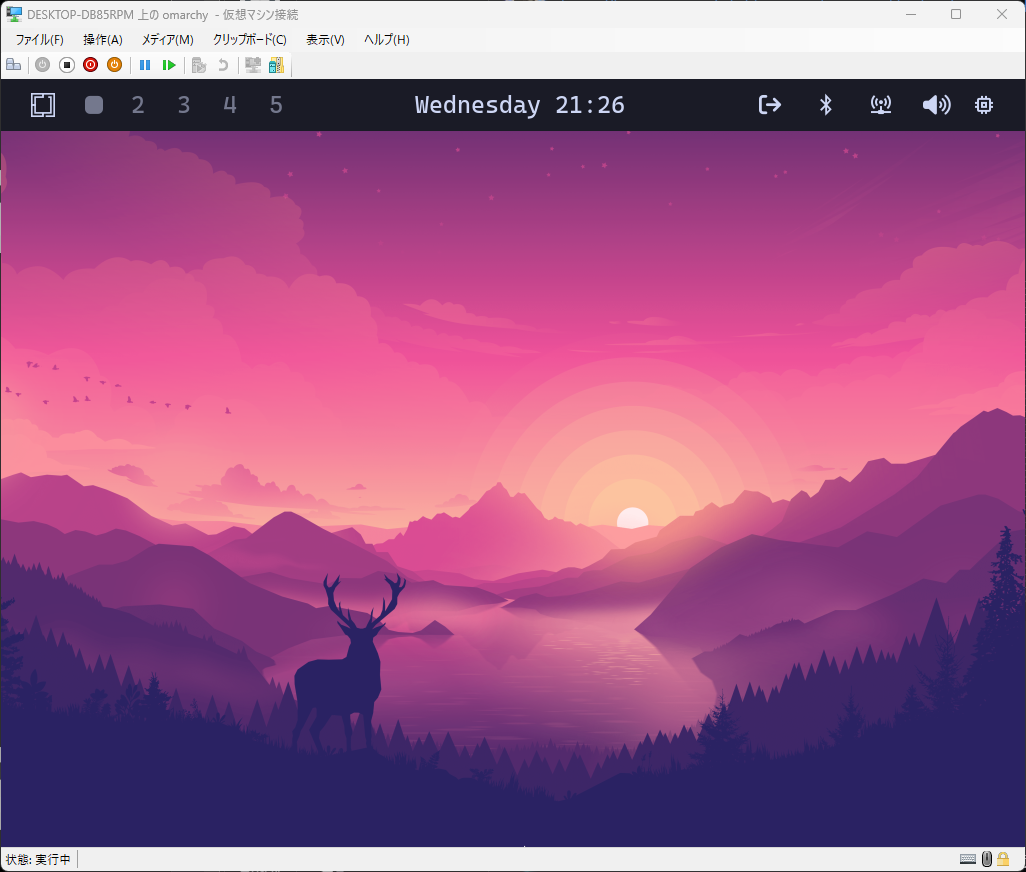
Automatic disk decryption settings using Clevis
There may be cases where Omarchy is installed on servers in data centers. (That’s me.)
In that case, you would need to go to the data center and decrypt the disk from the physical console every time you restart Omarchy.
That workload is not practical, so this section introduces the steps to decrypt the disk automatically.
Possible methods include installing Dropbear, starting an SSH server in initramfs, connecting remotely via SSH, and entering a password, or using Clevis + Tang to automatically decrypt disks when connected to a specific network.
Here, we will use Clevis + TPM to automatically decrypt the disk with the TPM key. This will automatically decrypt the disk after rebooting and Omarchy will start automatically.
Installing the required tools
Install the tools required by Clevis and TPM.
# Install clevis and required tools
sudo pacman -S --needed clevis tpm2-tools tpm2-tss
yay -S --needed mkinitcpio-clevis-hook
Identifying the target disk
Enter the following command to display a list of disks. Look for disks with TYPE “crypt”. In the example below, “sda2” is the target.
# Detect encrypted disk
lsblk

NAME     MAJ:MIN RM  SIZE RO TYPE  MOUNTPOINTS
sda        8:0    0  127G  0 disk
├─sda1     8:1    0    2G  0 part  /boot
└─sda2     8:2    0  125G  0 part
  └─root 253:0    0  125G  0 crypt /var/cache/pacman/pkg
                                   /home
                                   /var/log
                                   /
sr0       11:0    1 1024M  0 rom
zram0    252:0    0  1.9G  0 disk  [SWAP]
Bind TPM2
Bind TPM 2.0 to the LUKS-enabled disk.
# Bind LUKS with TPM2
sudo clevis luks bind -d /dev/sda2 tpm2 '{}'

sudo clevis luks list -d /dev/sda2
1: tpm2 '{"hash":"sha256","key":"ecc"}'
Clevis Hook settings
Configure Clevis to run at startup.
# Add clevis hook
sudo sed -i -E '/^HOOKS=.*\bclevis\b/! s/^(HOOKS=\([^)]*)\bencrypt/\1 clevis encrypt/' /etc/mkinitcpio.conf.d/omarchy_hooks.conf

# Verify configuration
grep -E '^HOOKS=' /etc/mkinitcpio.conf.d/omarchy_hooks.conf
# ⇒ HOOKS=(... clevis encrypt ...)
HOOKS=(base udev plymouth keyboard autodetect microcode modconf kms keymap consolefont block  clevis encrypt filesystems fsck btrfs-overlayfs)
Regenerate initramfs
Regenerate initramfs.
# Regenerate initramfs
sudo mkinitcpio -P

# Verify clevis modules are included
lsinitcpio -a /boot/initramfs-linux.img | grep -Ei '(clevis|tpm2|tss2|jose)'
Restart
Reboot to apply the changes.
# Reboot to apply changes
sudo shutdown -r now
If you are not prompted to enter the password to unlock the disk after rebooting, it was successful.
Digression
I also included the steps in the official discussion. https://github.com/basecamp/omarchy/discussions/1283
Conclusion
This article introduced how to install Omarchy 2.0. I have only been using Omarchy for about two weeks, but the development experience has been so good that I do not think I will be able to give it up.
Try it if you are interested.