
Addendum (2025/9/6)
Omarchy 2.0 has been released. Starting with 2.0, ISO images are available, making Omarchy easier to install. See the article below for the latest steps. https://www.munenick.me/blog/omarchy2
Introduction
When I was thinking about building a Linux desktop environment, I came across a project called Omarchy. It is based on Arch Linux and Hyprland and includes various tools.
Previously, I configured Hyprland on NixOS to prepare a Linux desktop environment, but both NixOS and Hyprland required many individual settings, so it took a lot of time to make them comfortable. (It was especially painful that the navigation bar and application launcher were not set up by default…)
Omarchy lets you skip that setup and use a tiling window manager desktop environment immediately after installation.
This article introduces how to build Omarchy, configure Japanese localization, and set up VNC.
What is Omarchy?

Omarchy is an “omakase” remix environment based on Arch Linux + Hyprland developed by DHH (author of Ruby on Rails). It carefully selects and integrates the applications and settings needed for development. It can be built with one command.
Features
Arch Linux based It is based on Arch Linux, so you can use the latest packages and customize the environment freely.
Hyprland adopted
It uses Hyprland, a native Wayland tiling window manager, to provide a polished desktop experience.
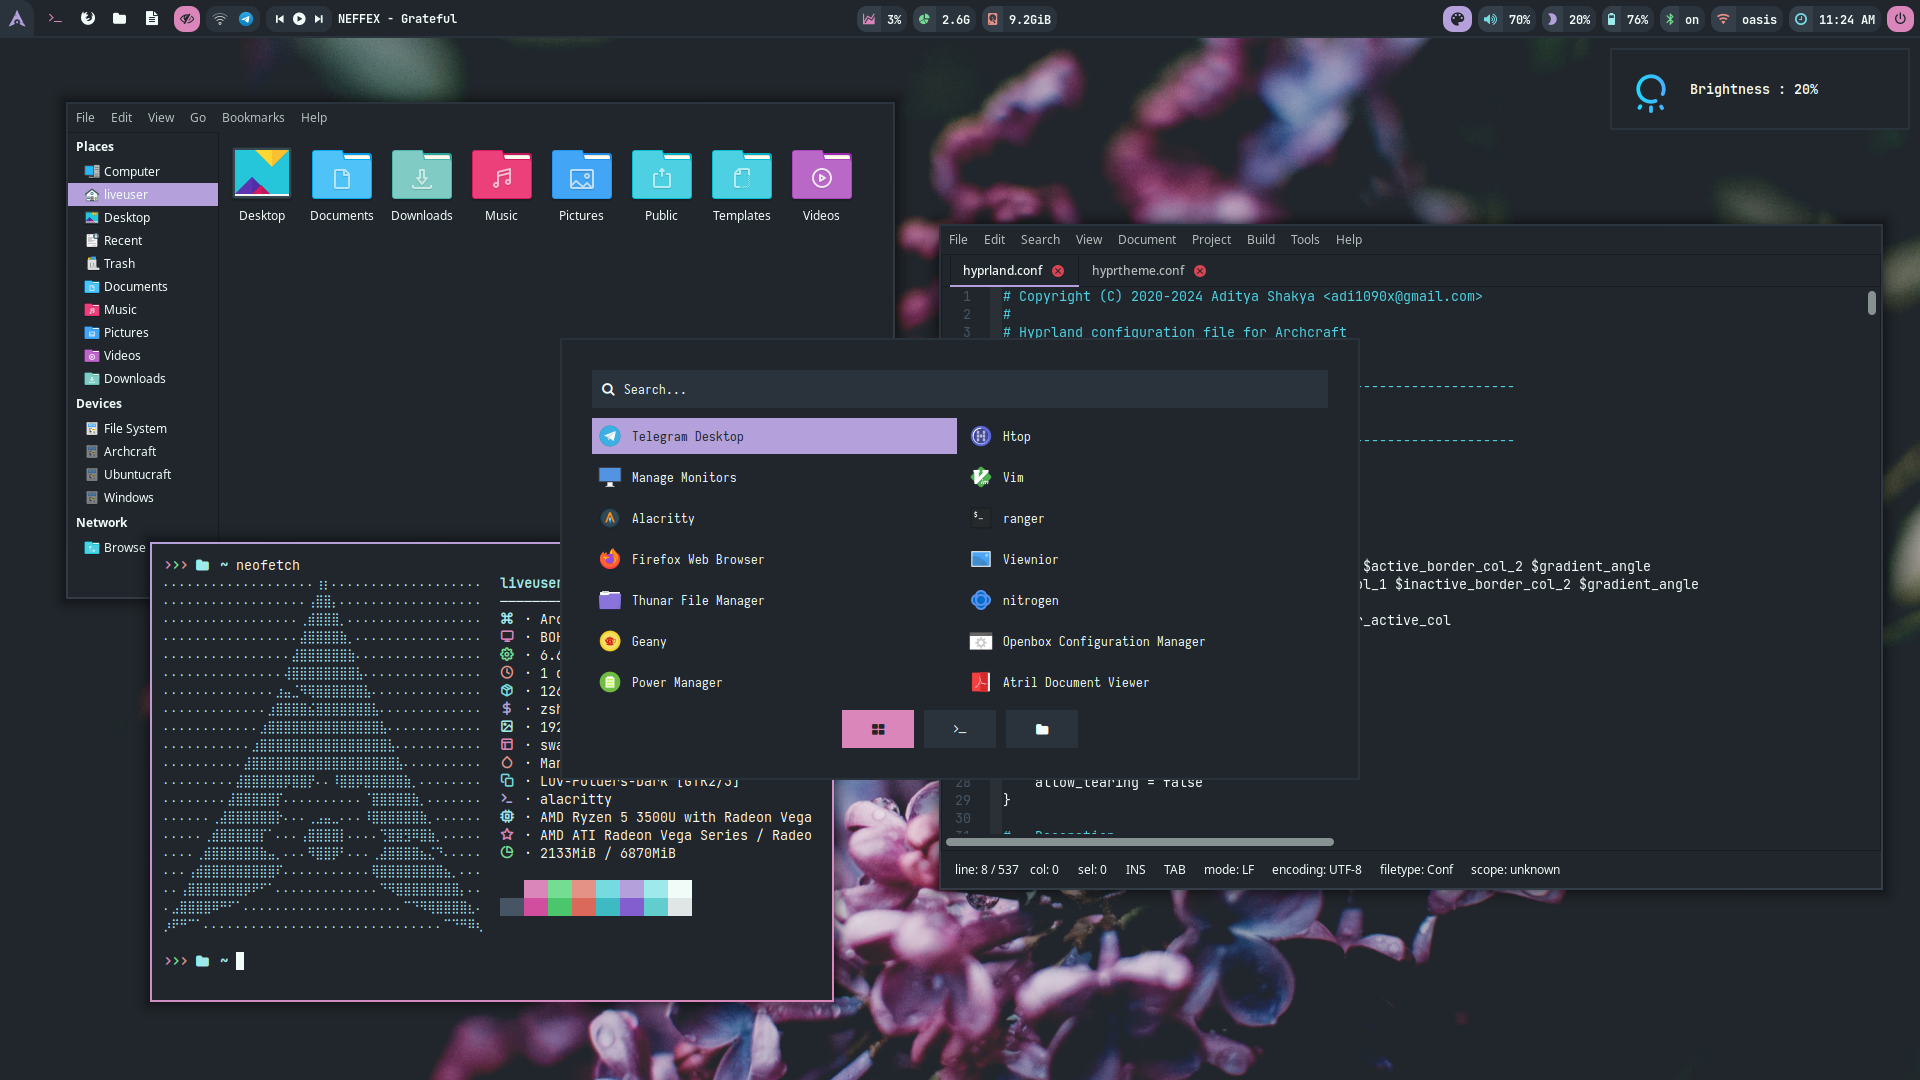
Opinionated design It was created with a clear opinion that “this is a good environment,” so the overall setup feels cohesive. You get an environment that can be used as is without thinking through every detail.
Includes development environment Neovim (with LazyVim configured) is included as the default editor, so you can skip the tedious Neovim setup. Other useful TUI tools include Lazygit, Lazydocker, and Btop.
Arch Linux image download
Visit the link below.

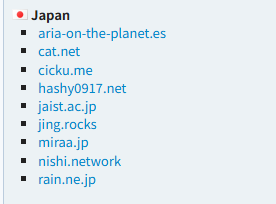
Scroll down and visit any regional mirror site.
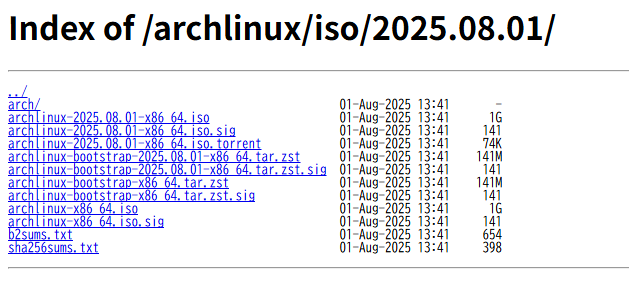
Click “archlinux-x86_64.iso” and download the ISO.
Prepare USB installer (optional)
When installing on a server or PC, create a USB installer from Windows or macOS. Create the installer with a tool such as Rufus or balenaEtcher.
Official procedure:
After creating the installer, connect it to the server or PC and boot from it. If you are using a virtual machine, skip this step. Instead, mount the ISO to your virtual machine.
Once mounted, boot the machine.
Click “Arch Linux install medium”. (It will start automatically if you leave it alone.)
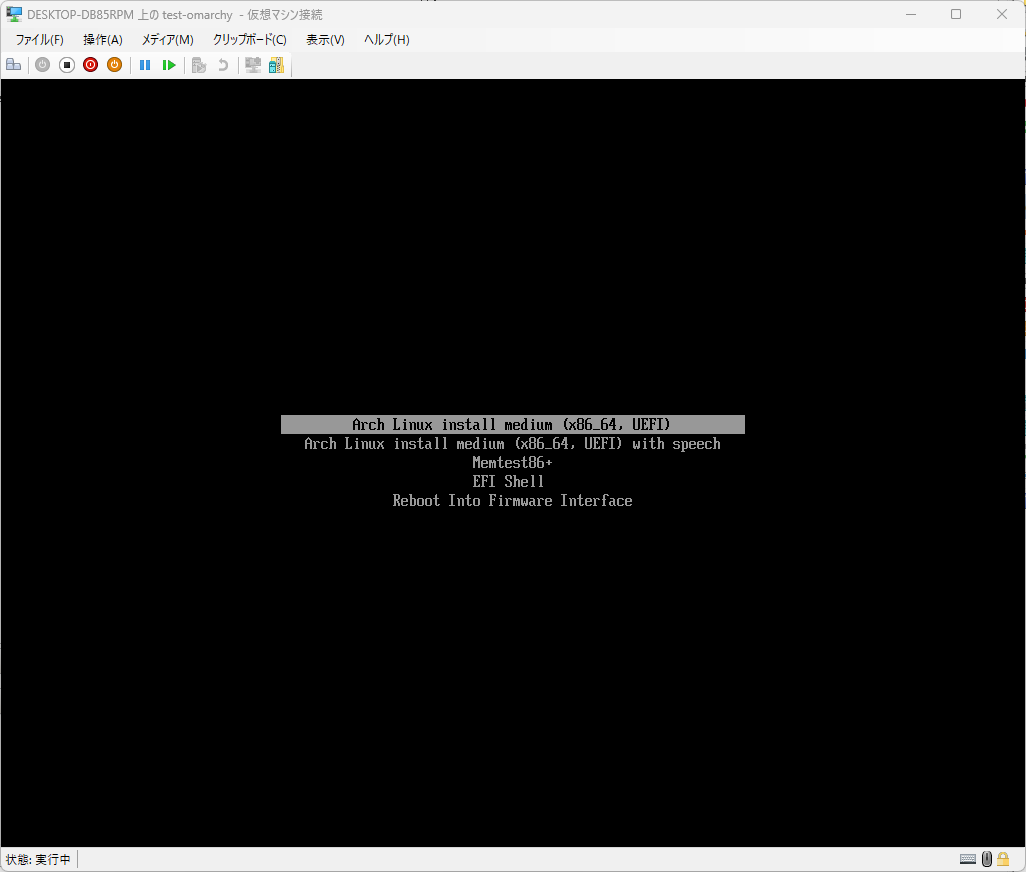
Installing Arch Linux
This is the installation procedure for Arch Linux. If you can install it on your own, you can skip this section. For this article, I am building it on a Hyper-V virtual machine. The same procedure should work on a server or PC.
Pre-installation network settings
When you start the machine, a shell opens. You can configure the installation from here.
You can see that the installation flow is different from Ubuntu and similar distributions.
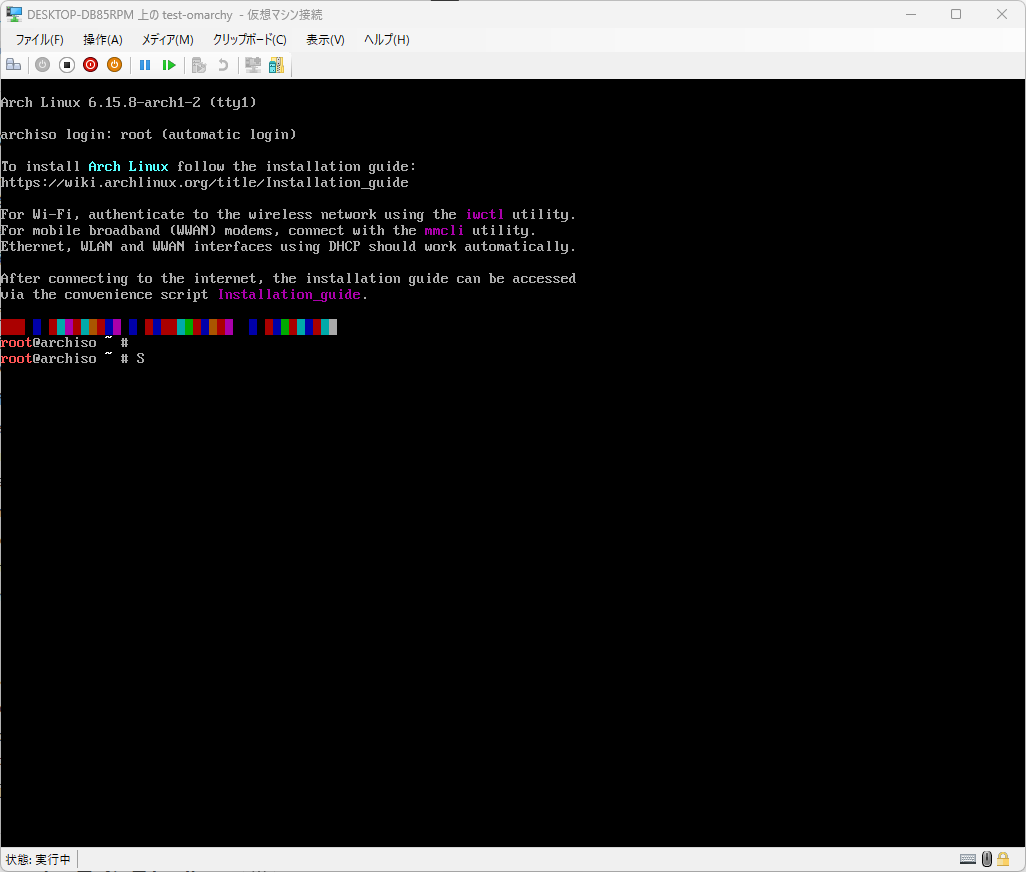
Configure network settings. No special settings are required if you are using wired networking and DHCP is available. When using Wi-Fi, refer to the following site for setup. Reference site:


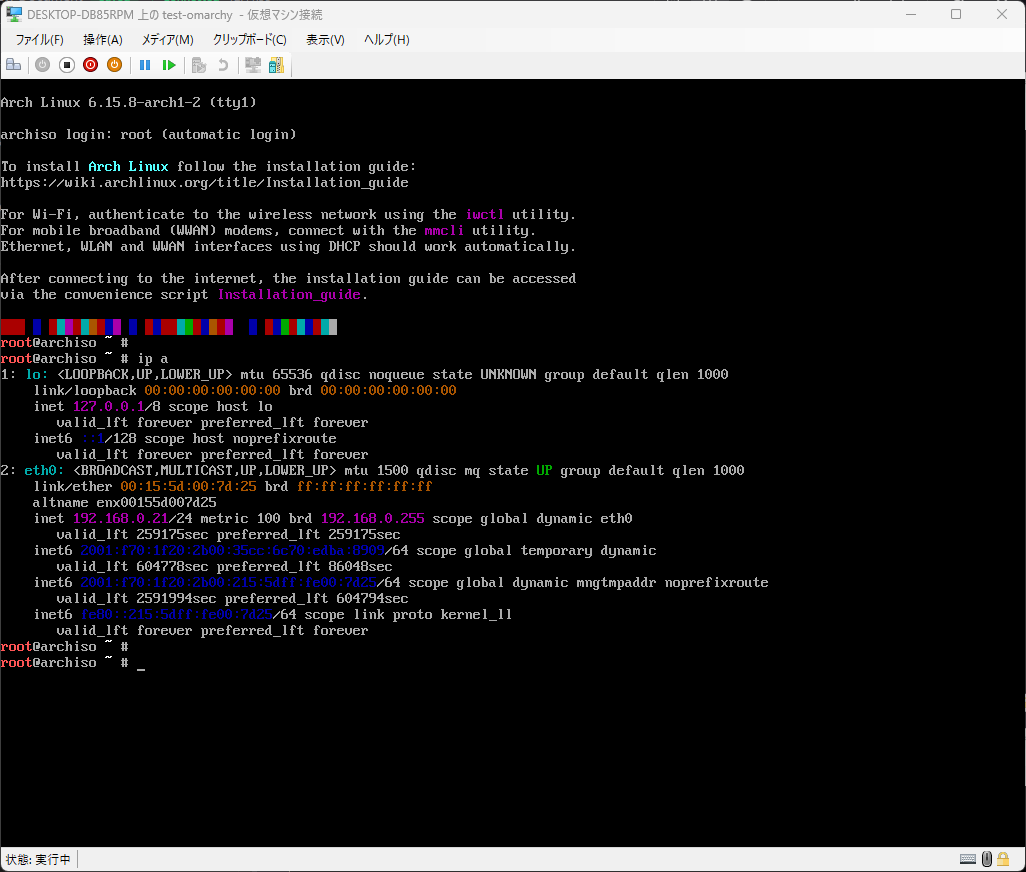
After completing the network settings, send a ping to test connectivity.
ping archlinux.org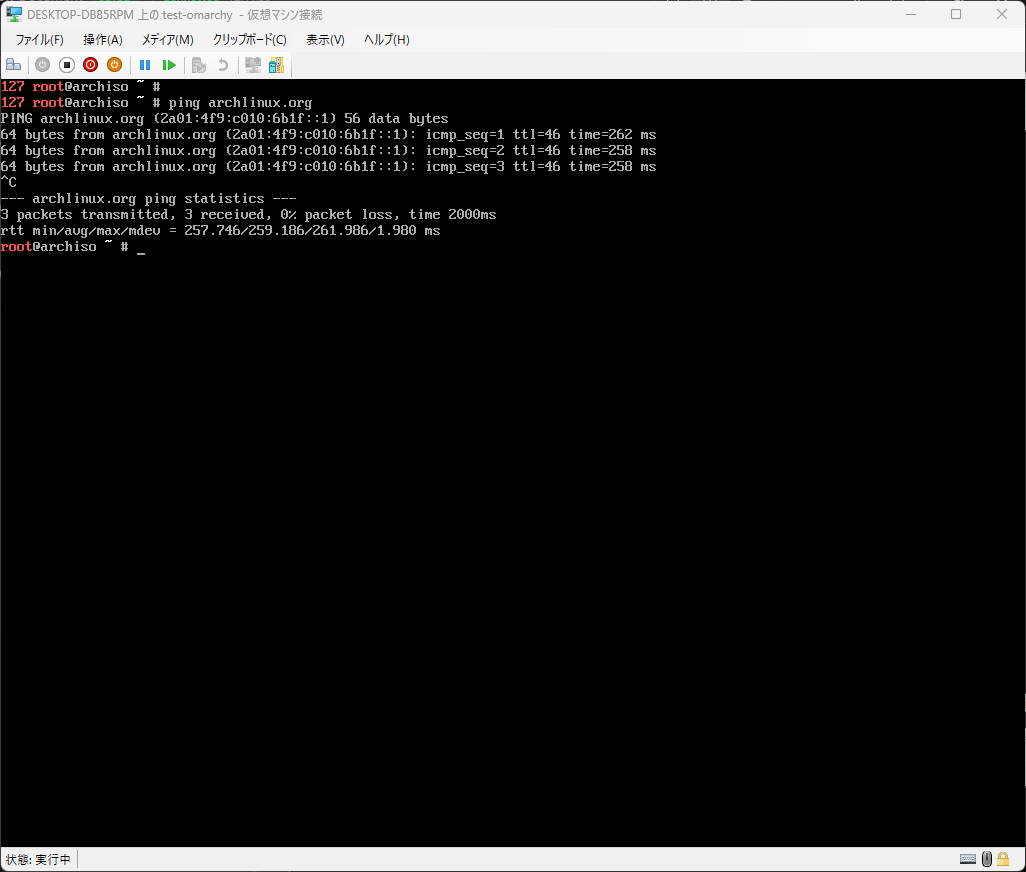
Arch Linux installation settings
There are multiple ways to install Arch Linux. It is also possible to customize the settings and build your own Arch Linux environment from this shell.
Here we will use a simple TUI-based installation method. Enter the following command to start the installation TUI.
archinstall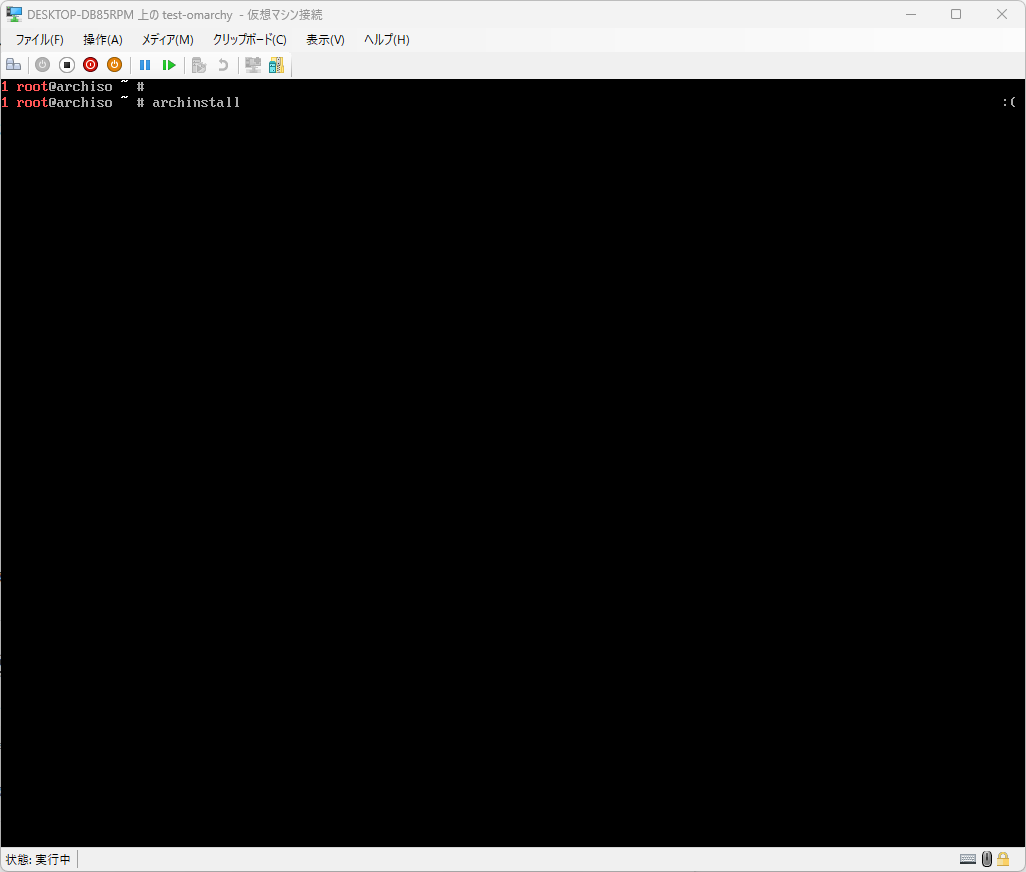
Once the TUI starts, configure the OS installation settings.
Here we will use Omarchy’s recommended procedure.

Change the settings as needed for your environment.
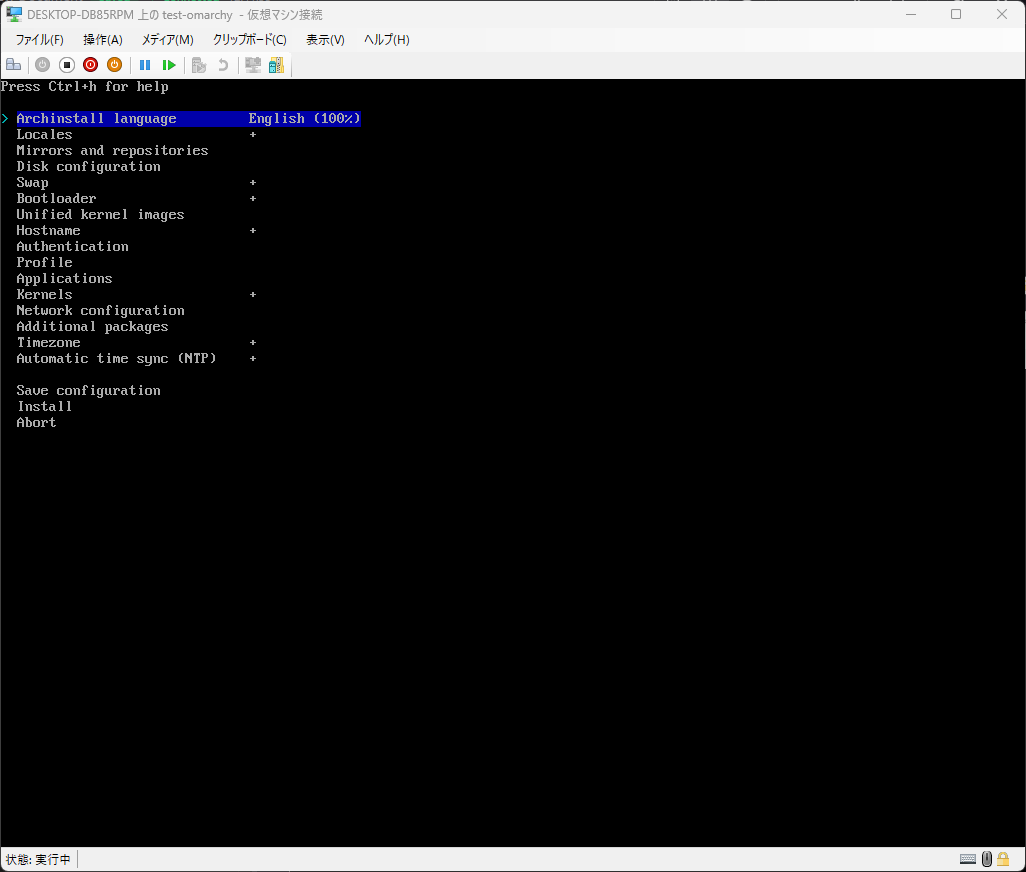
Change the keyboard layout
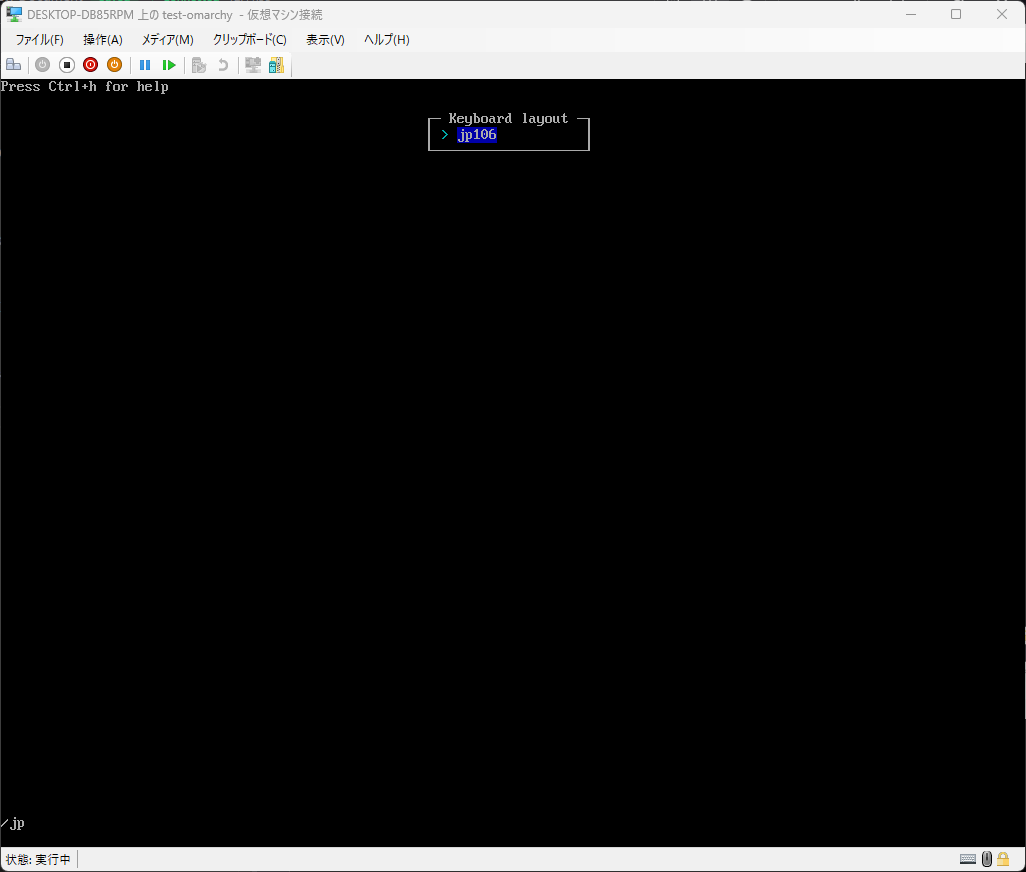
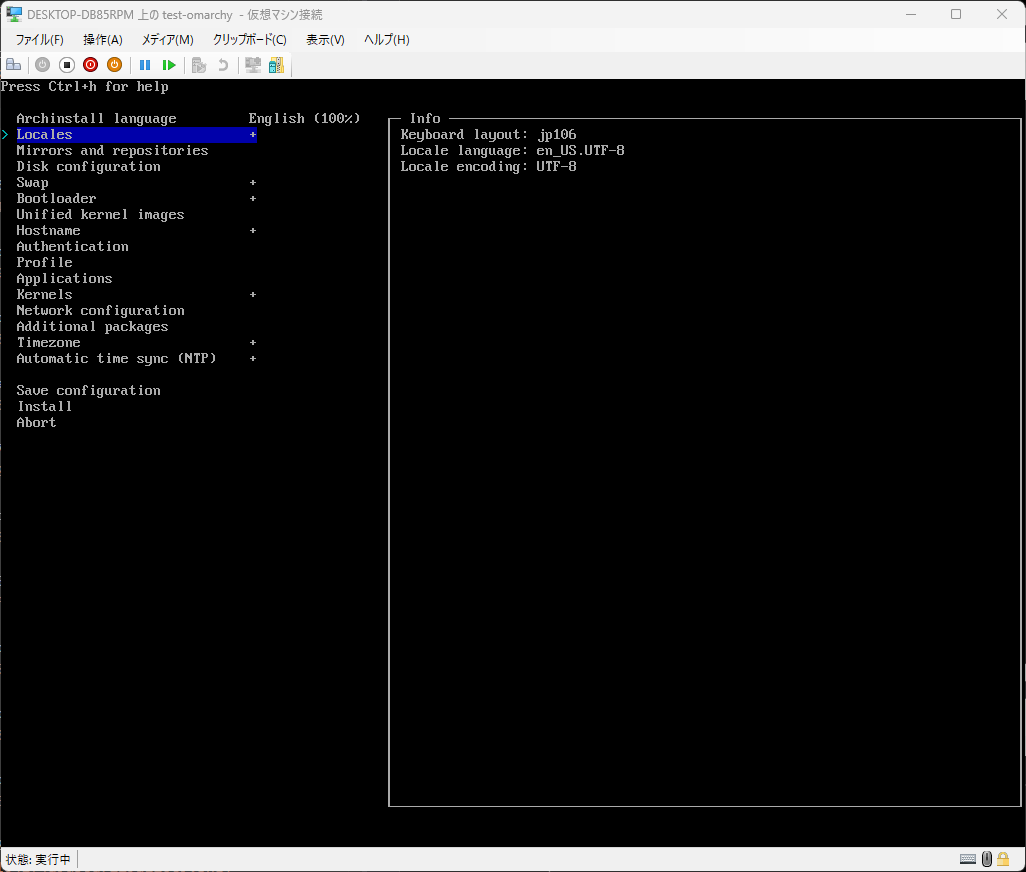
Change the keyboard layout. Select Locales → Keyboard layout.
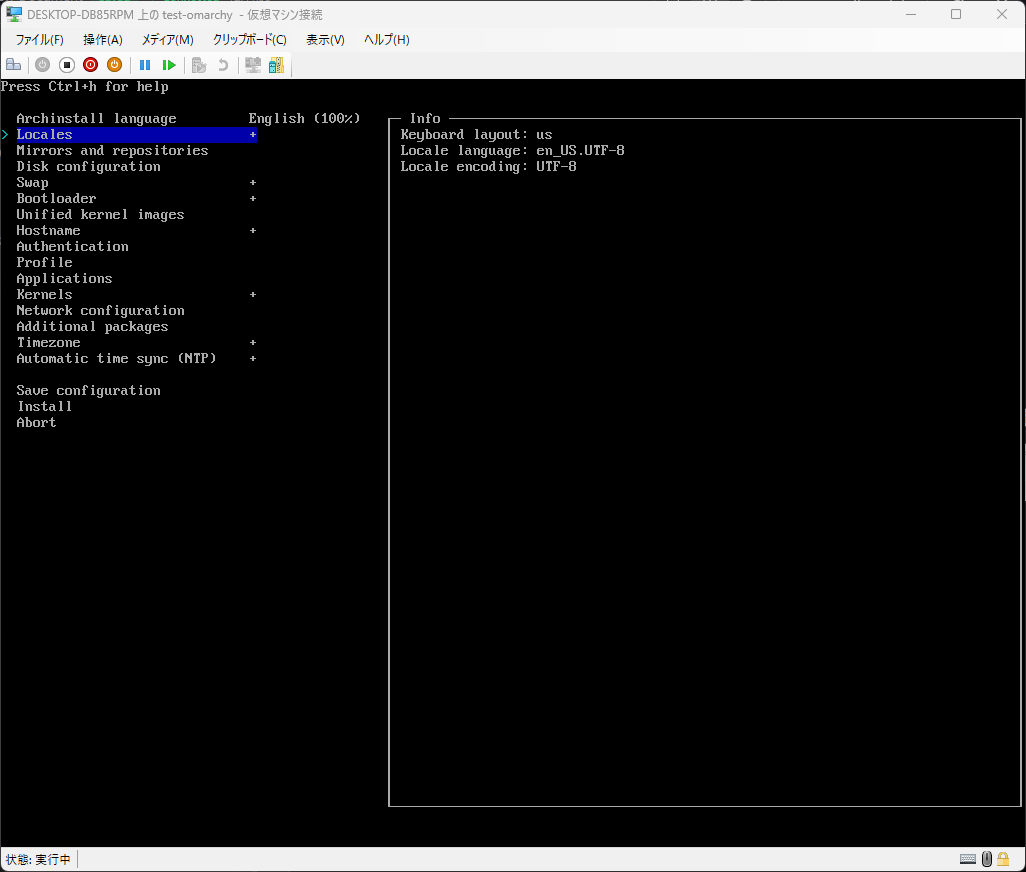
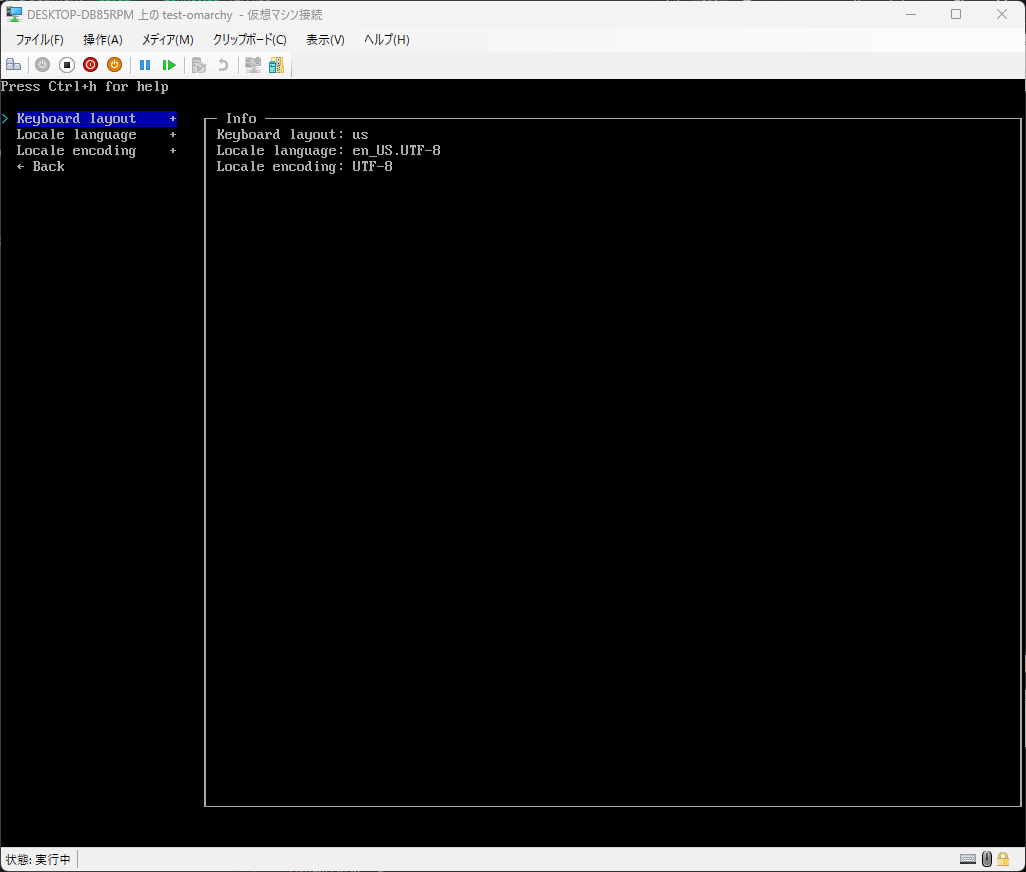
When the layout list is displayed, set your keyboard layout. If you are using a Japanese keyboard, enter “/jp” and select “jp106”.
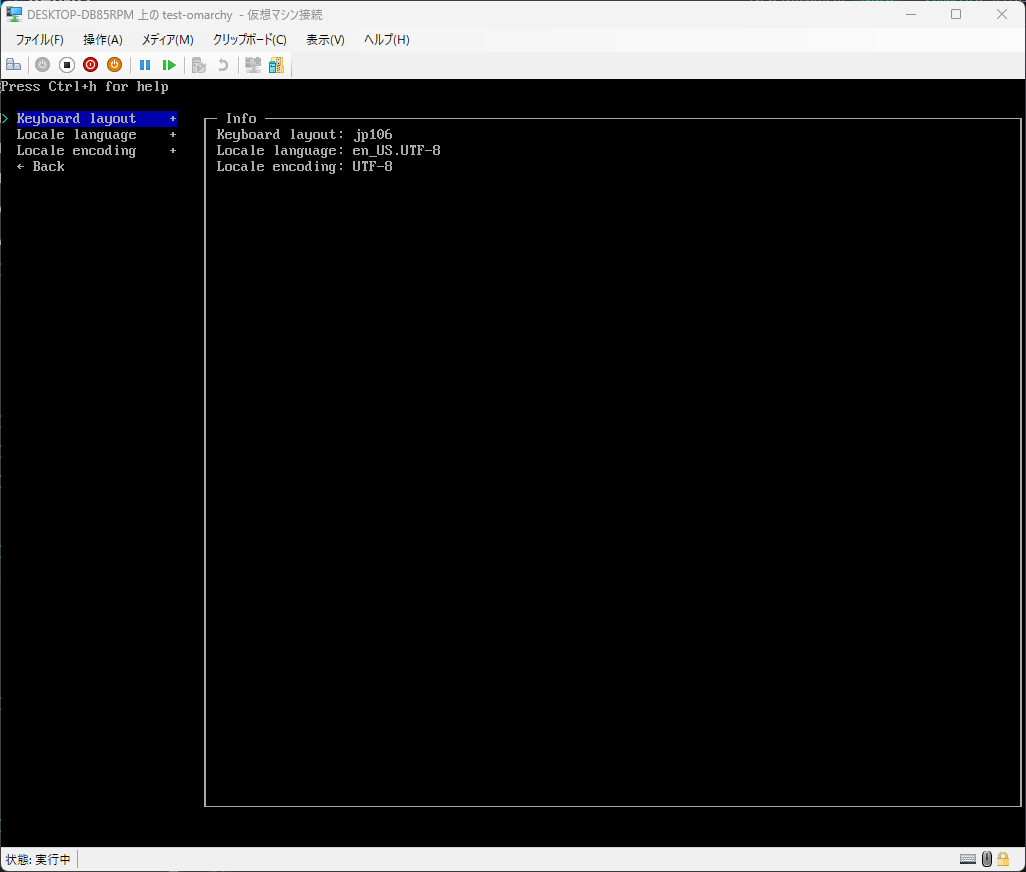
Confirm that the keyboard layout has been changed and select “Back”.
Mirror settings
Select the server used during OS installation. Select Mirrors and repositories → Select regions.
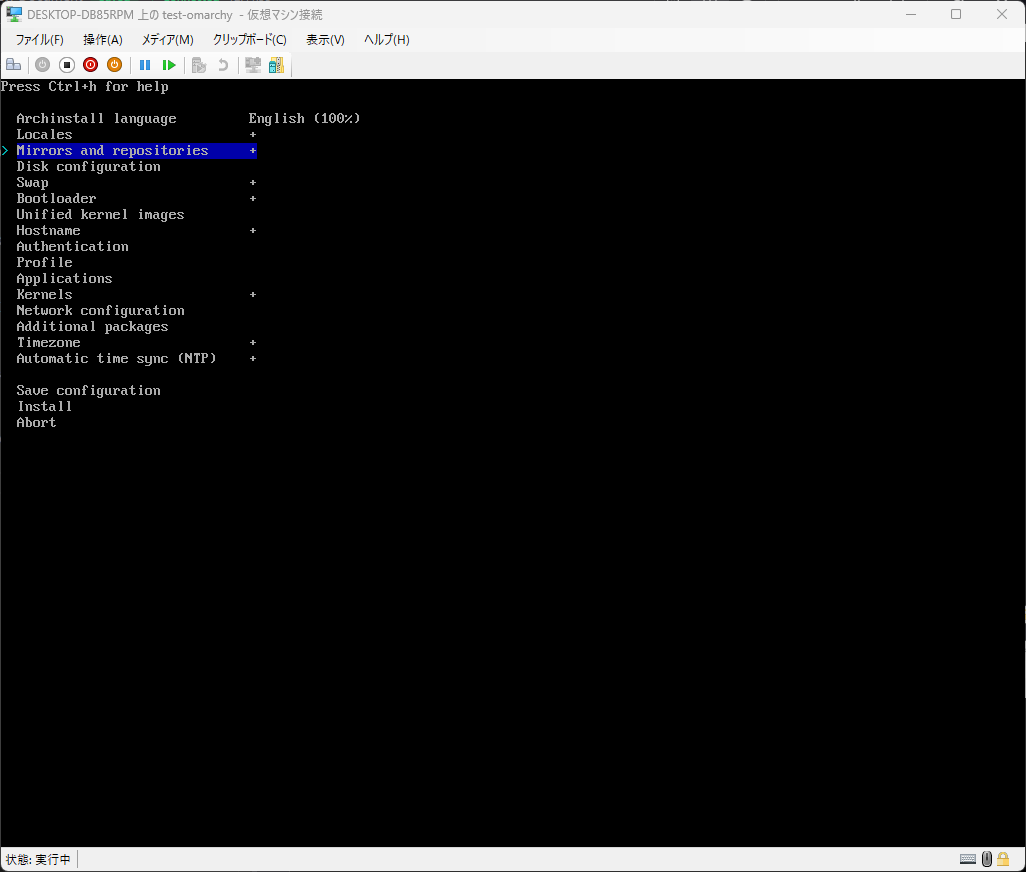
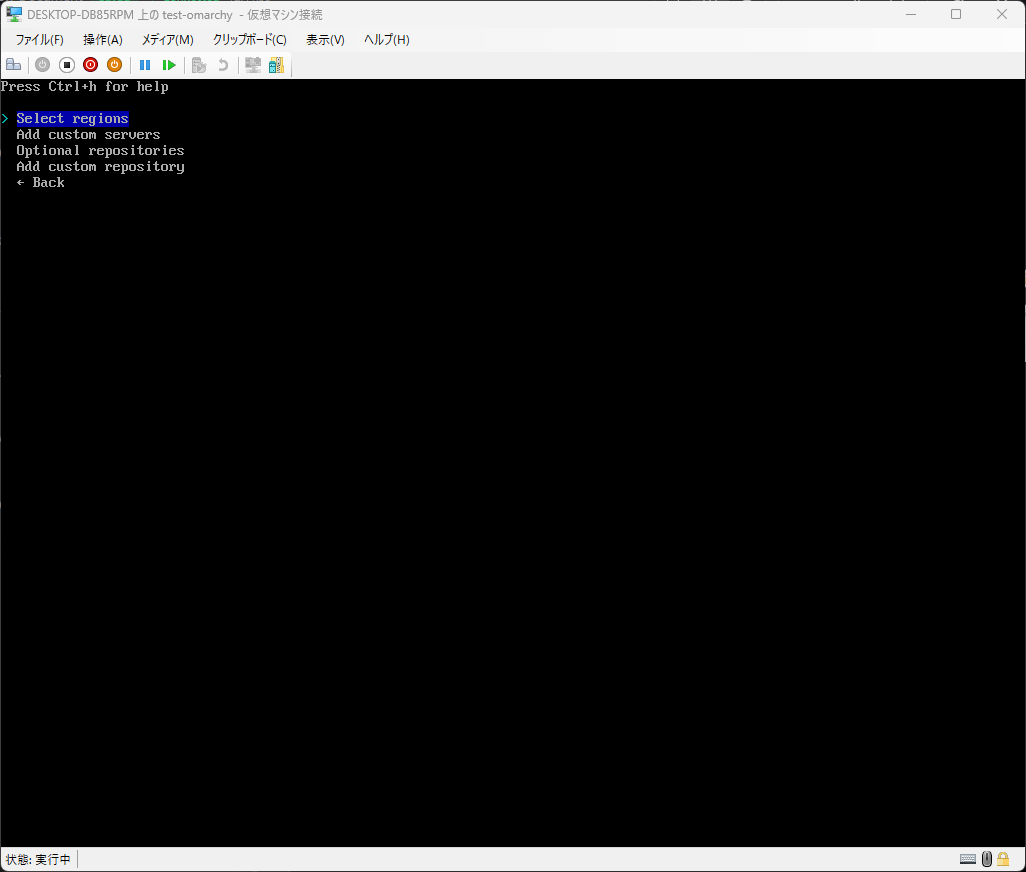
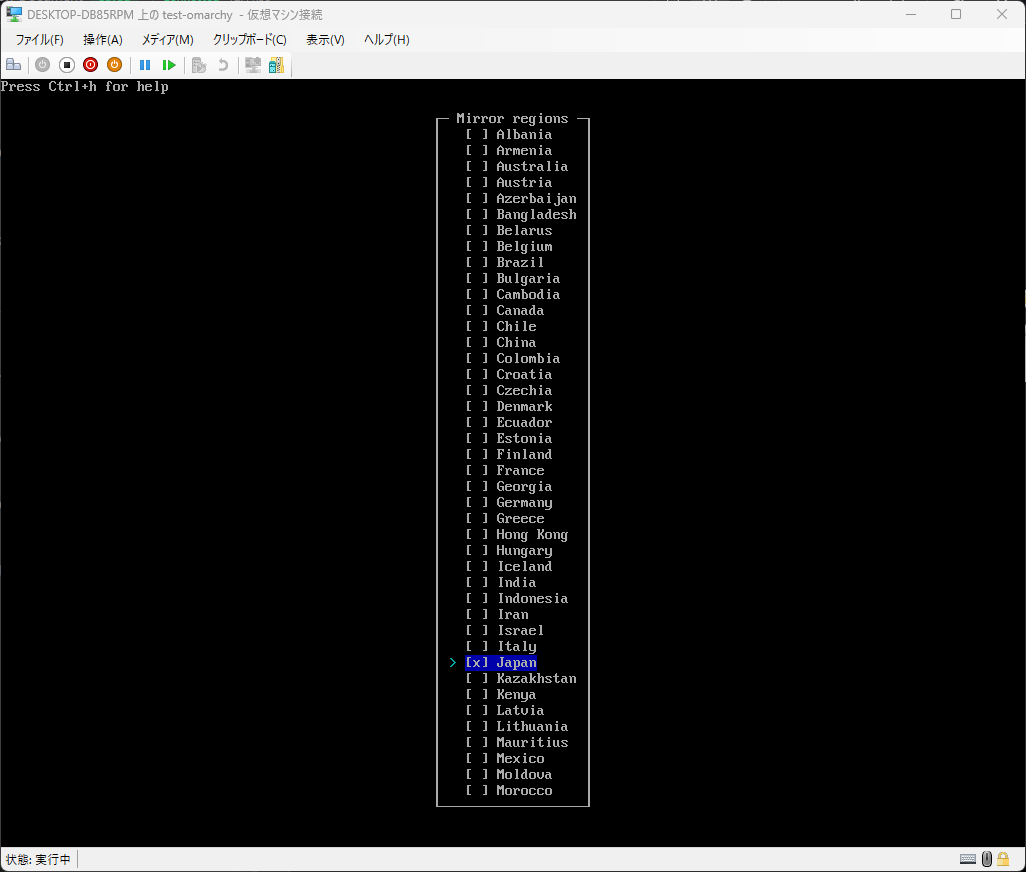
Select your country or region. For Japan, select “Japan”.
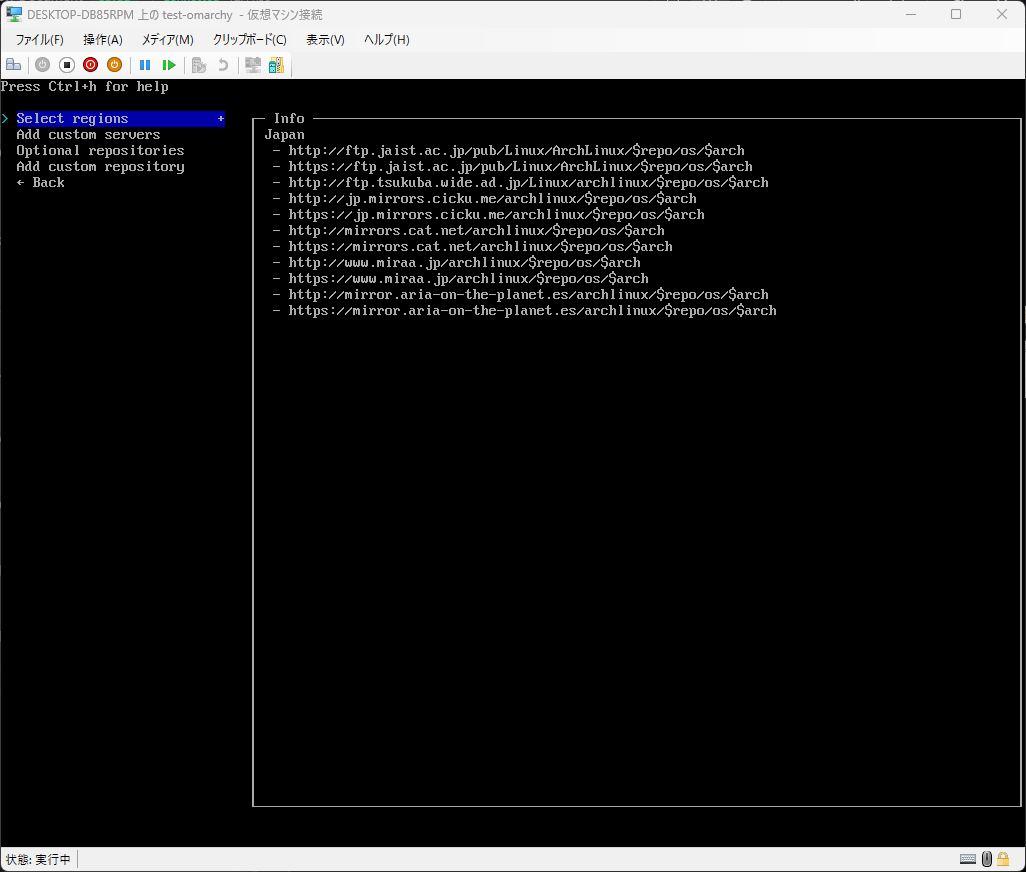
Make sure your region is selected and select Back.
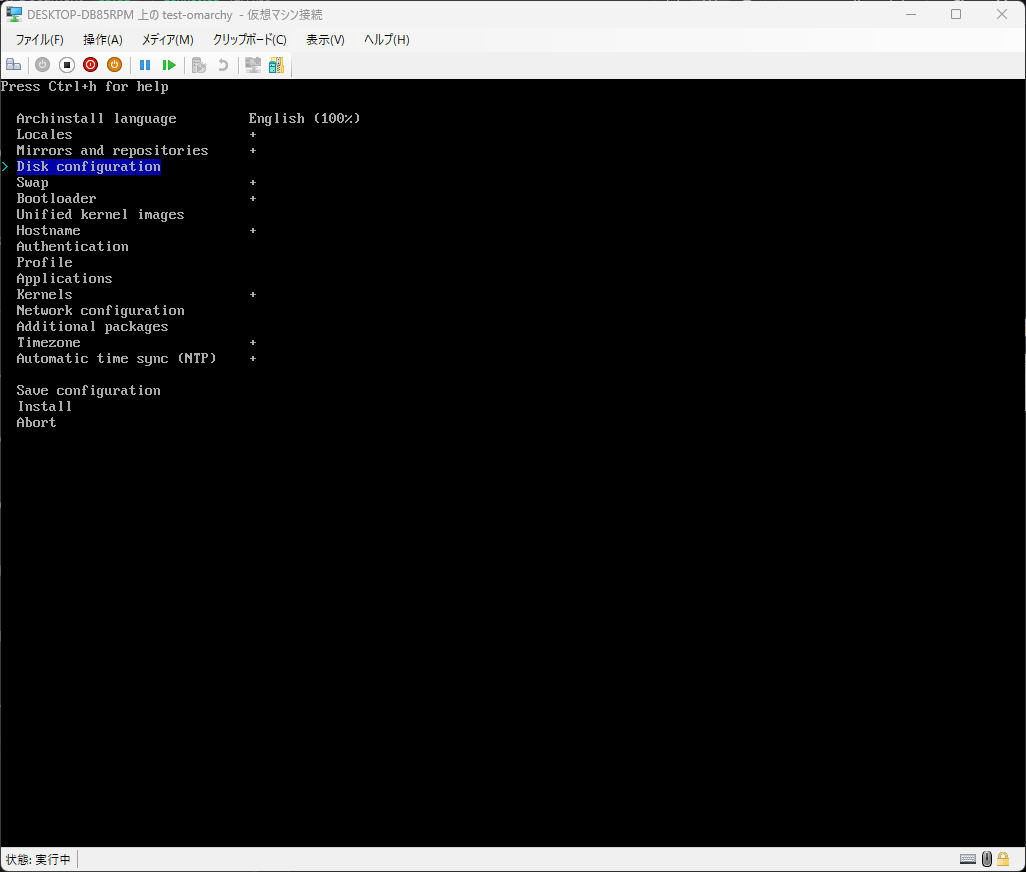
Disk settings
Configure the disk settings during OS installation.
Partition creation
First, create a partition. Select Disk configuration → Partitioning.
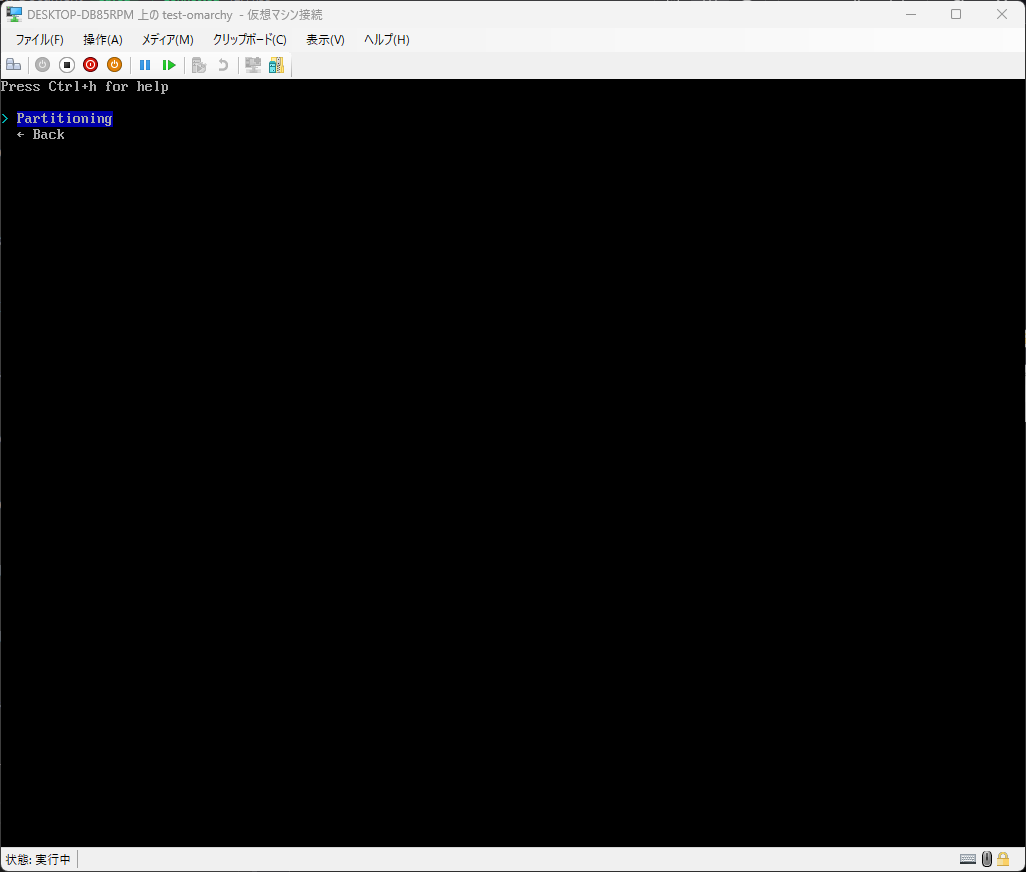
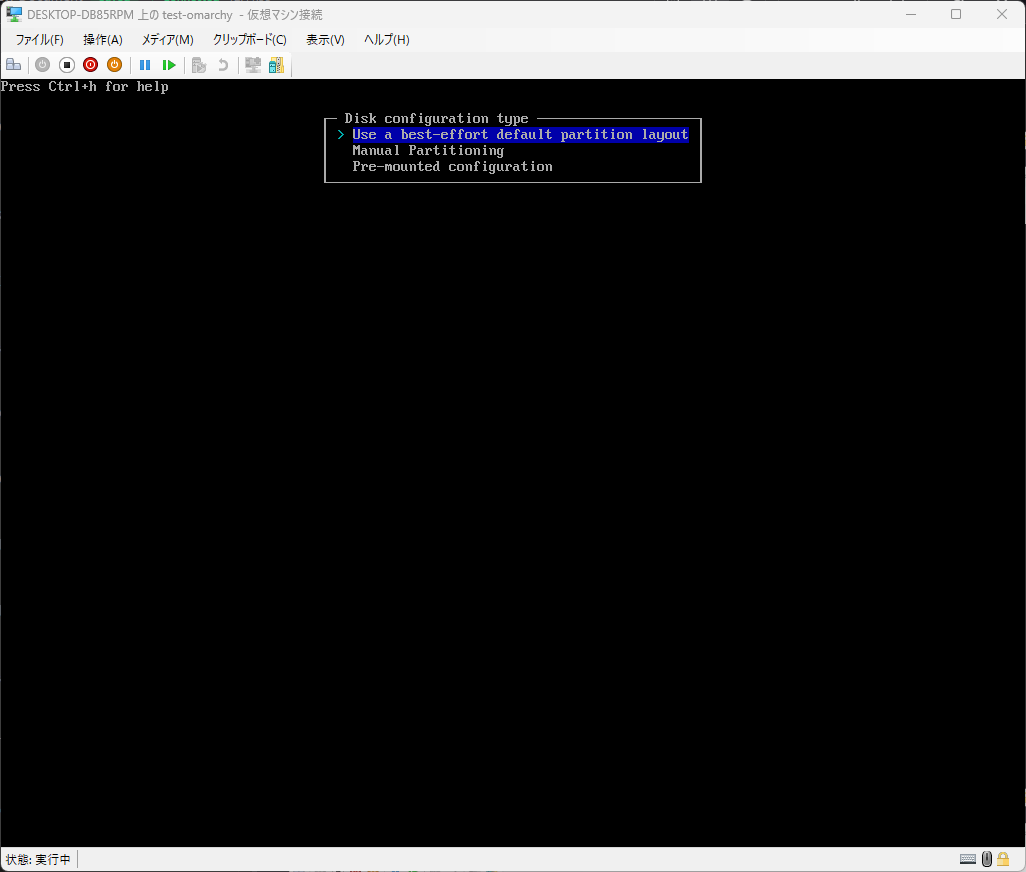
Select “Use a best-effort default partition layout.” If you want to adjust the partitions manually, select “Manual Partitioning”.
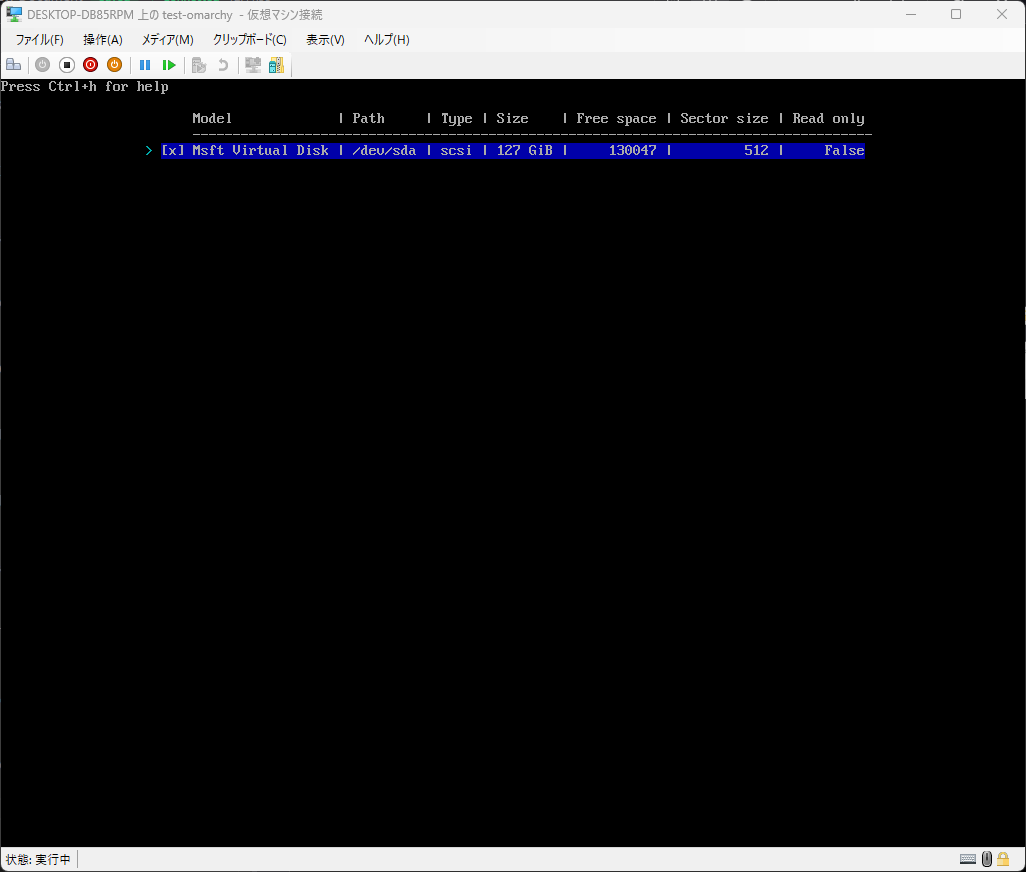
A list of disks will be displayed. Select the disk where you want to install the OS using the Space key. *If more than one disk is displayed, be careful not to select the wrong installation destination.
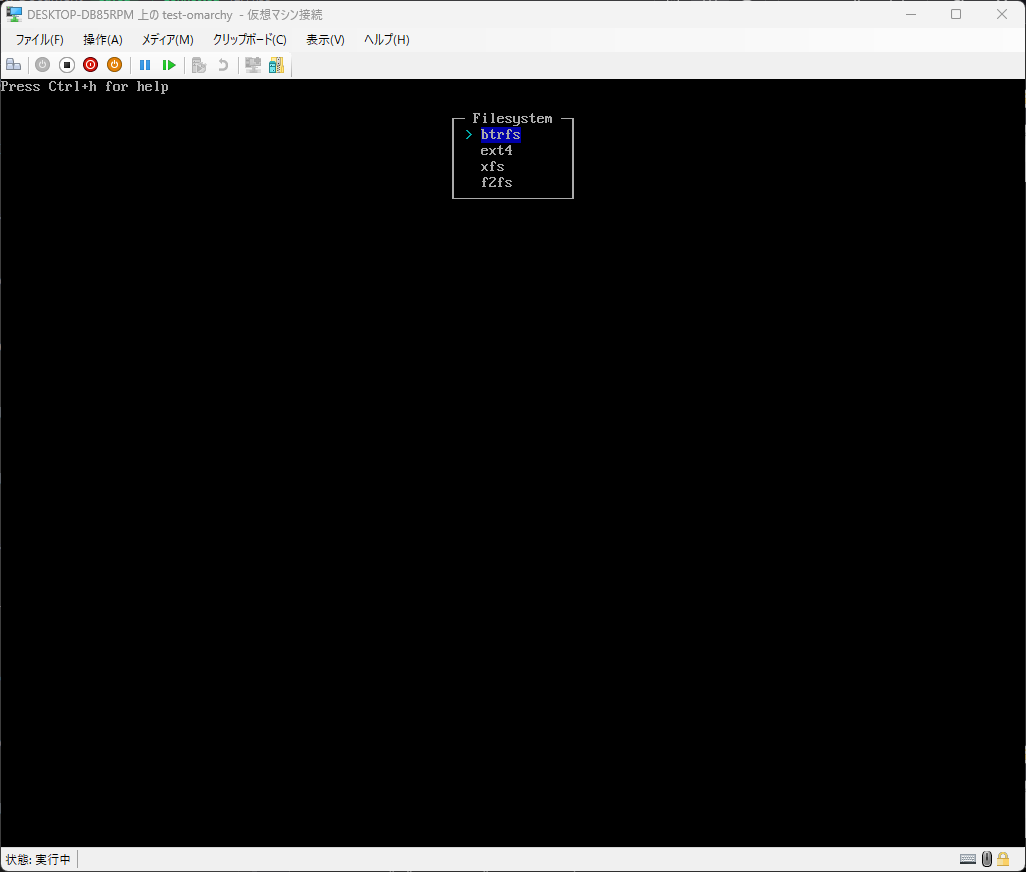
Select a format method. Here, select “btrfs”.
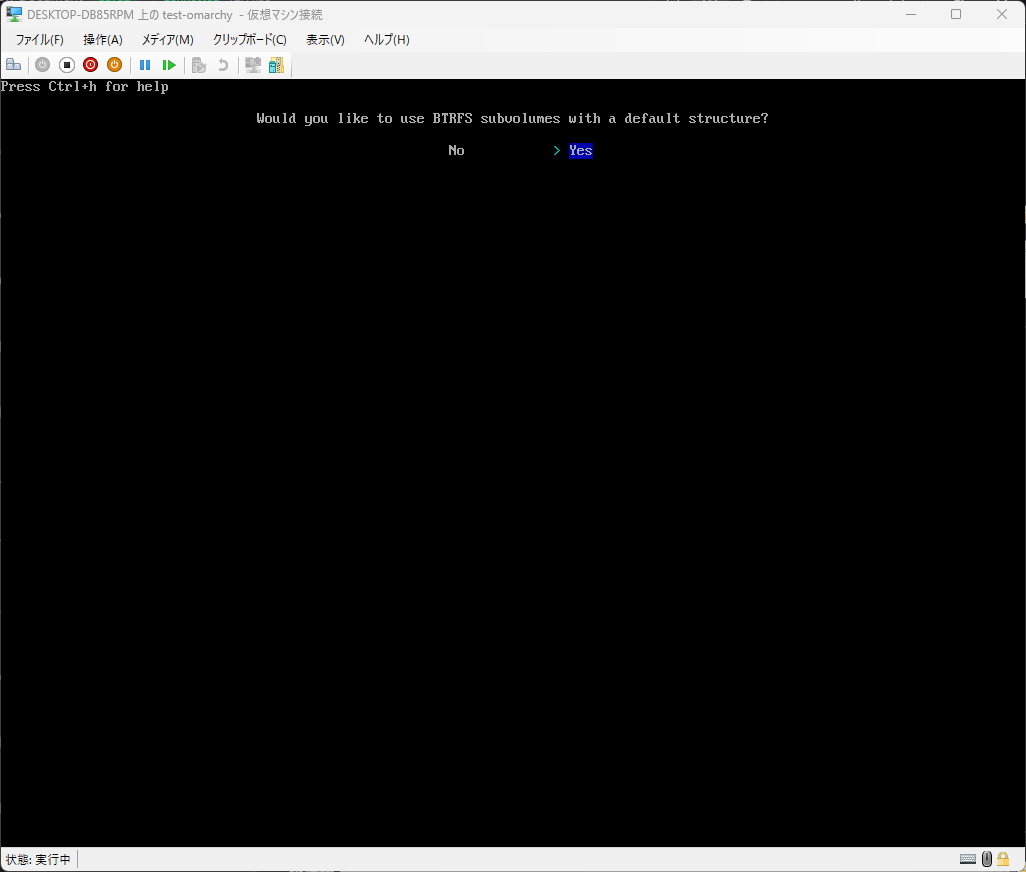
Select Yes when asked if you want to use the default volume configuration.
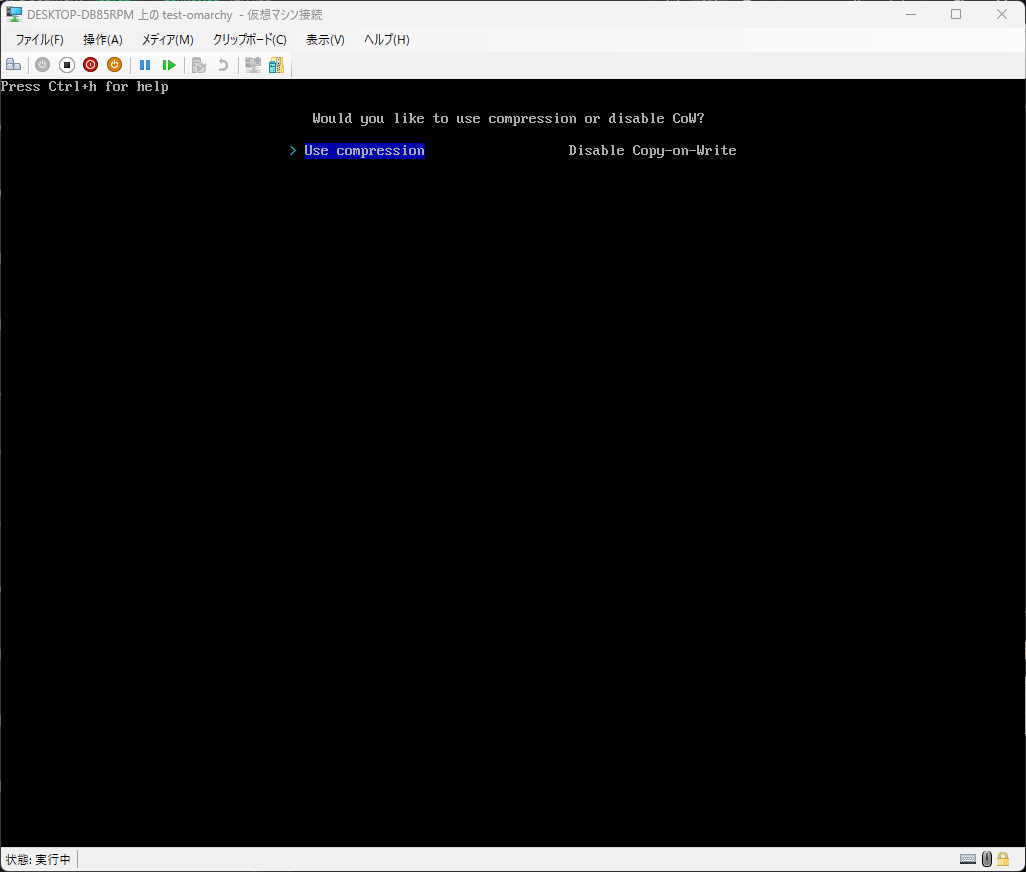
You will be asked if you want to use compression, so select “Use compression”.
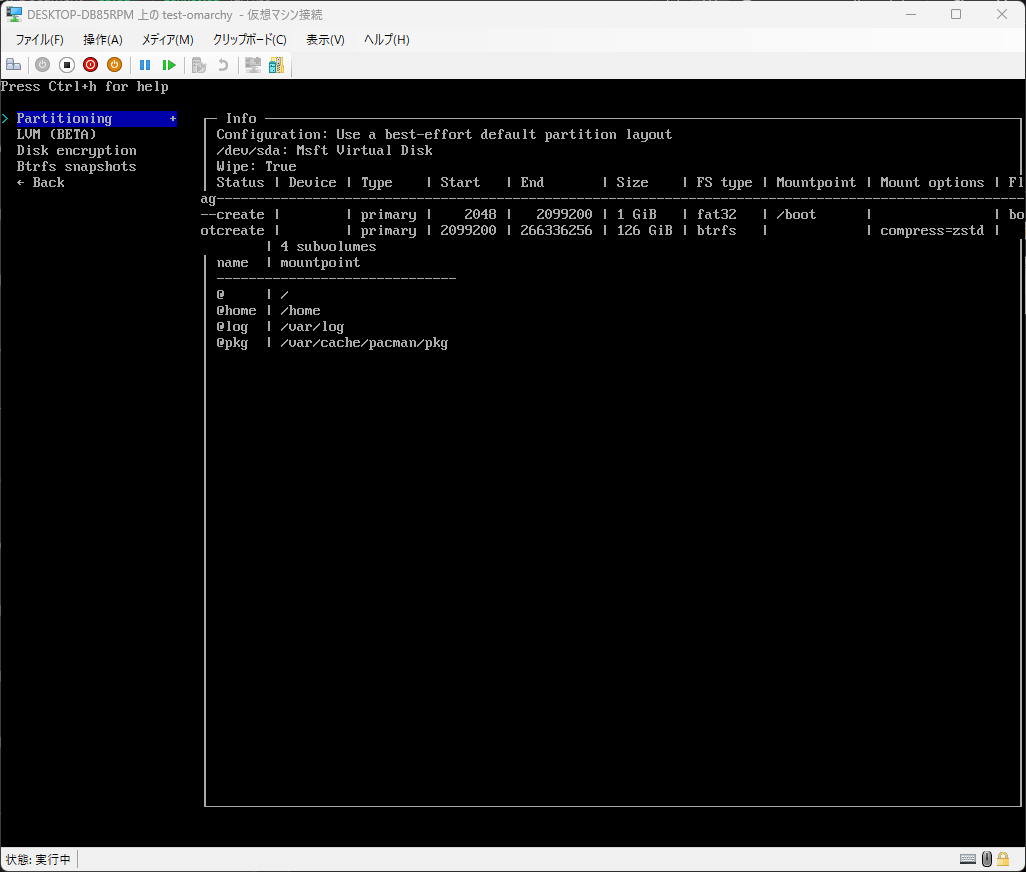
Verify that the partition was created.
Disk encryption (recommended)
Encrypt the disk. Omarchy seems to recommend disk encryption.
Please note that disk encryption must be configured to use Omarchy as designed. With this configuration, the user is automatically logged in after the disk is decrypted at startup, so the device’s security relies solely on disk encryption.
We have confirmed that Omarchy works without disk encryption, but from a security perspective, we recommend performing this procedure (disk encryption) when installing it on a portable device such as a laptop. The password set in this procedure essentially becomes the password for logging into the PC/server. (On the other hand, if you do not perform this procedure, the OS can be accessed without a password.)
For remote systems such as servers in data centers or stationary PCs where you do not touch the physical console, disabling encryption is also an option. This is because if disk encryption is enabled, systemd will not start and you will not be able to connect to SSH/VNC until you enter the decryption password on the physical console after rebooting.
If you want to avoid physical input while maintaining encryption, consider remote decryption using initramfs (e.g. Dropbear) or automatic decryption using TPM/FIDO2.
Select Disk encryption.
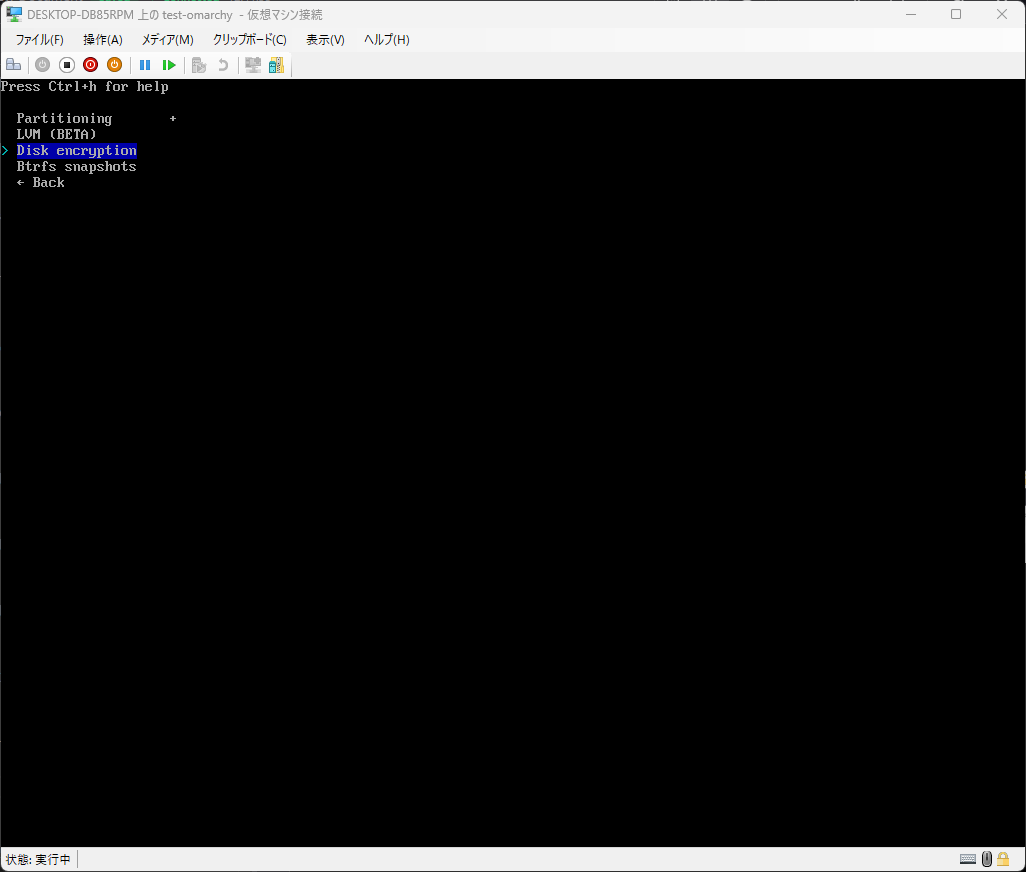
Select Encryption type.
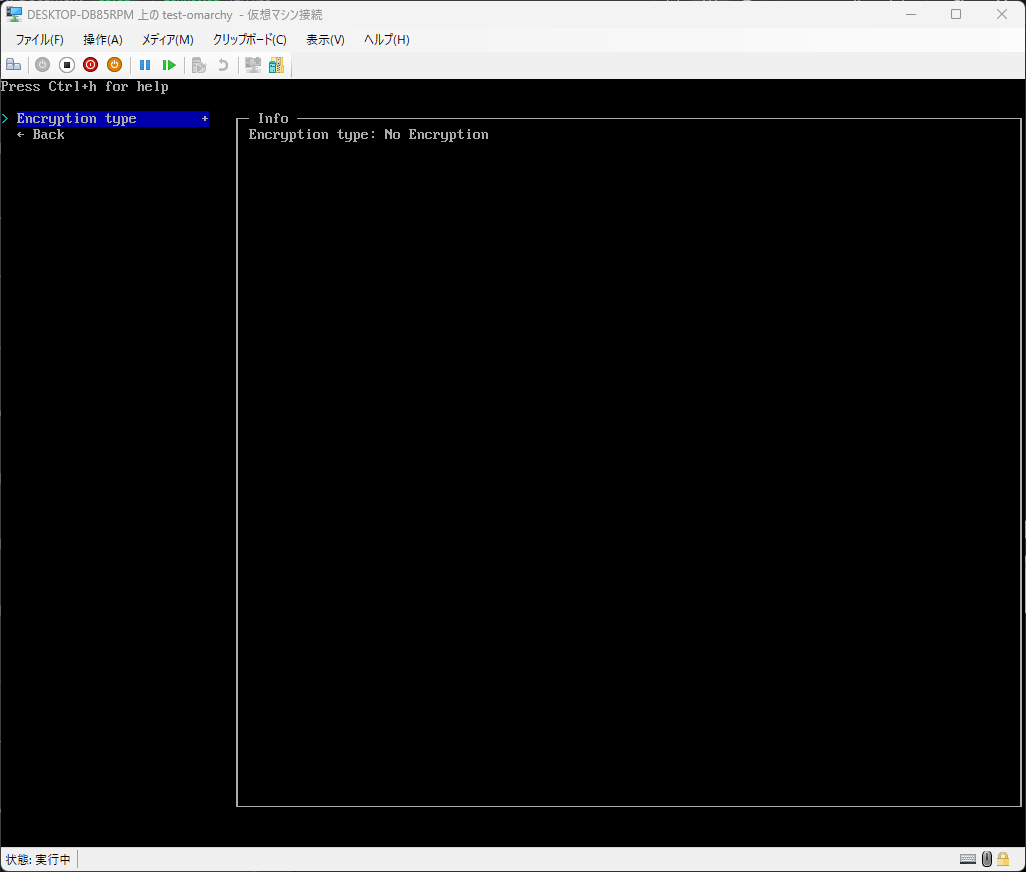
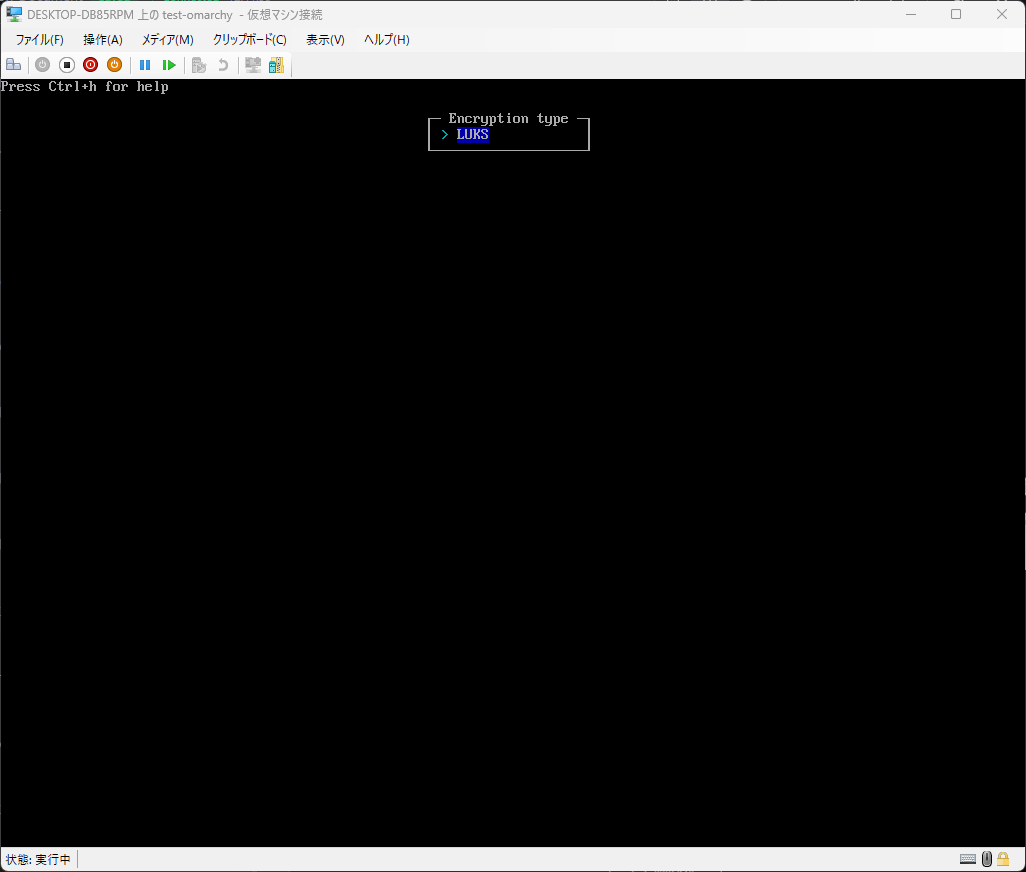
Select “LUKS”.
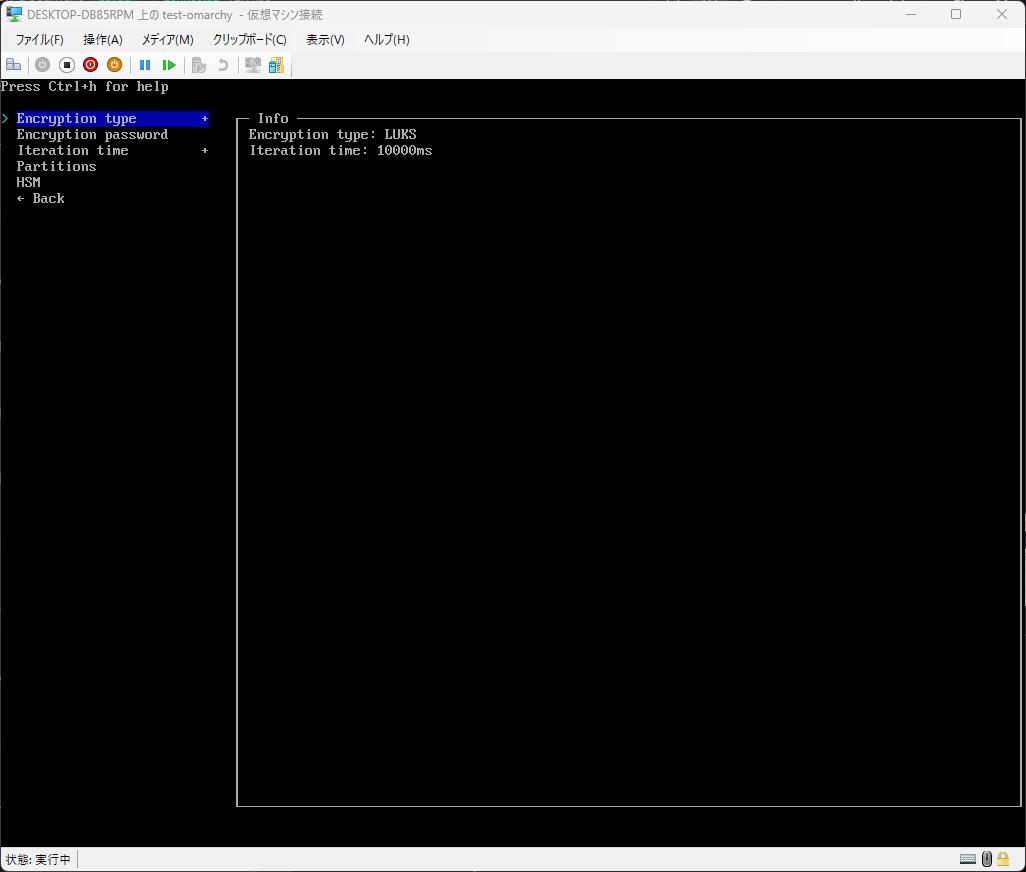
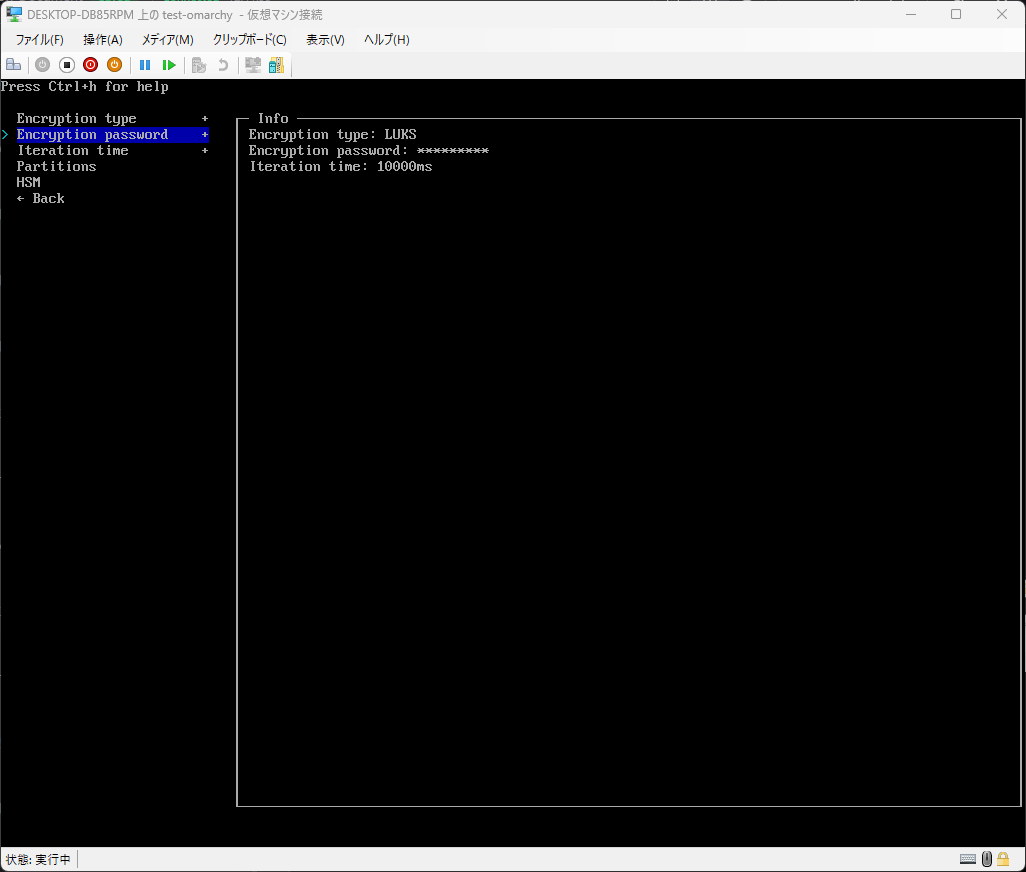
Select Encryption password.
Enter the disk encryption password. This password essentially becomes the password for logging into your PC/server.
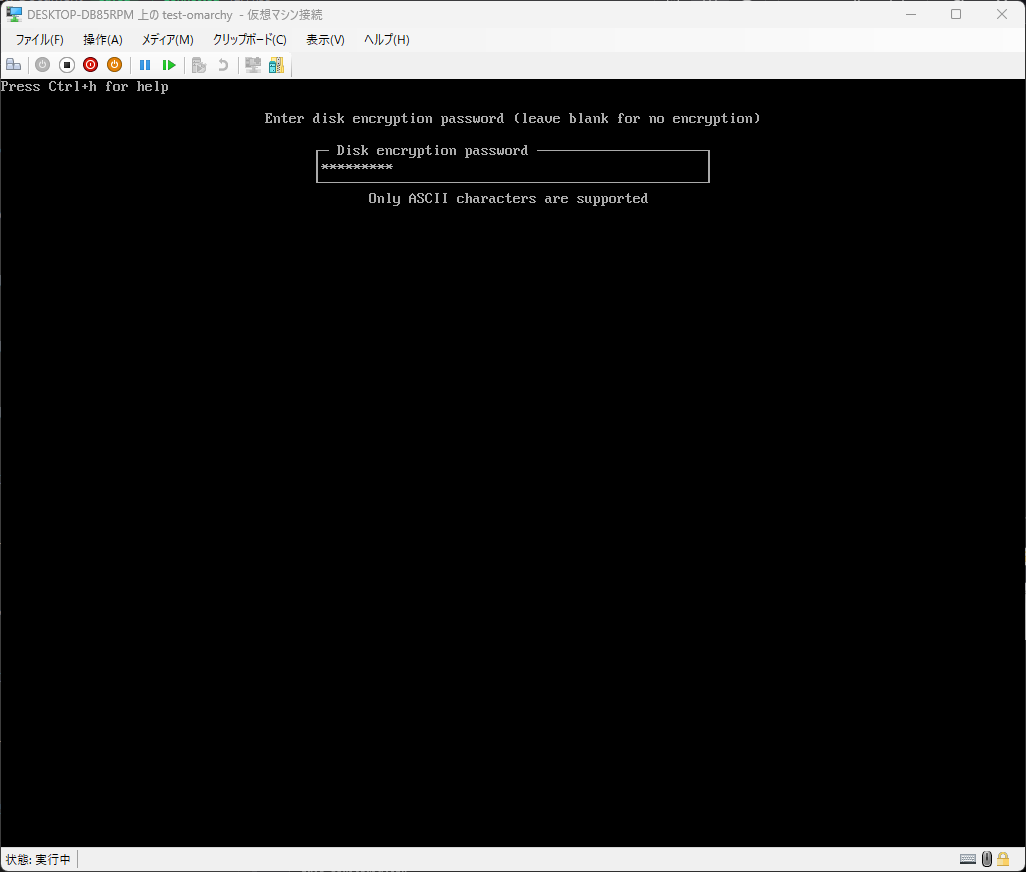
Confirm that the encryption settings are configured and select “Back”.
Setting the host name (optional)
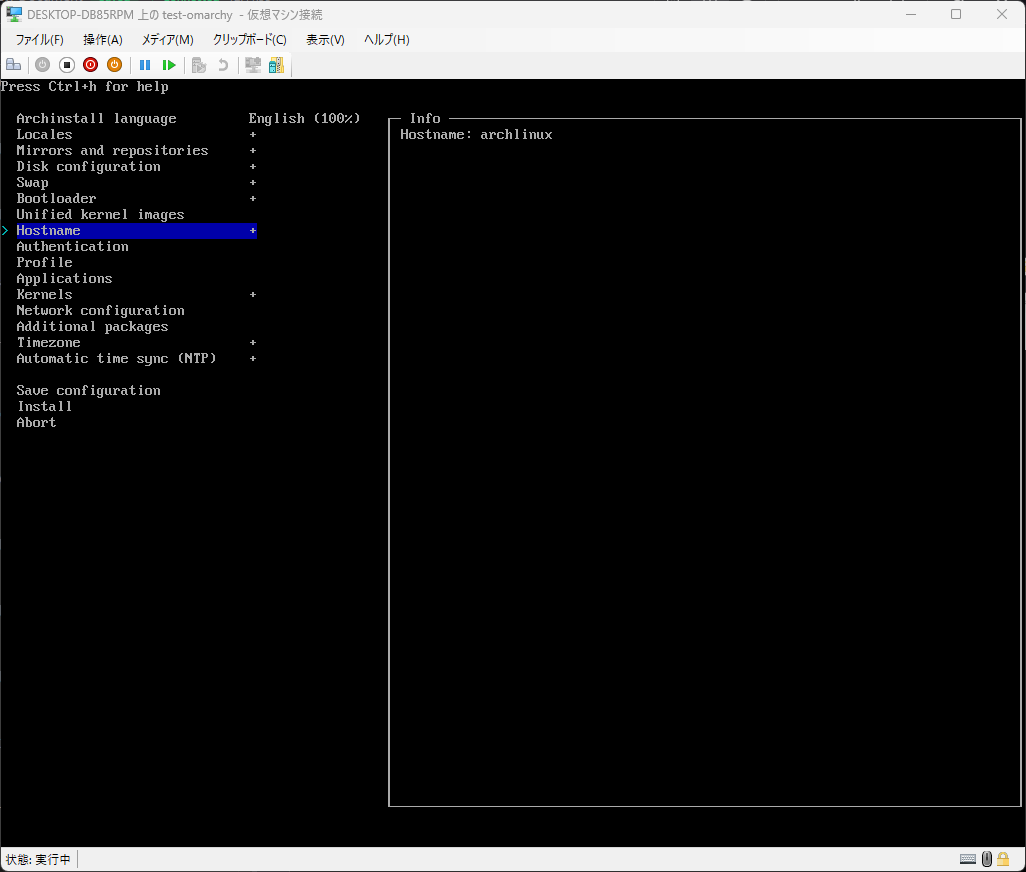
Set the host name. Select “Hostname” and change it to your desired host name.
Authentication settings
Set the user password.
Root password setting
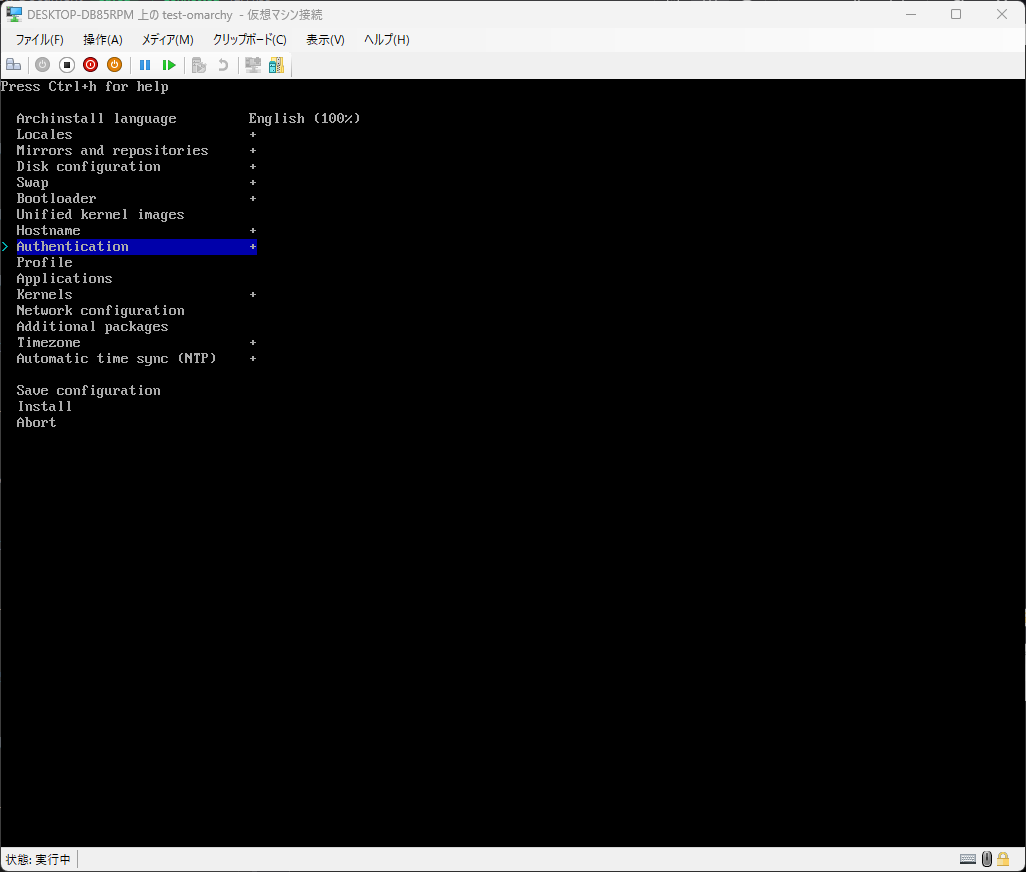
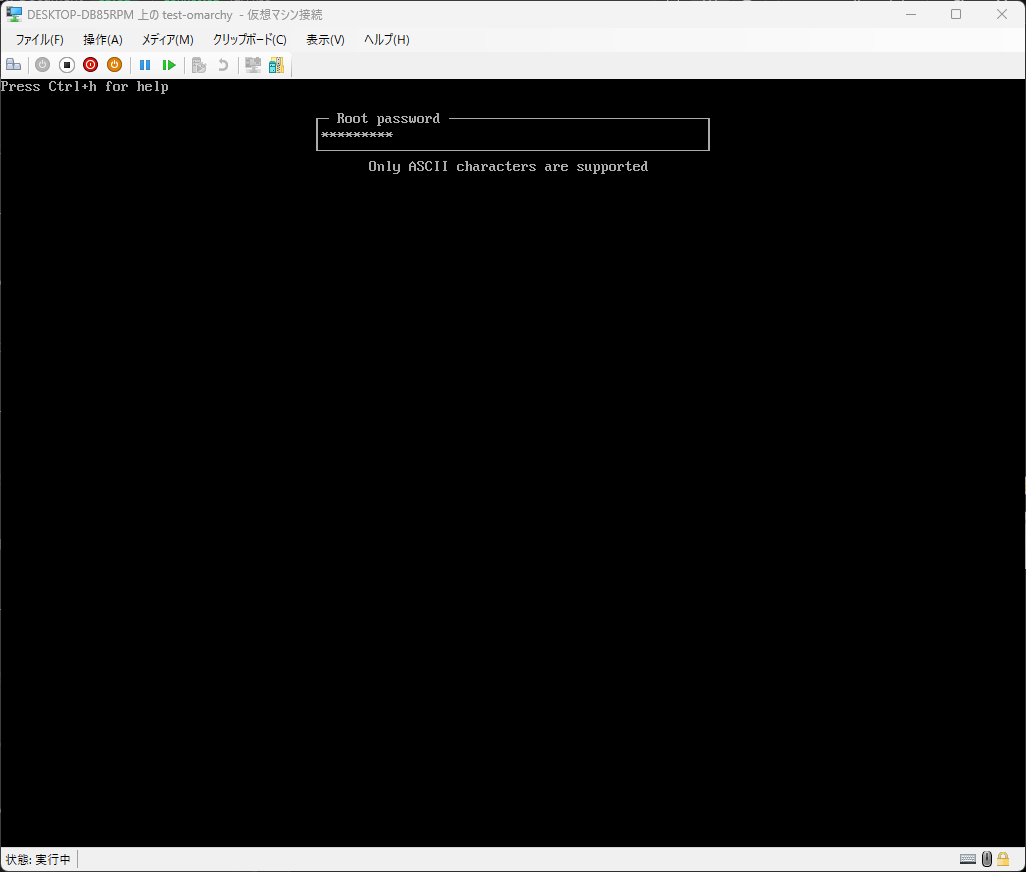
Set the password for the root user. Select “Authentication” → “Root password”.
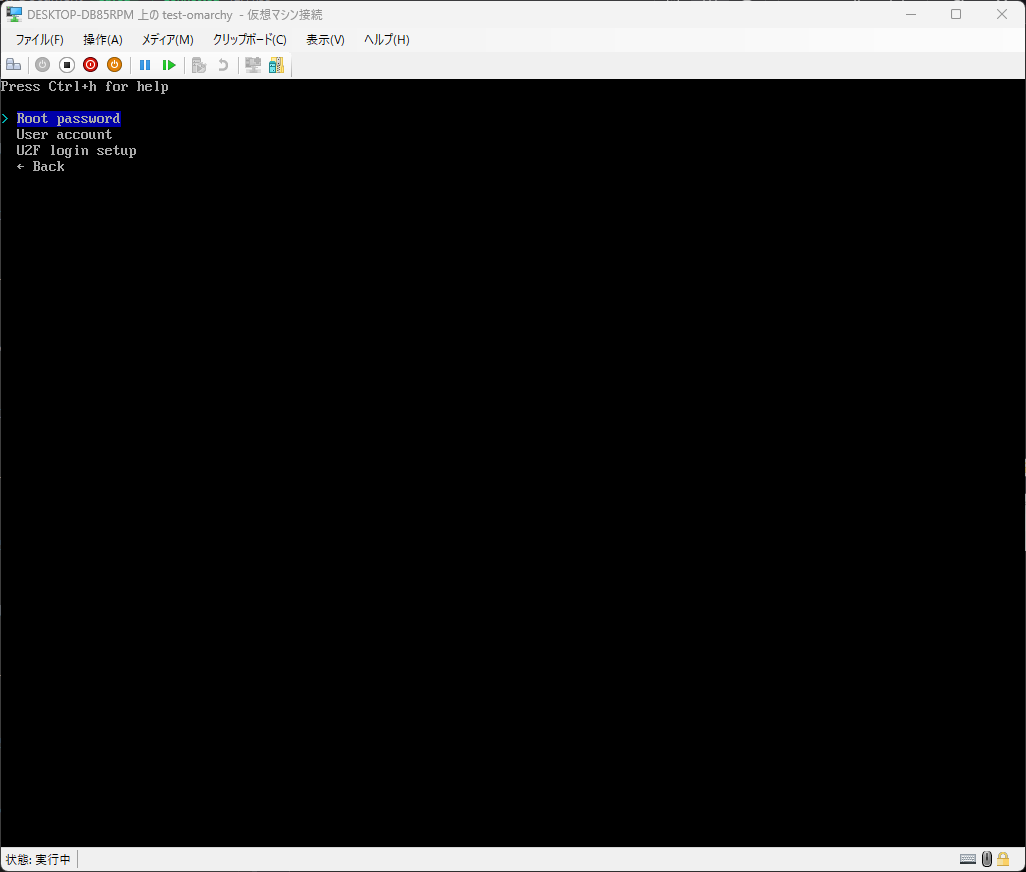
Set any password.
Create a superuser (required)
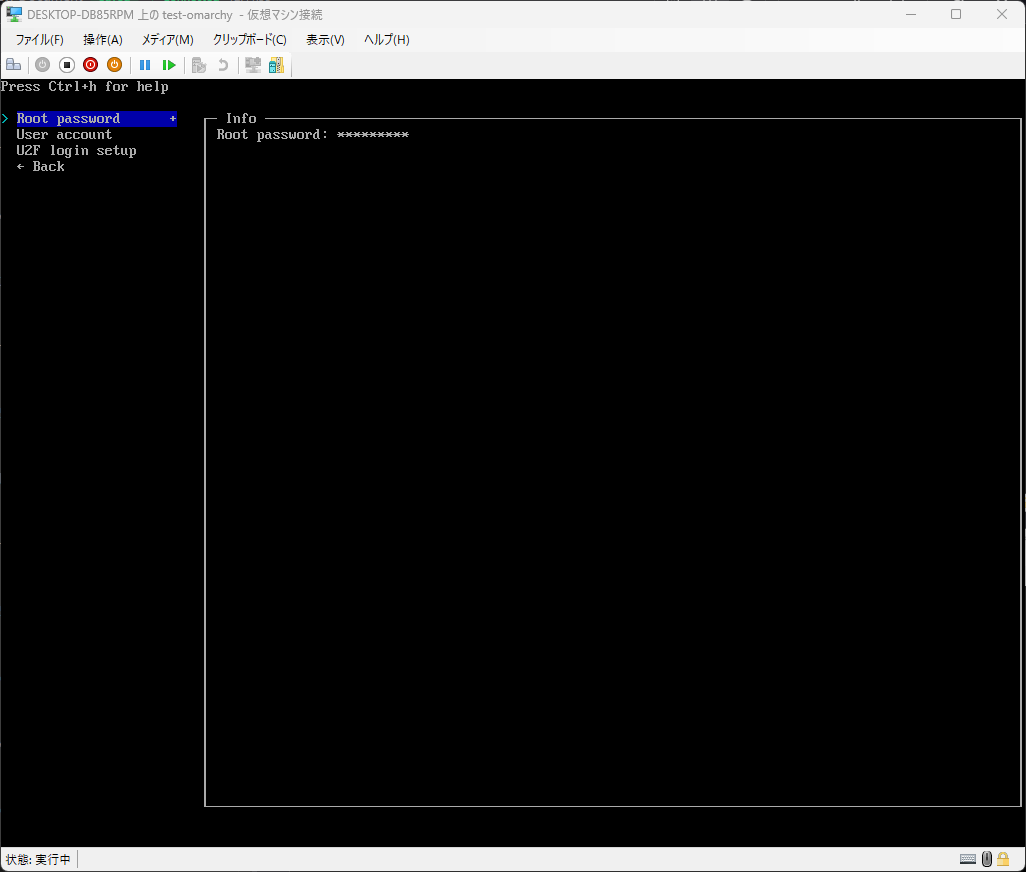
Using Omarchy as the root user is not recommended. Therefore, create a separate superuser.
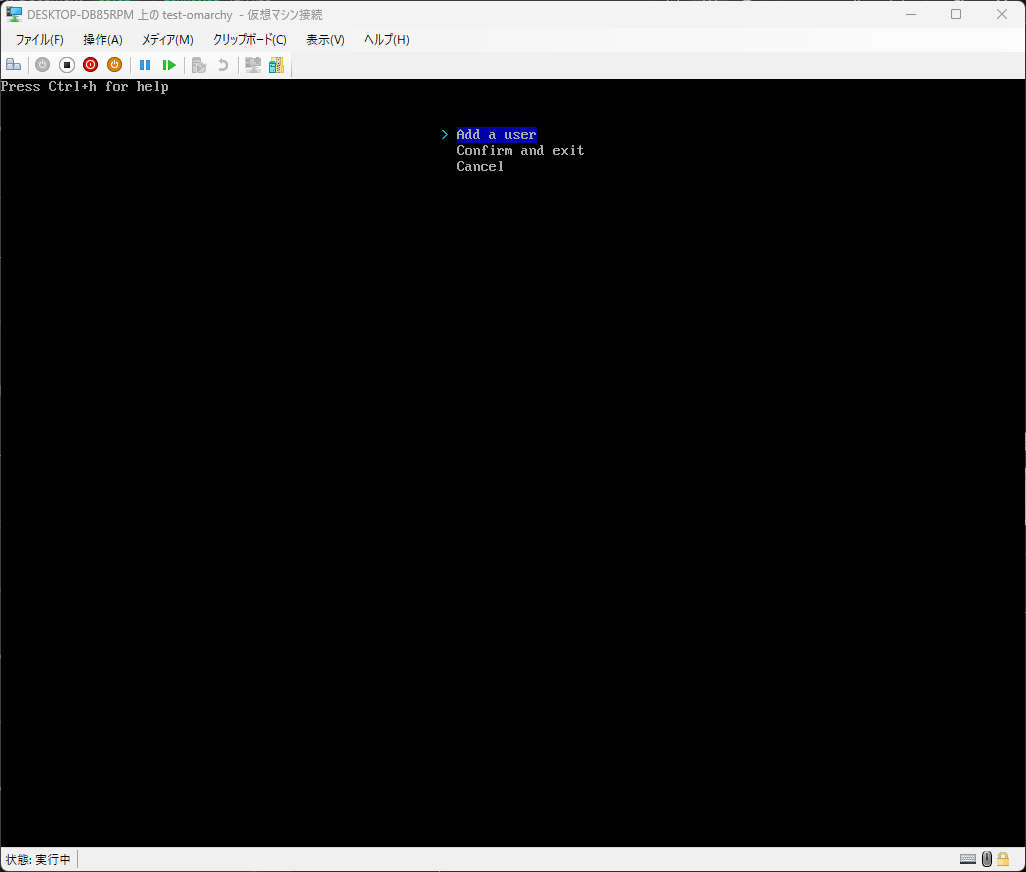
Select User account → Add a user.
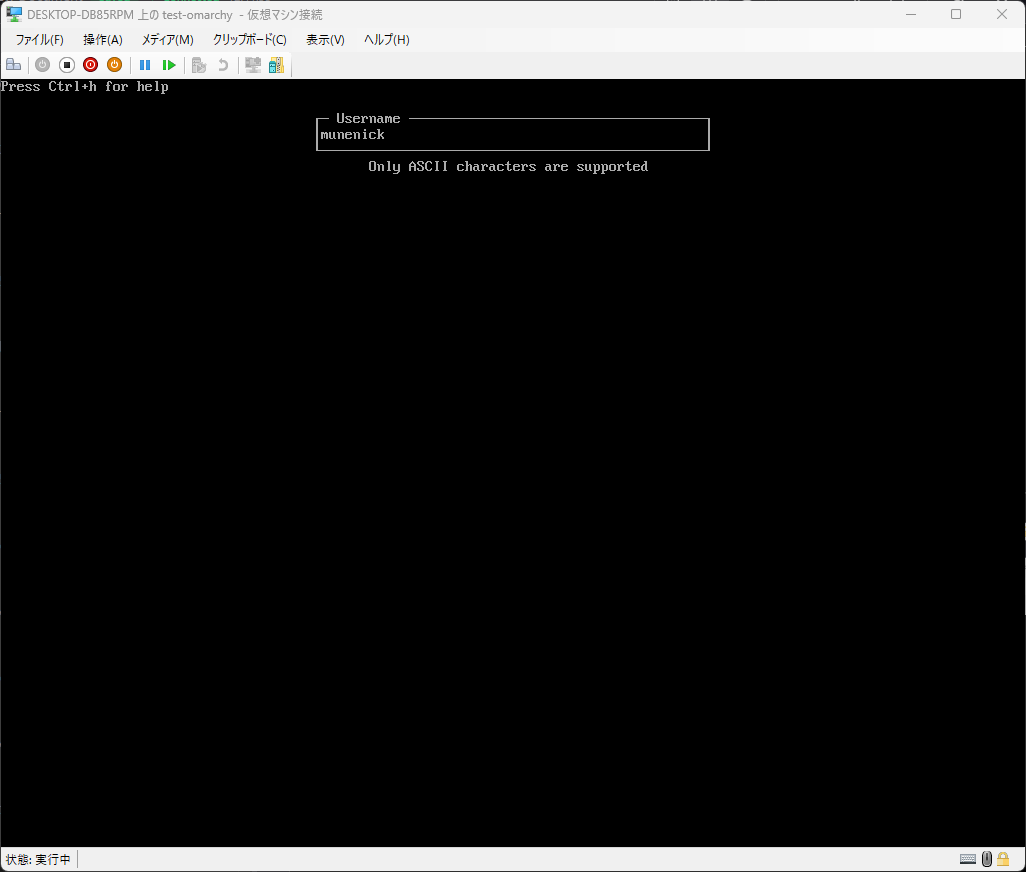
Specify any user name.
Set any password.
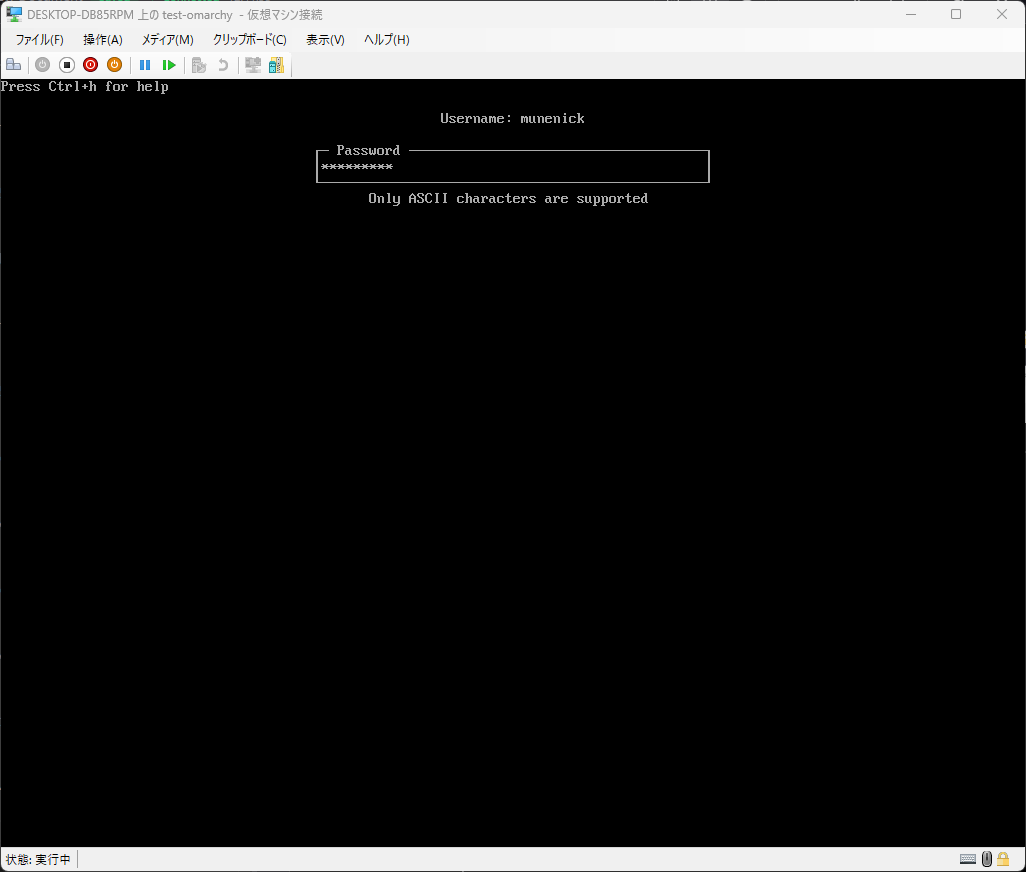
You will be asked whether to make the created user a superuser, so select “Yes”.
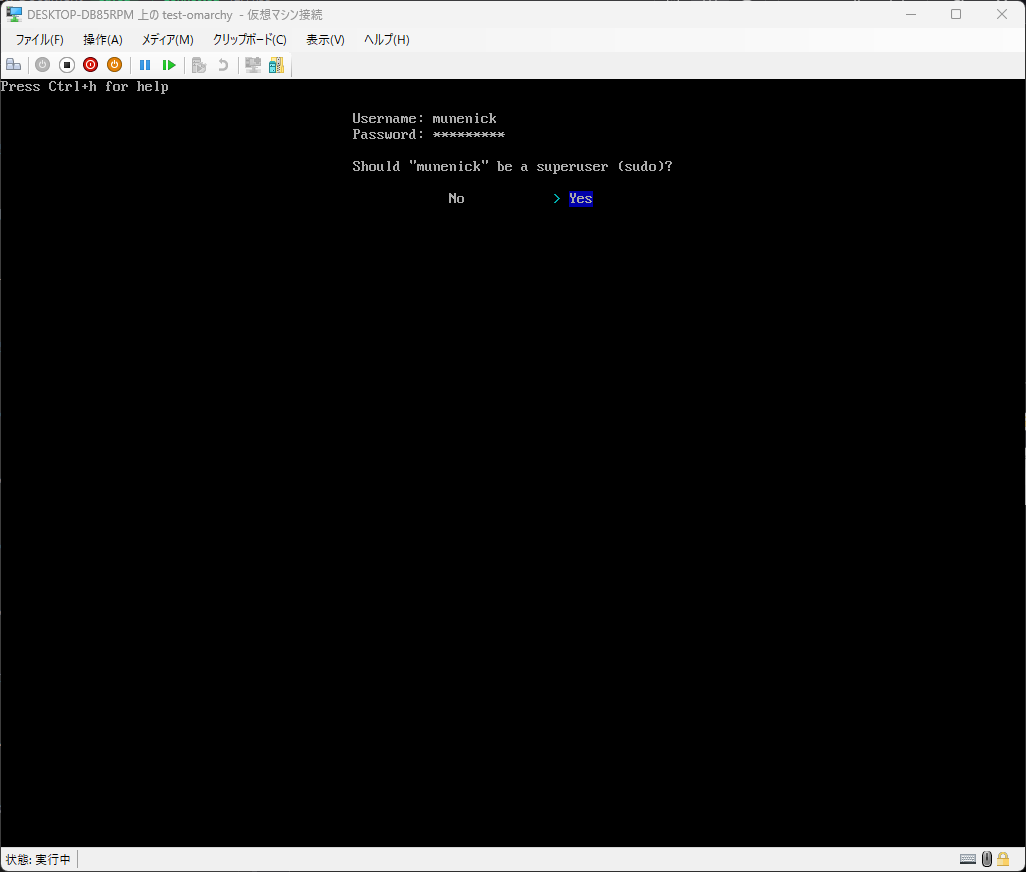
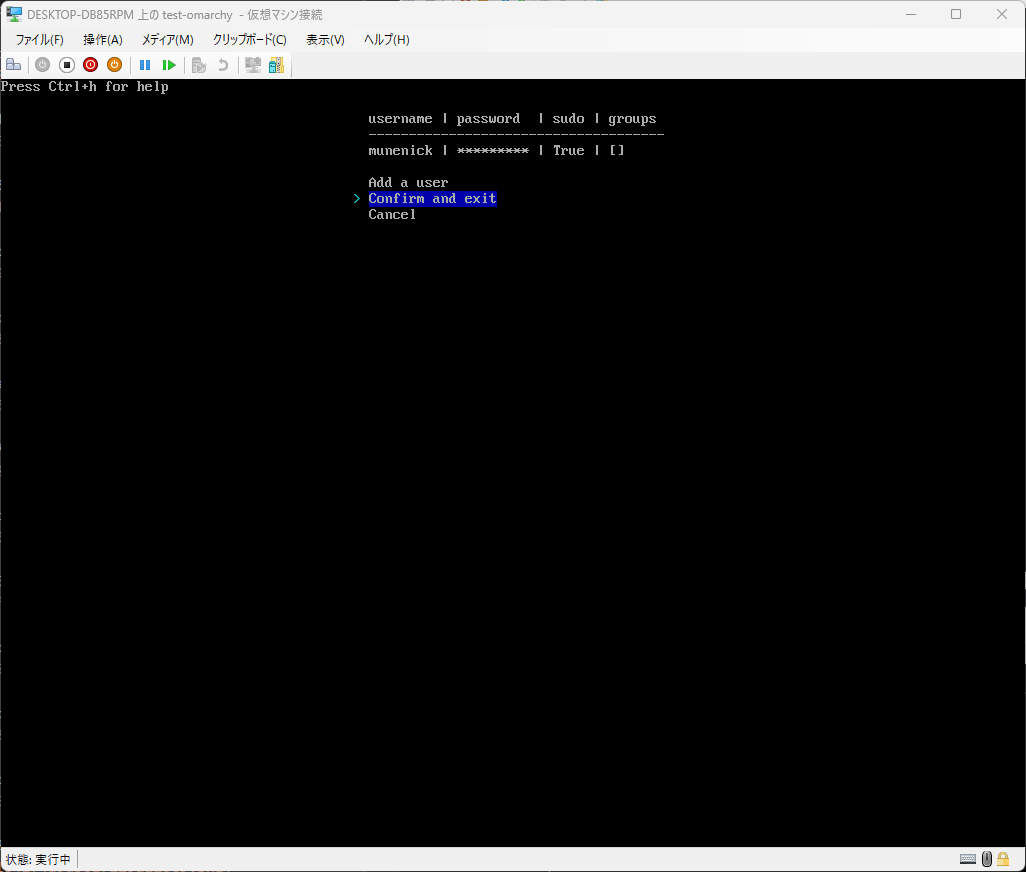
Select “Confirm and exit”.
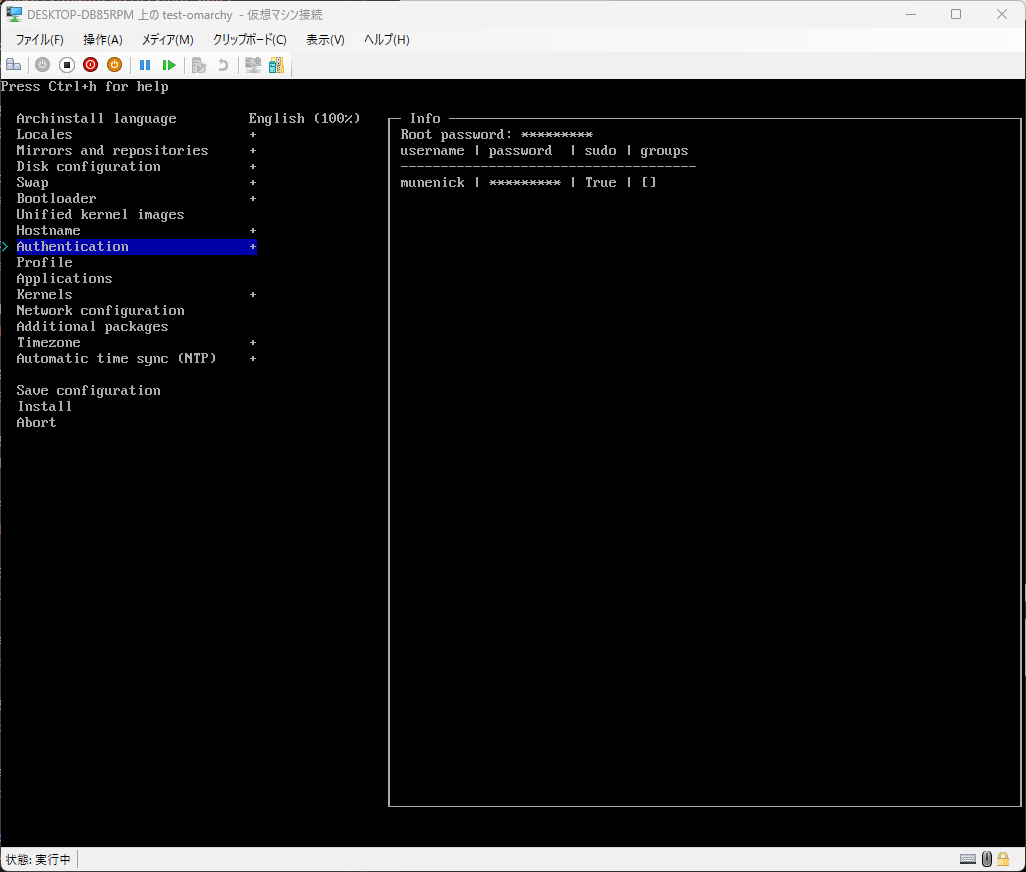
Verify that the root password is set and the user has been created.
Application settings
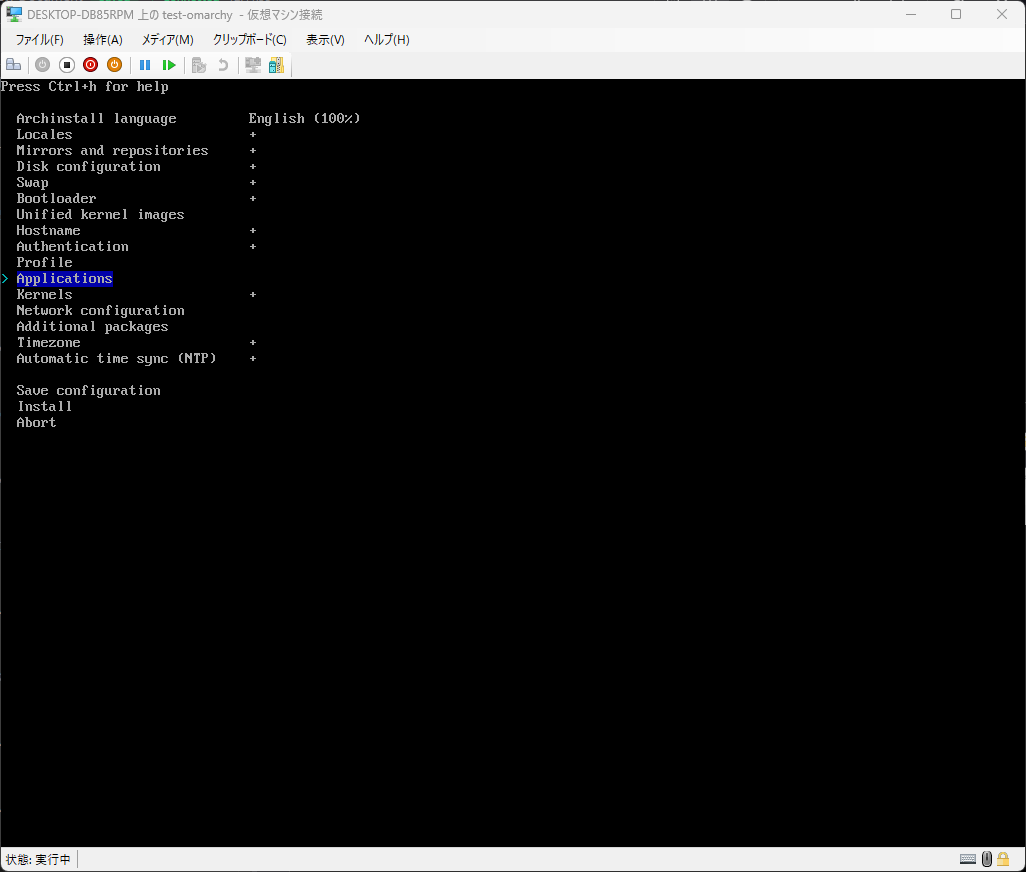
Configure the applications to install during OS setup. Here, we will install only “Pipewire”, which is used by Omarchy.
Select Applications → Audio.
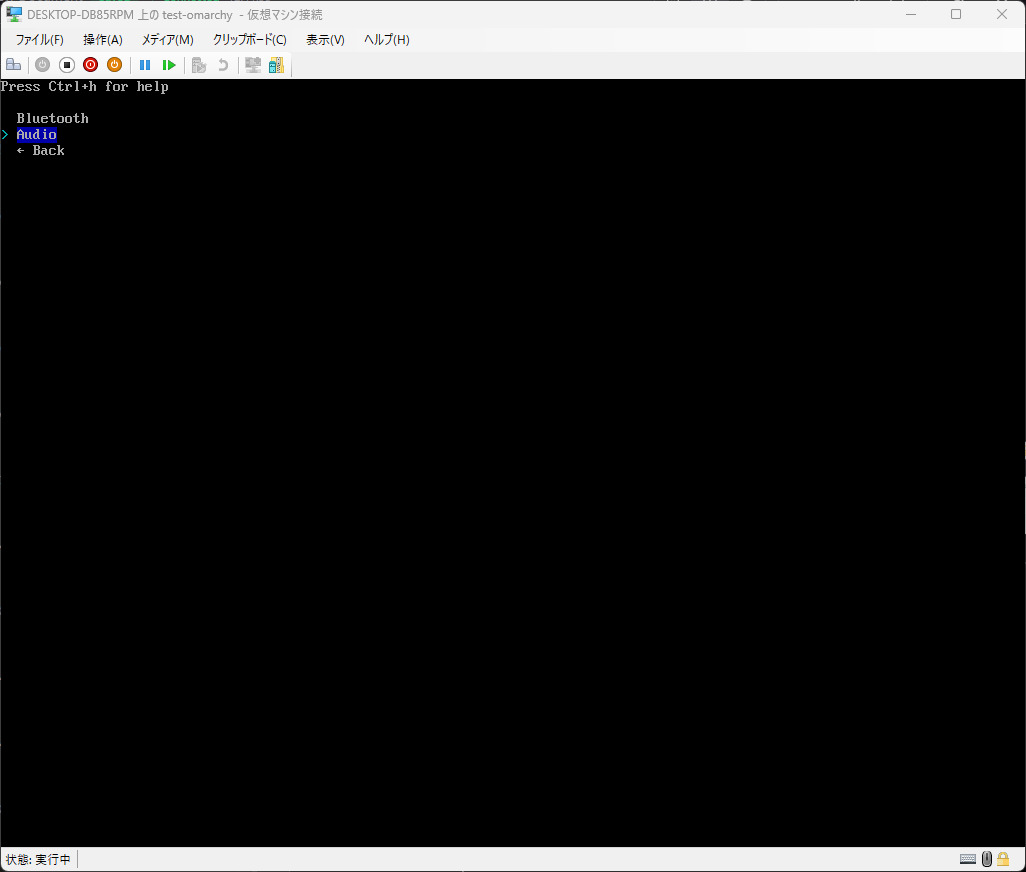
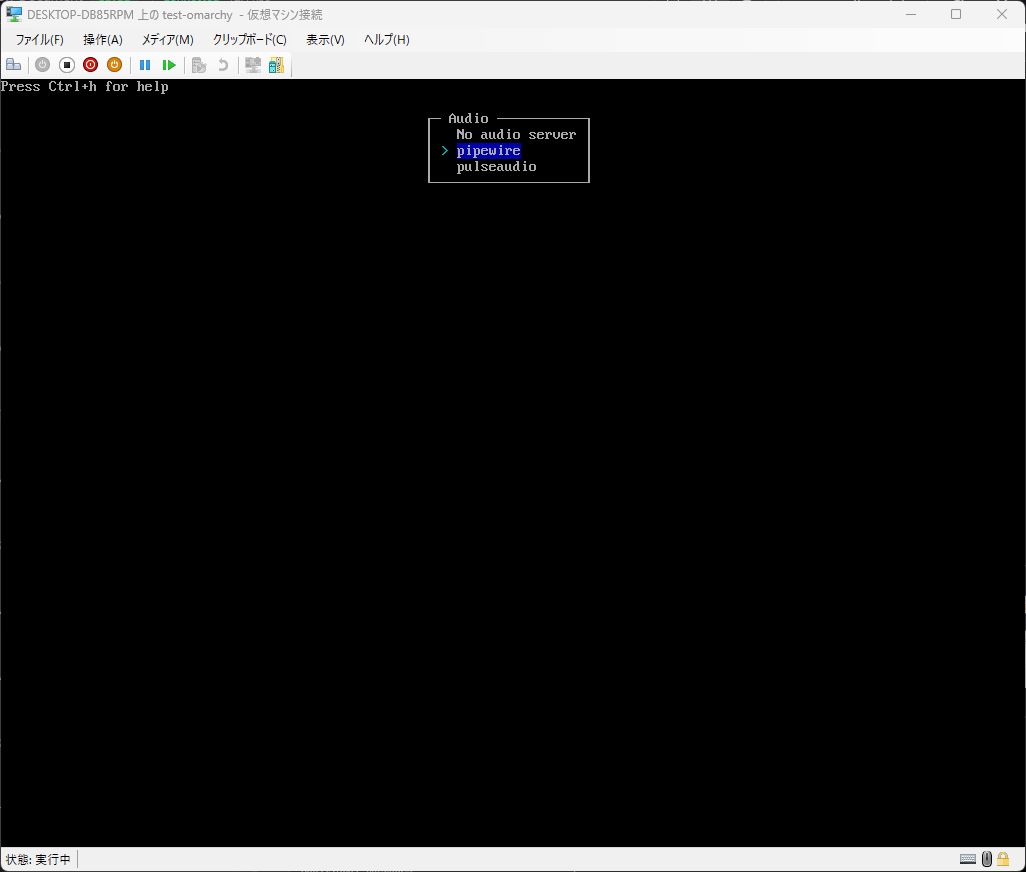
Select “pipewire”.
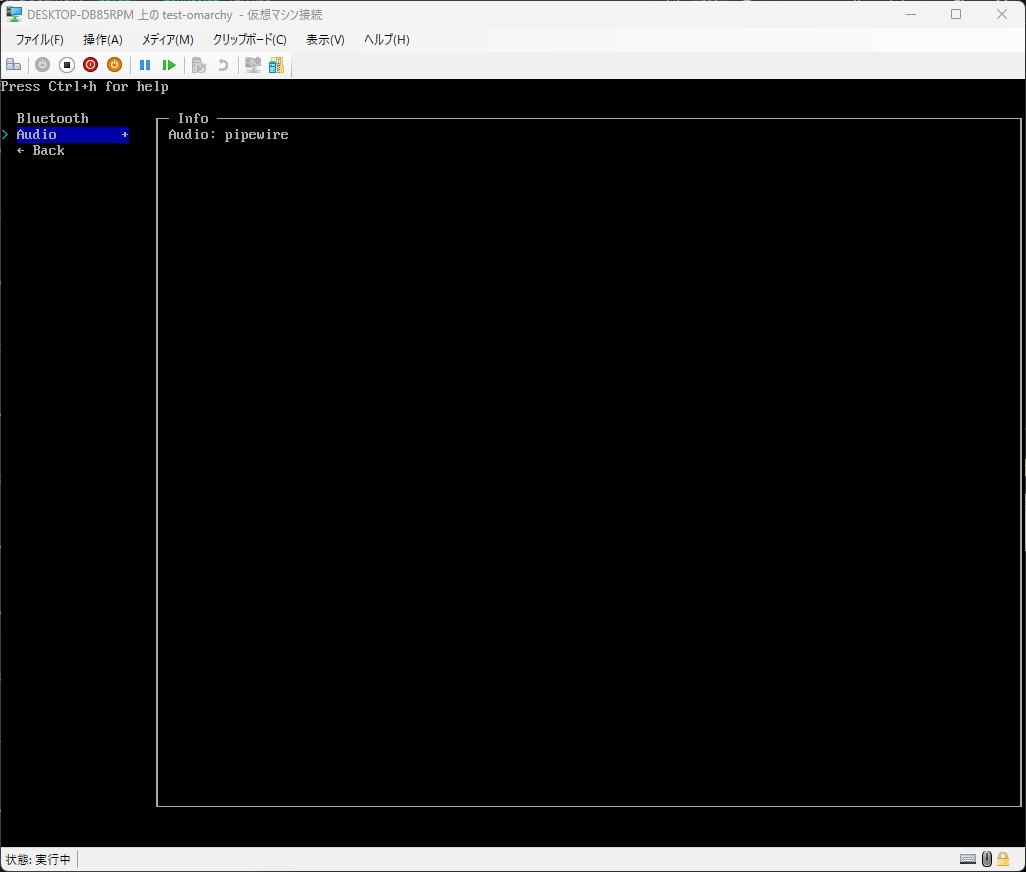
Make sure “pipewire” is selected and select “Back”.
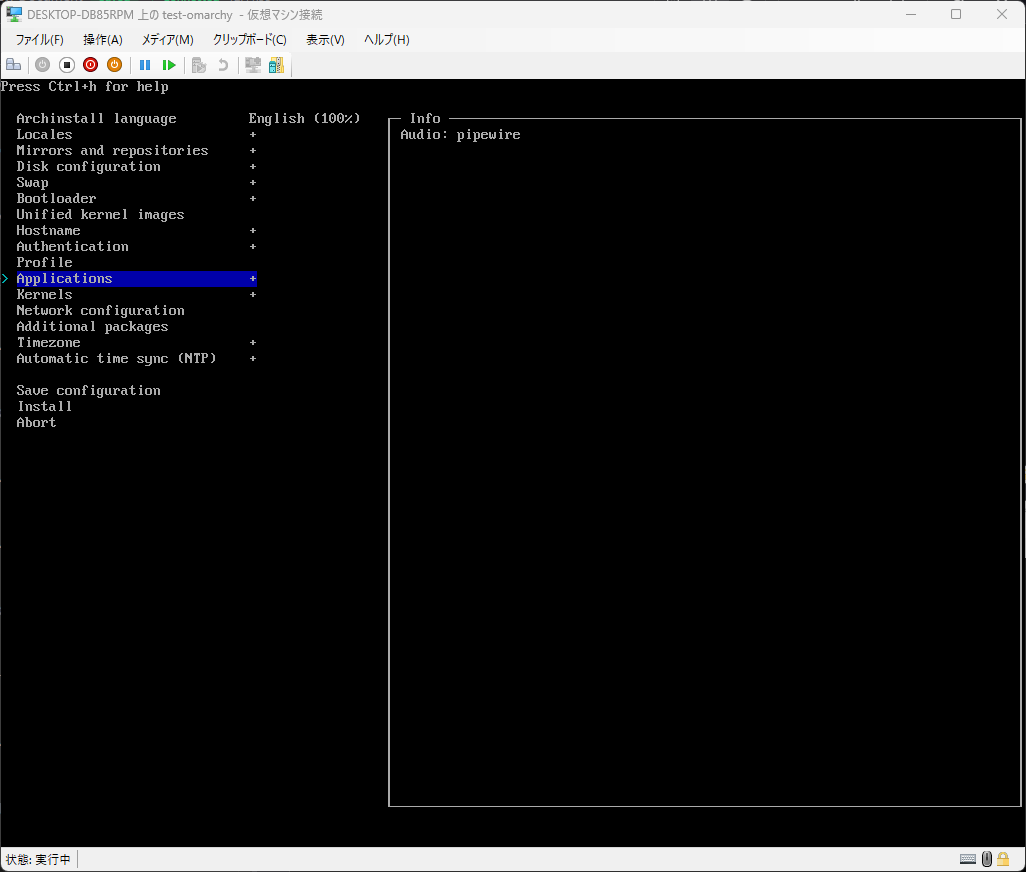
Network settings
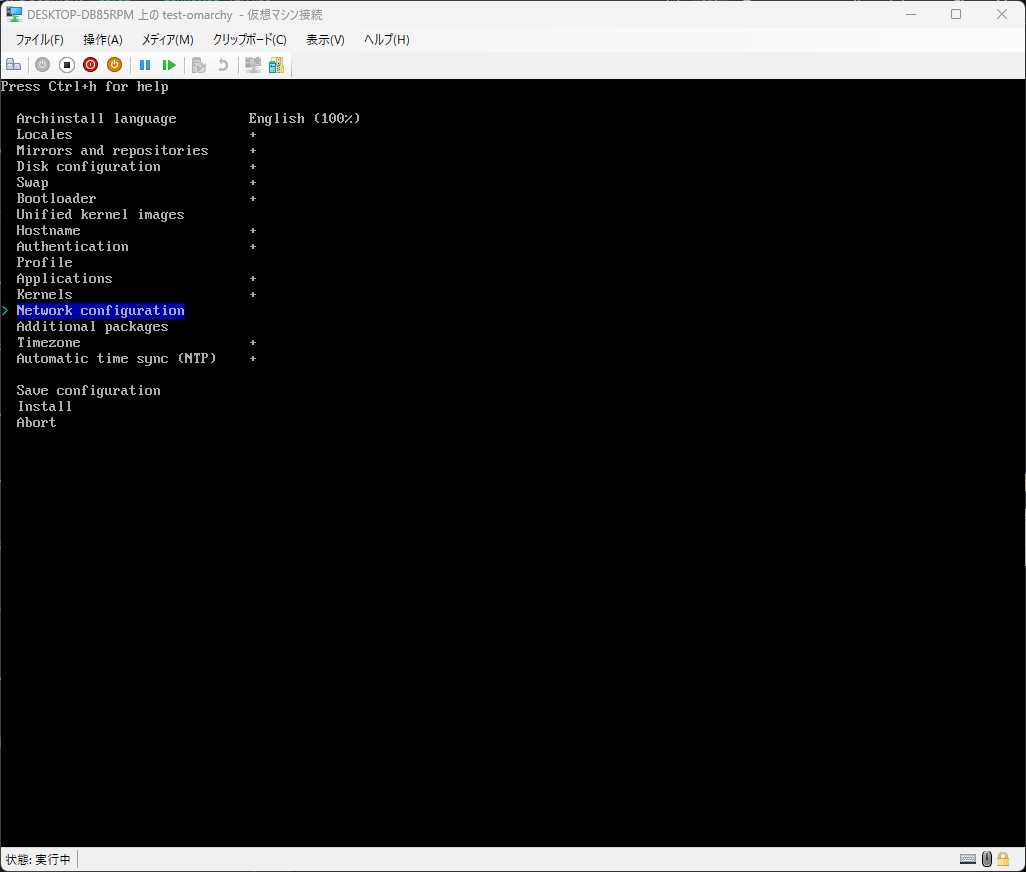
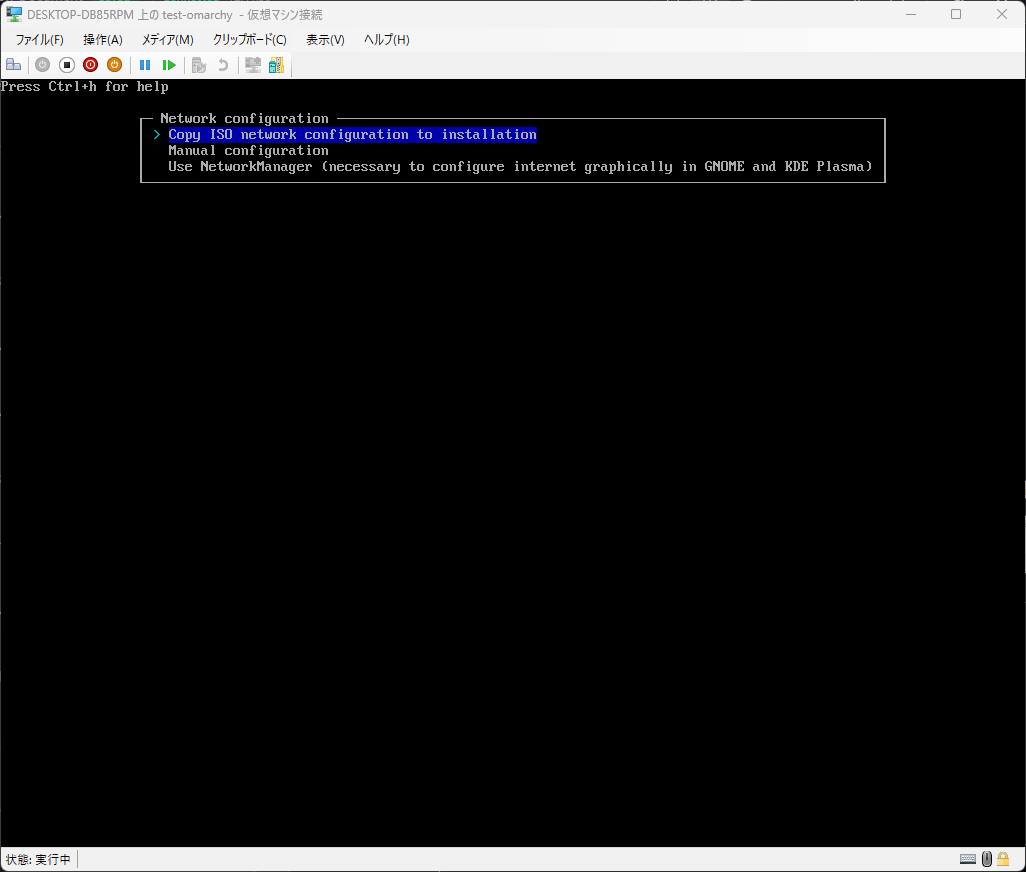
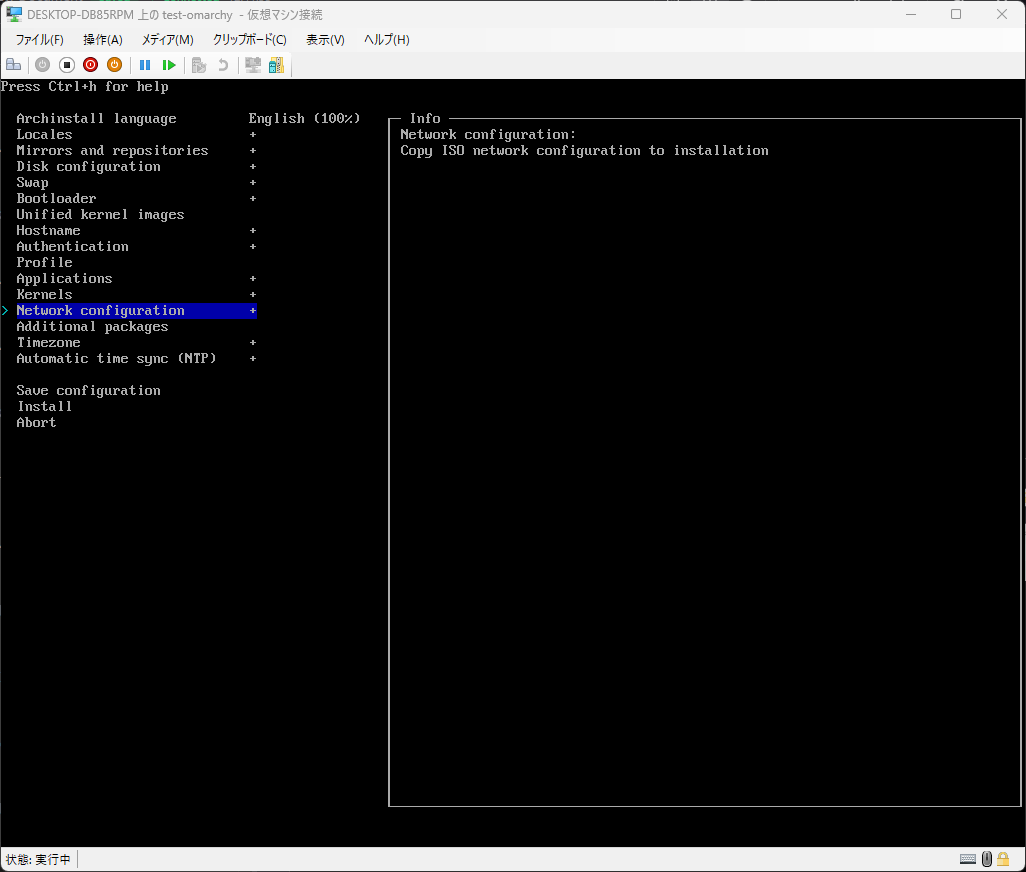
Configure network settings. There are several options, but the settings configured in the pre-installation network step will be used as the OS network. If you want to change the network configuration, use “Manual configuration”.
Select Network configuration.
Select “Copy ISO network configuration to installation”.
Verify that the settings are correct.
Additional package settings
Configure additional packages during OS installation. Here, we will specify only “wget”, which is required for the Omarchy installation.
Select “Additional packages”.
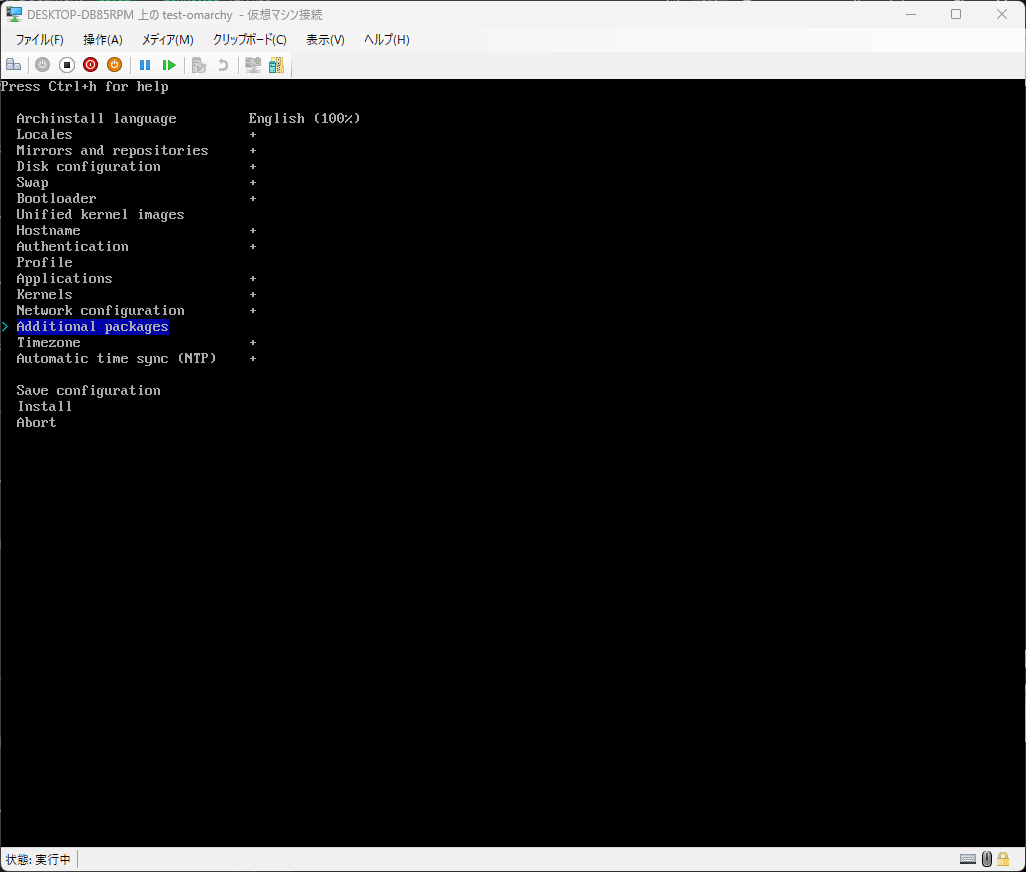
When the package list is displayed, enter “/wget”.
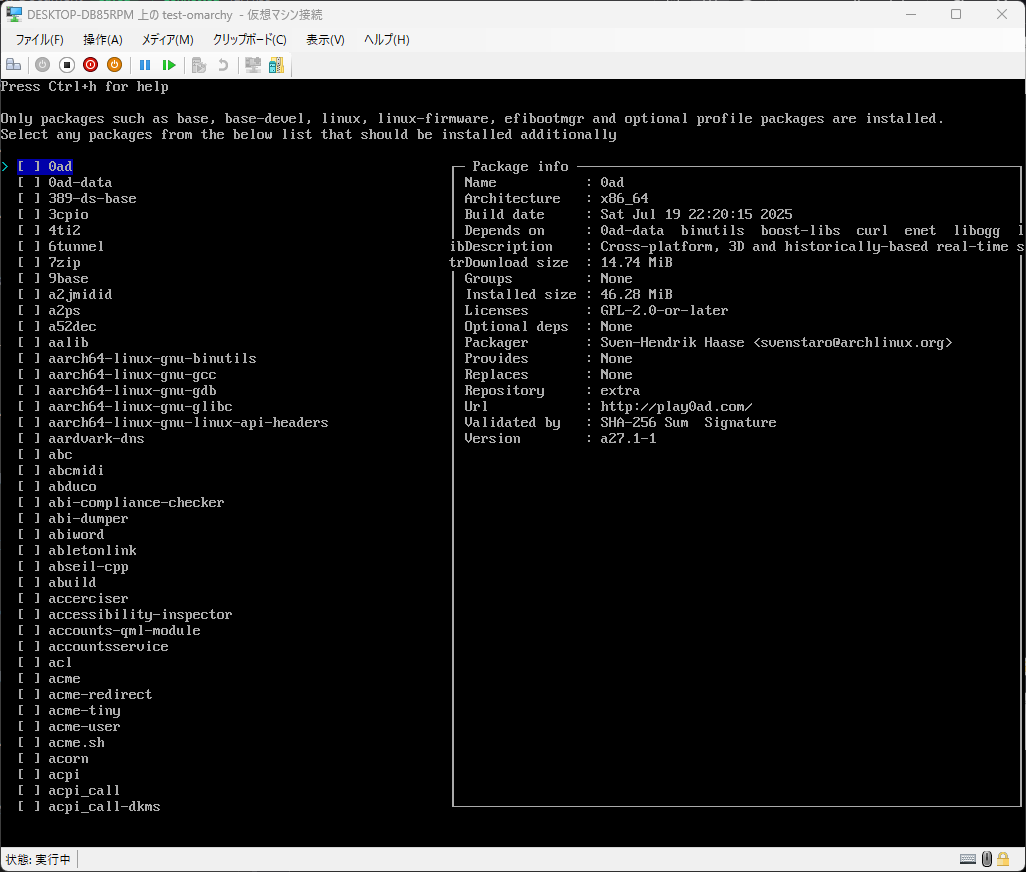
When the “wget” package is displayed, press Enter to select it.
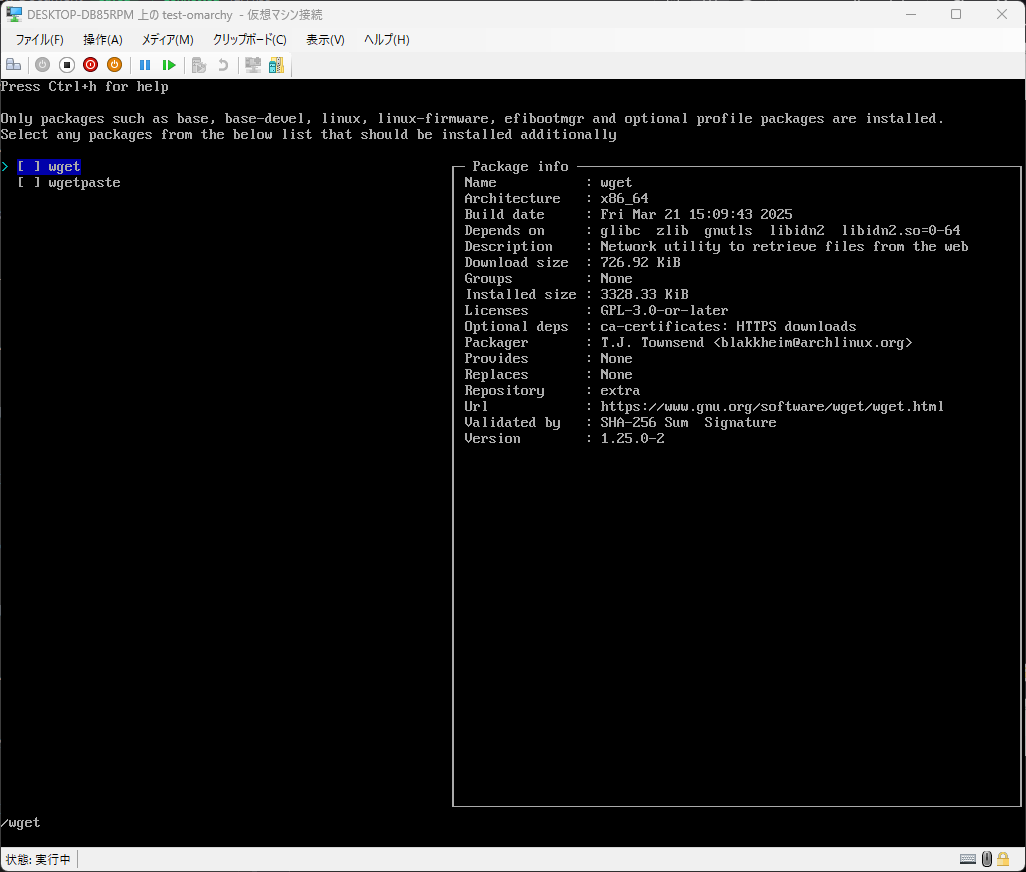
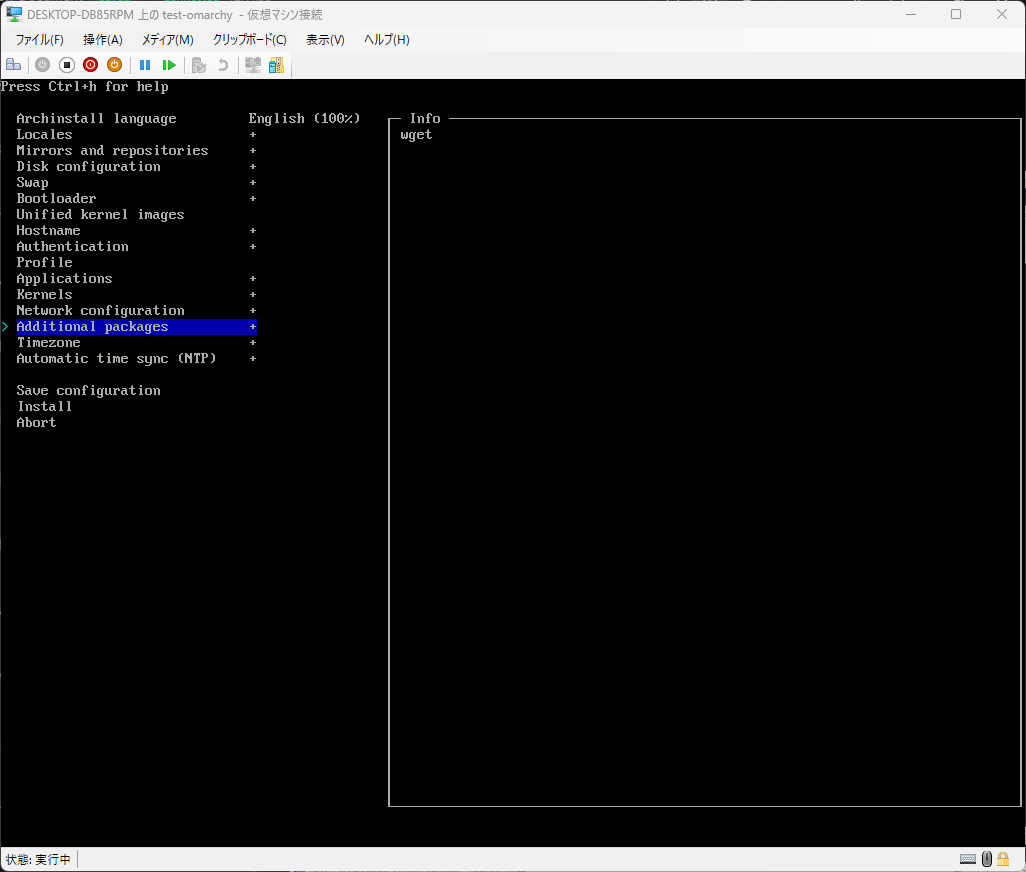
Make sure wget is specified.
Time zone settings
Set the time zone.
Select Timezone.
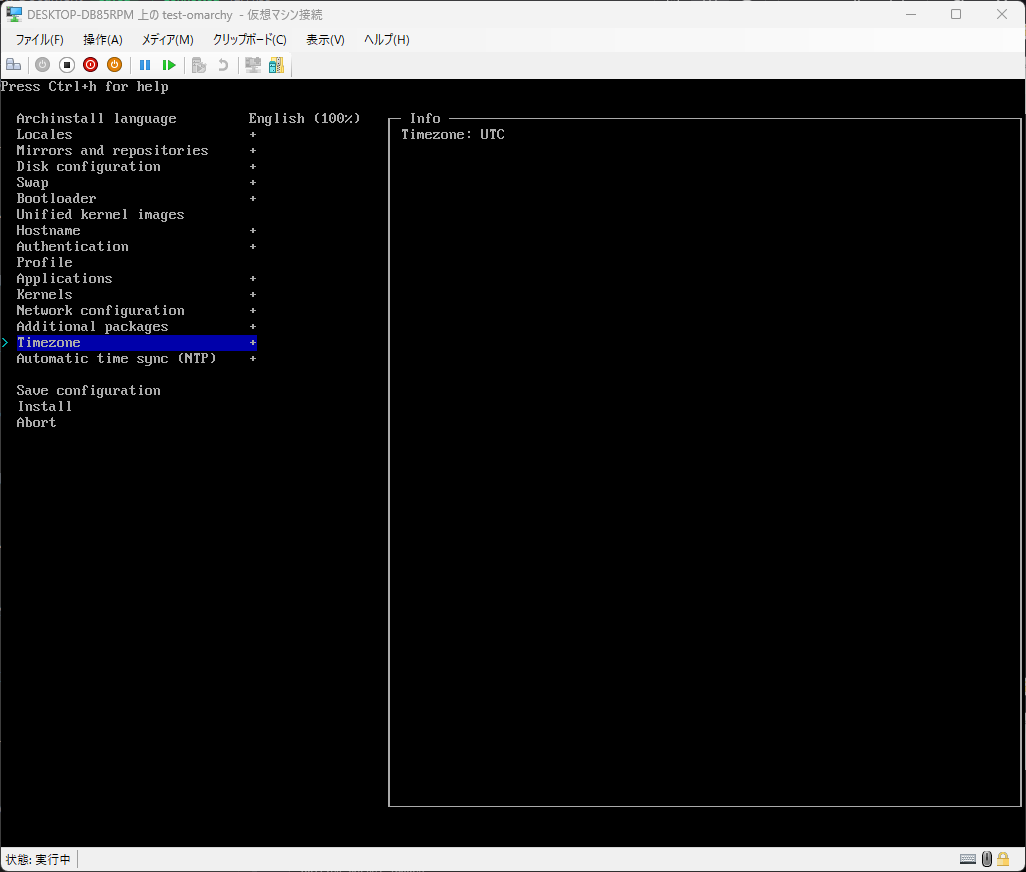
When the time zone list is displayed, specify the time zone for your area. For Japan, search for “/tokyo” and select “Asia/Tokyo”.
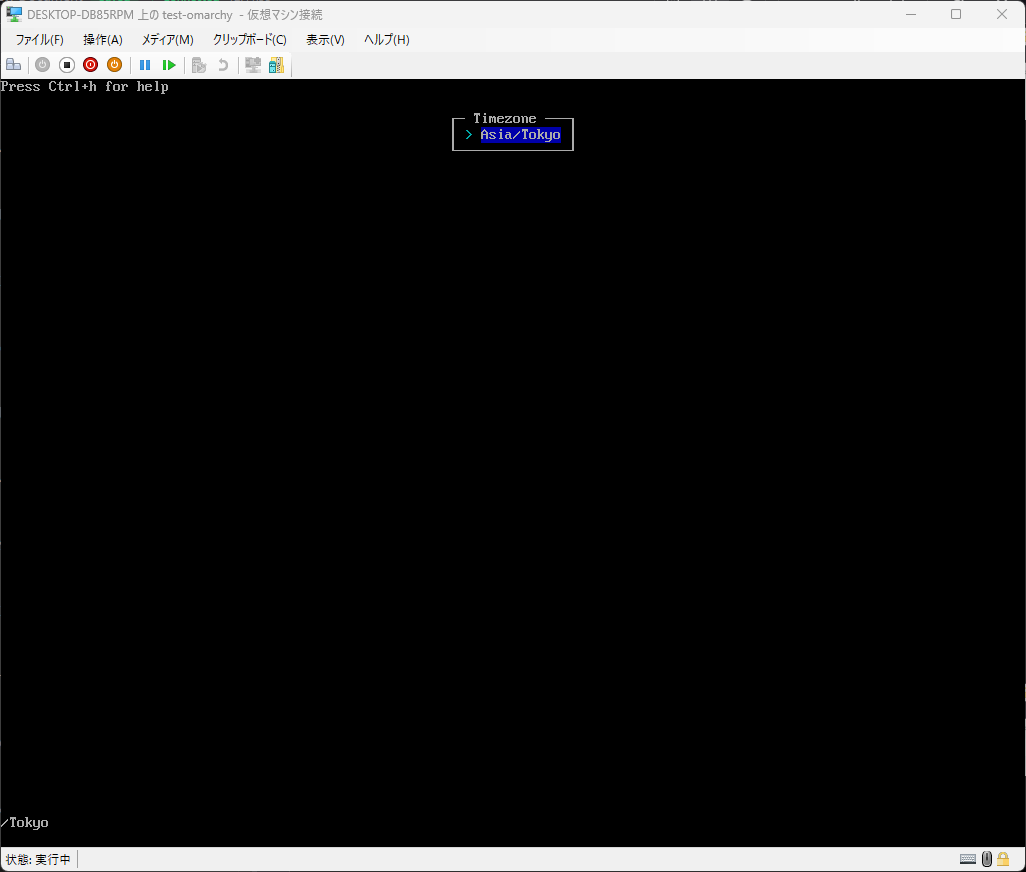
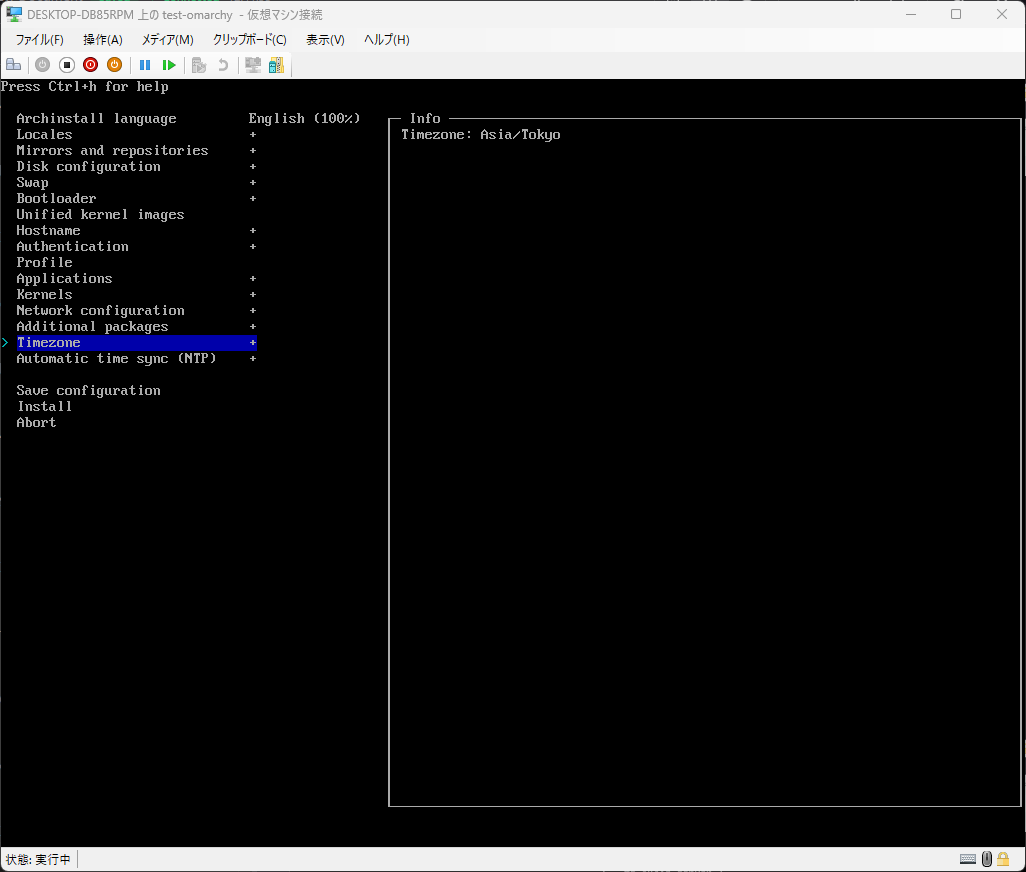
Make sure your time zone is selected.
Run the installation
At this point, the Arch Linux installation settings required for Omarchy are complete. Now start the installation.
Select “Install”.
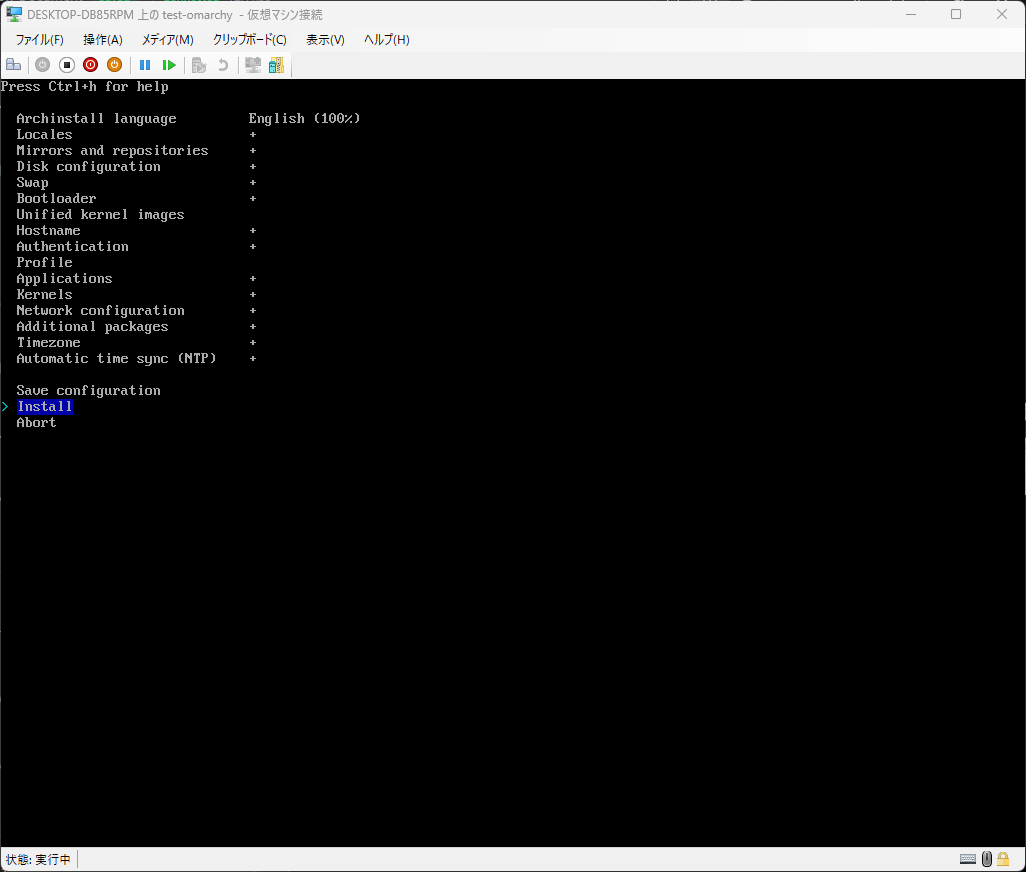
The settings will be displayed in JSON format, so review them briefly and click “Yes”.
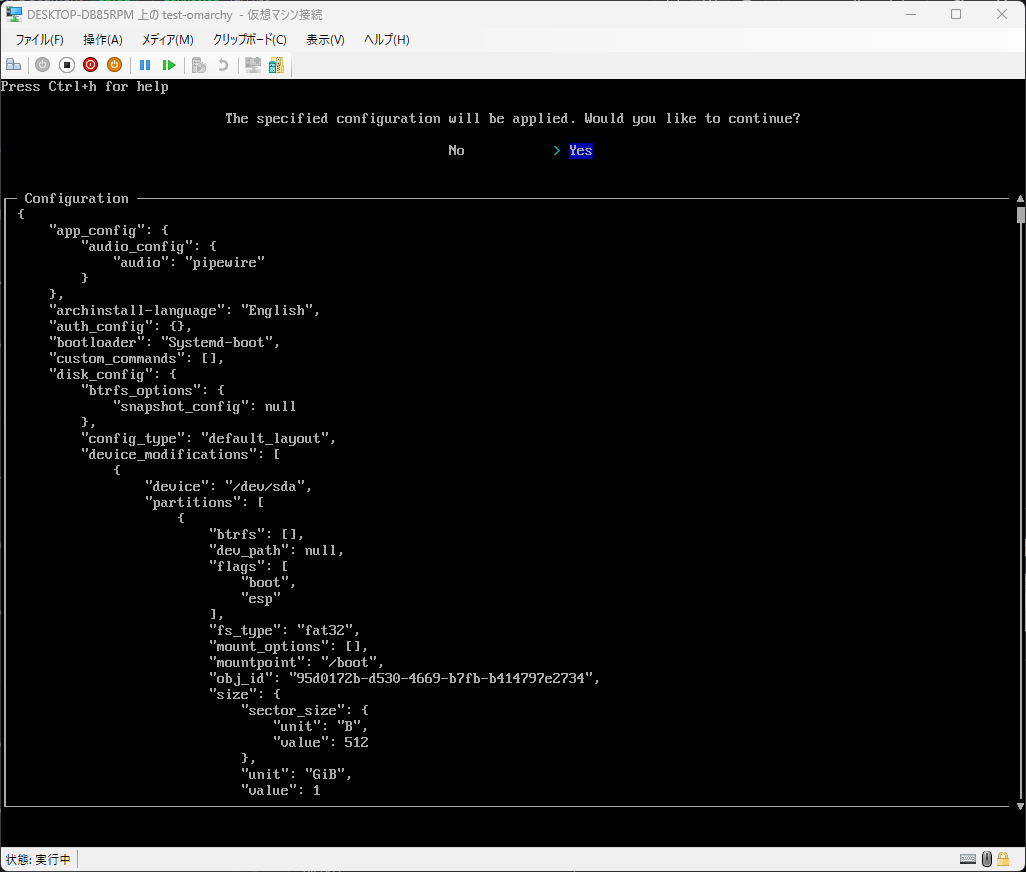
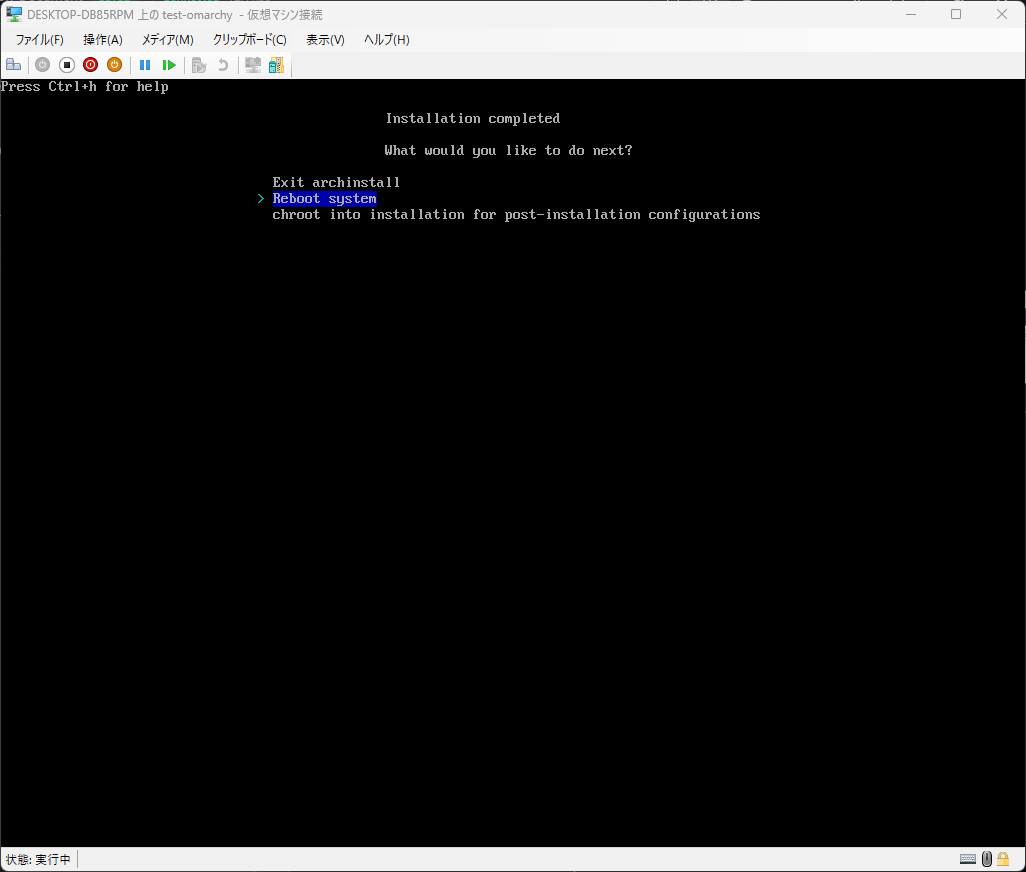
When the Arch Linux installation is complete, a screen like the one below appears. At this point, remove the installer USB and unmount the ISO from the virtual machine.
After unmounting the installer, select “Reboot system” to reboot.
Installing Omarchy
Now that Arch Linux is installed, install Omarchy.
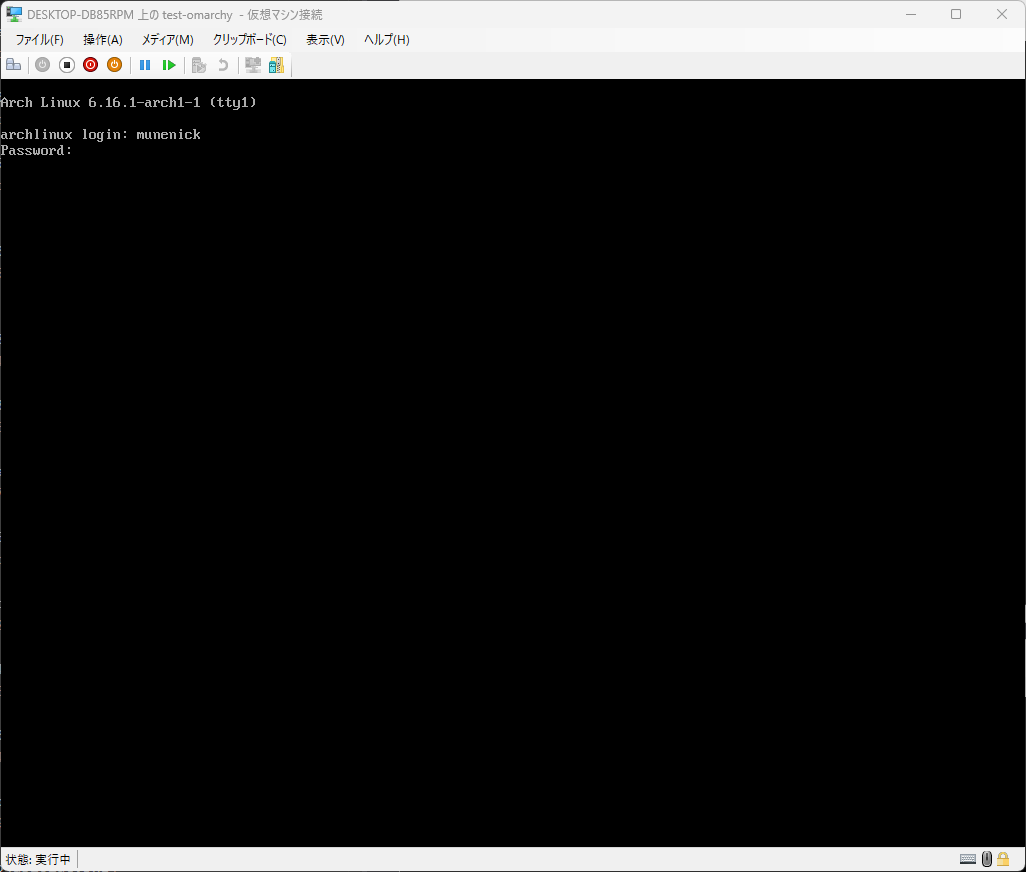
Log in as the superuser you created during installation.
Run the Omarchy installation script with the following command:
wget -qO- https://omarchy.org/install | bashIf you do not need extra tools (Spotify, Zoom, etc.) and want to install only the bare minimum, use the following command.
If you’re a purist who doesn’t want Omarchy to install full-featured applications like Spotify, Pinta, LocalSend, OBS Studio, or any other applications in the GUI apps section, you can run the installer in “bare mode”. In that case, only the basic required system tools and Chromium, Alacritty, and neovim will be installed. You must perform other installations yourself.
wget -qO- https://omarchy.org/install-bare | bash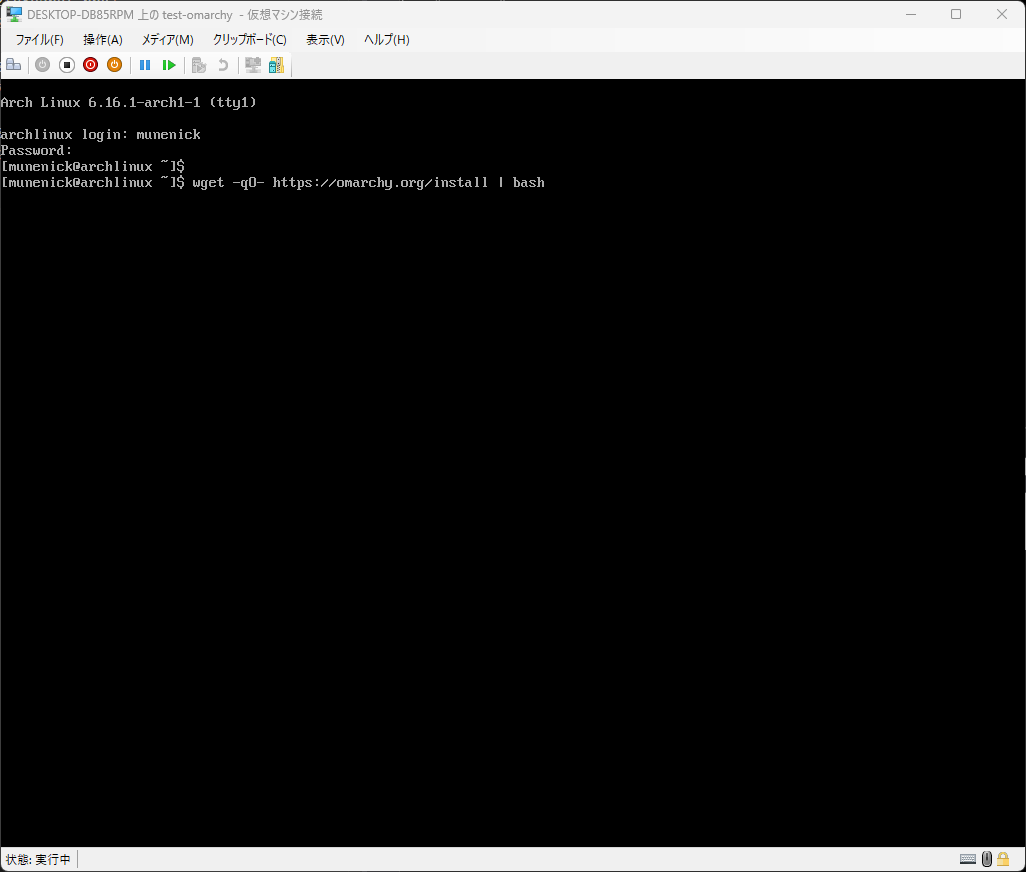
The sudo password will be requested when the script runs. Enter the superuser password.
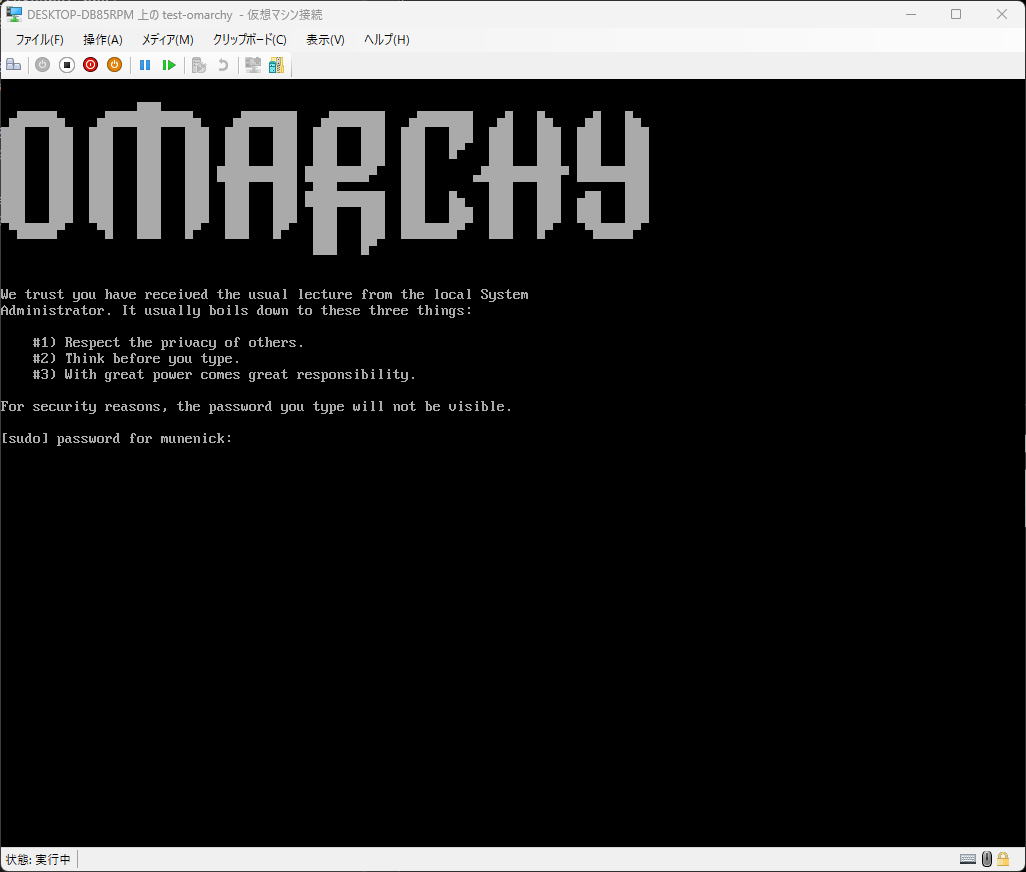
You will be asked for some input during the installation steps. When asked to enter a “Name”, enter any name you like.
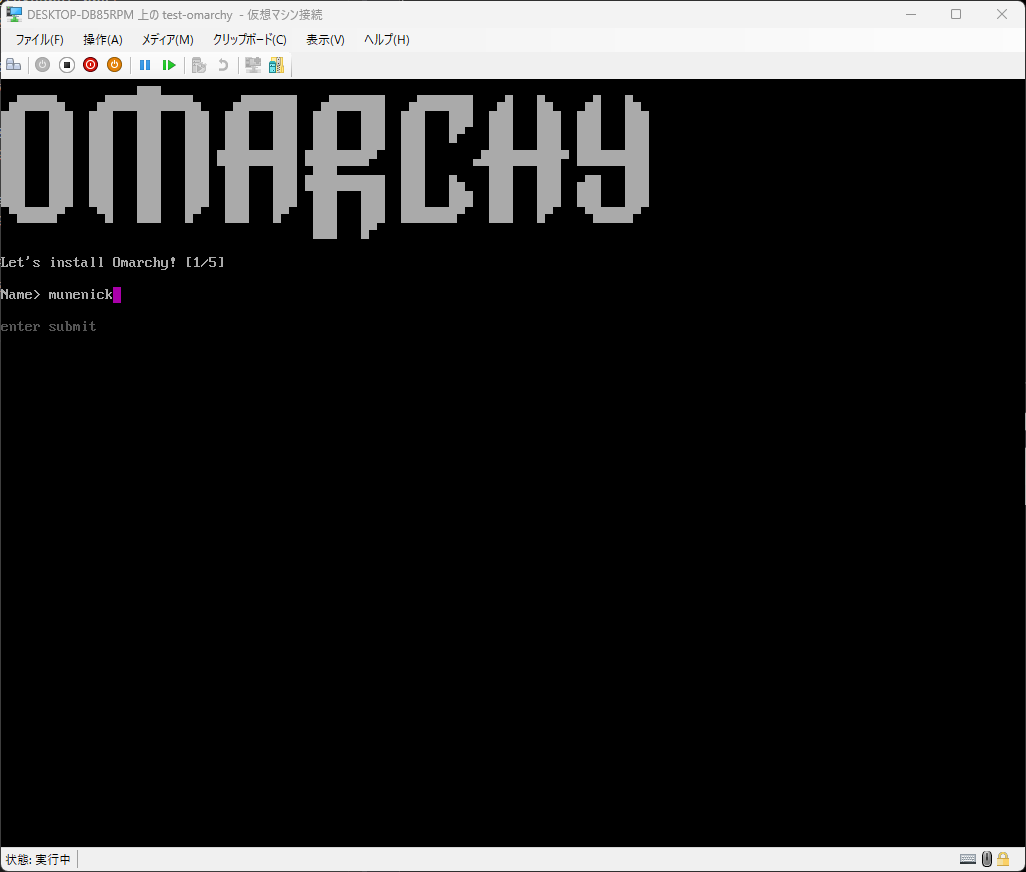
You will be asked to enter your email address, so enter any email address.
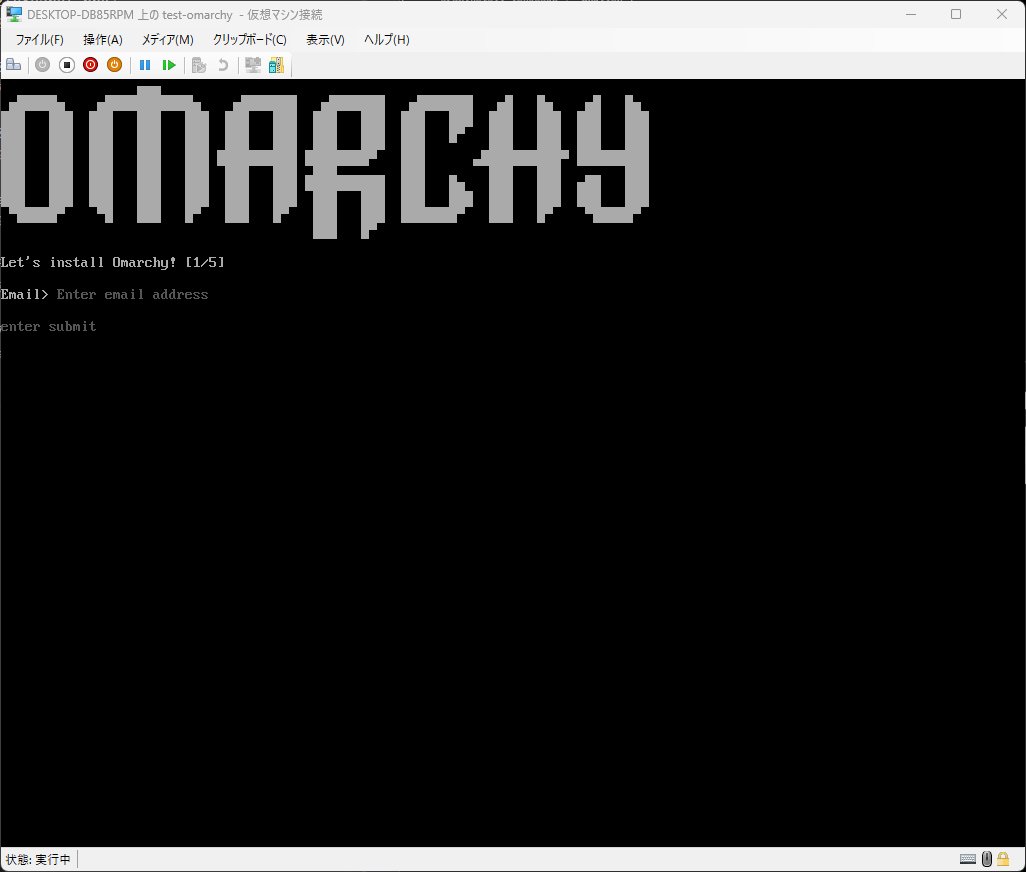
After completing these steps, the installation will begin. Wait until the installation is complete.
After the installation is complete, the system restarts automatically. If you have disk encryption configured, you will be prompted for a password every time you reboot. Enter the disk decryption password.
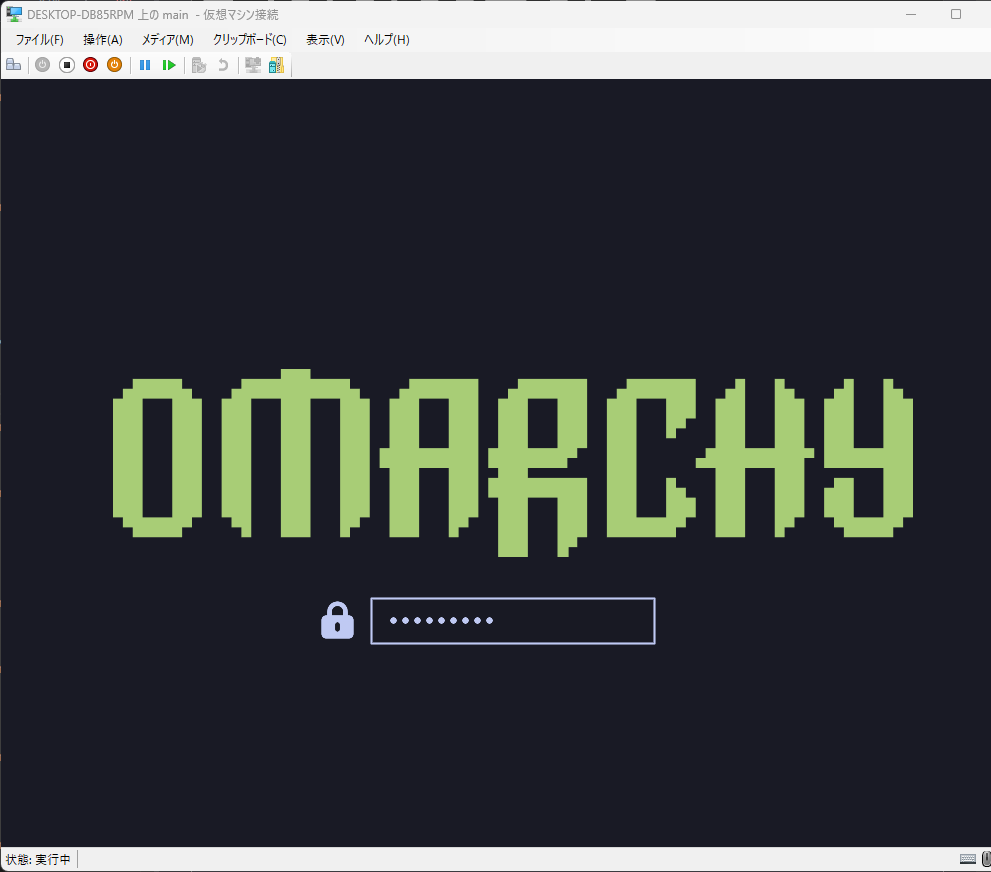
If you do not encrypt the disk, you will not be prompted to enter a password as shown below.
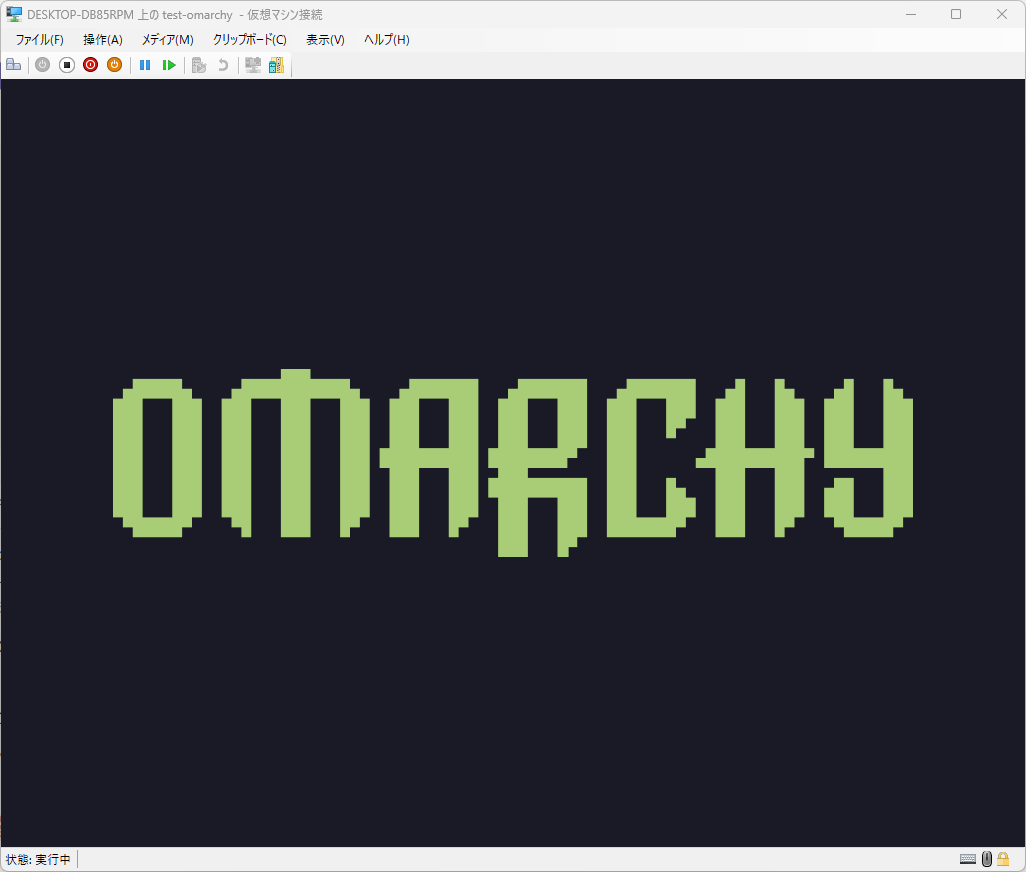
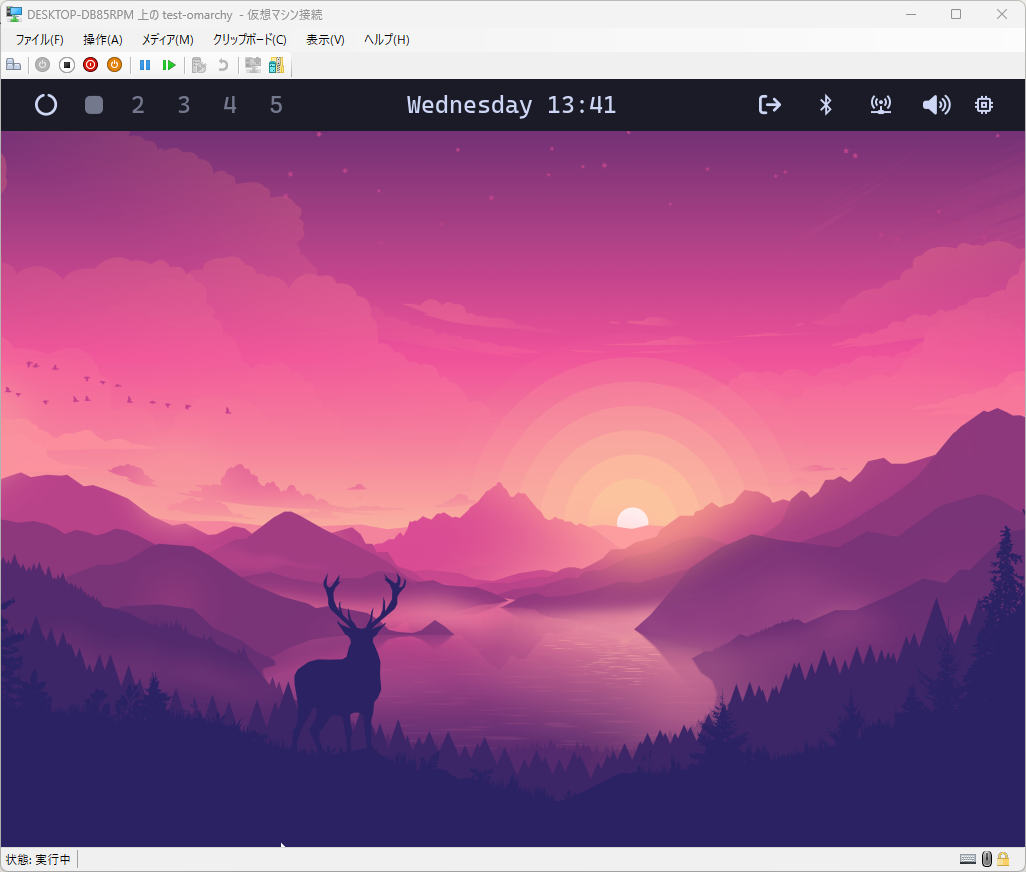
The installation is complete when the desktop appears as shown below.
Change keyboard layout (optional)
After installing Omarchy, the keyboard layout is automatically set to “US”. If you are using a Japanese keyboard, follow the steps below.
Launch the menu with “Super + Alt + Space” and open “Setup” → “Input”.
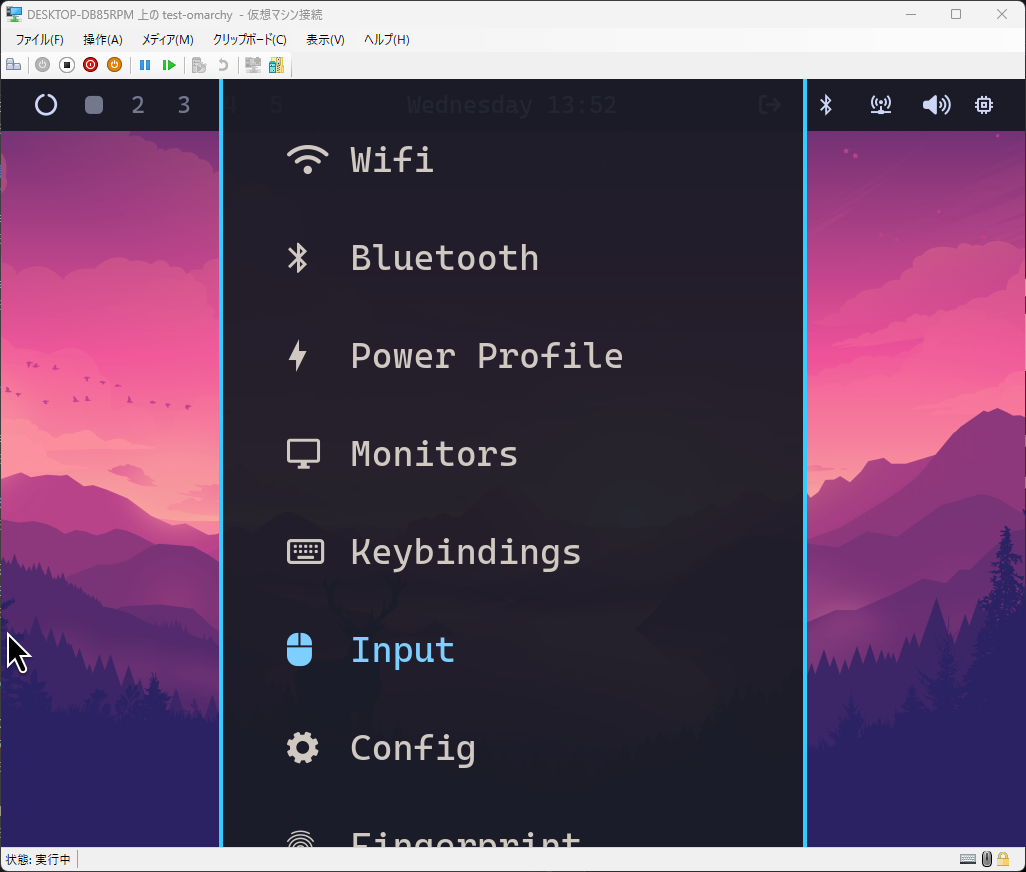
The editor starts.
The first time, Neovim installation begins. Wait for it to finish.
Once the editor is available, uncomment kb_layout and specify jp.
If you want to use multiple layouts, you can specify multiple layouts using ”,”.
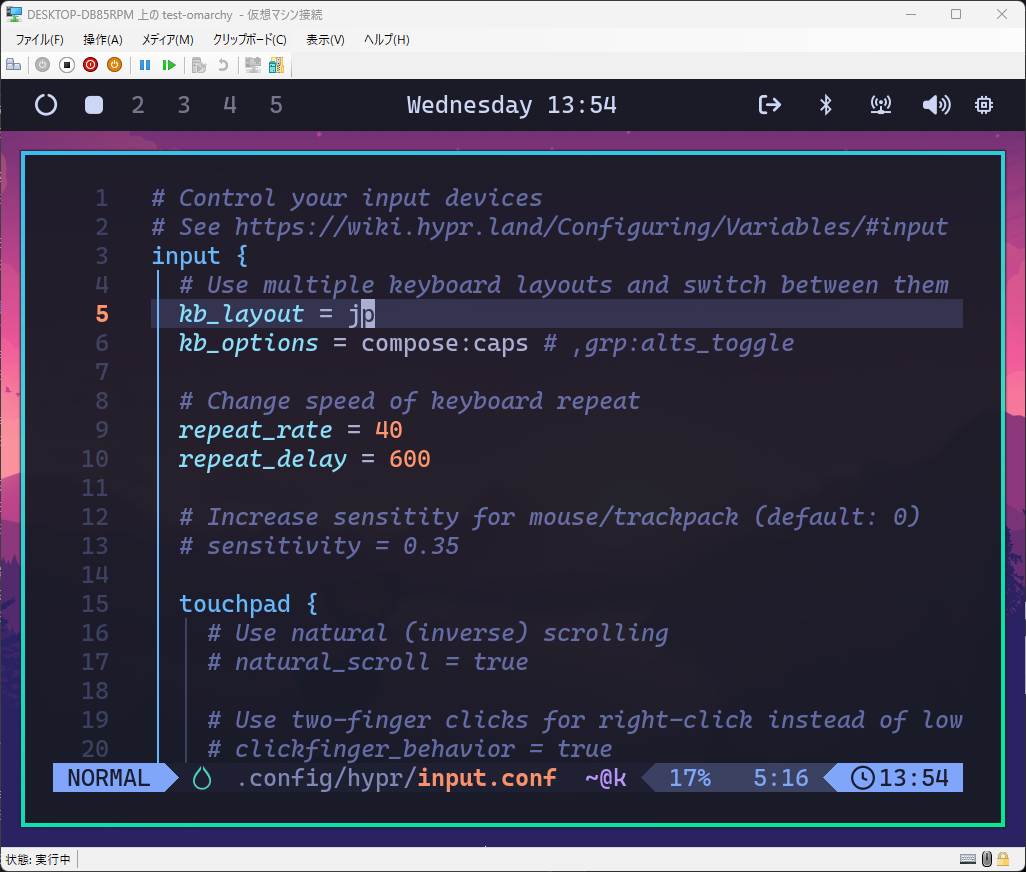
Save with “:wq”. Note that this is still using the alphabetic keyboard layout. If you are using a Japanese keyboard, you can enter ”:” by pressing “Shift + ;”.
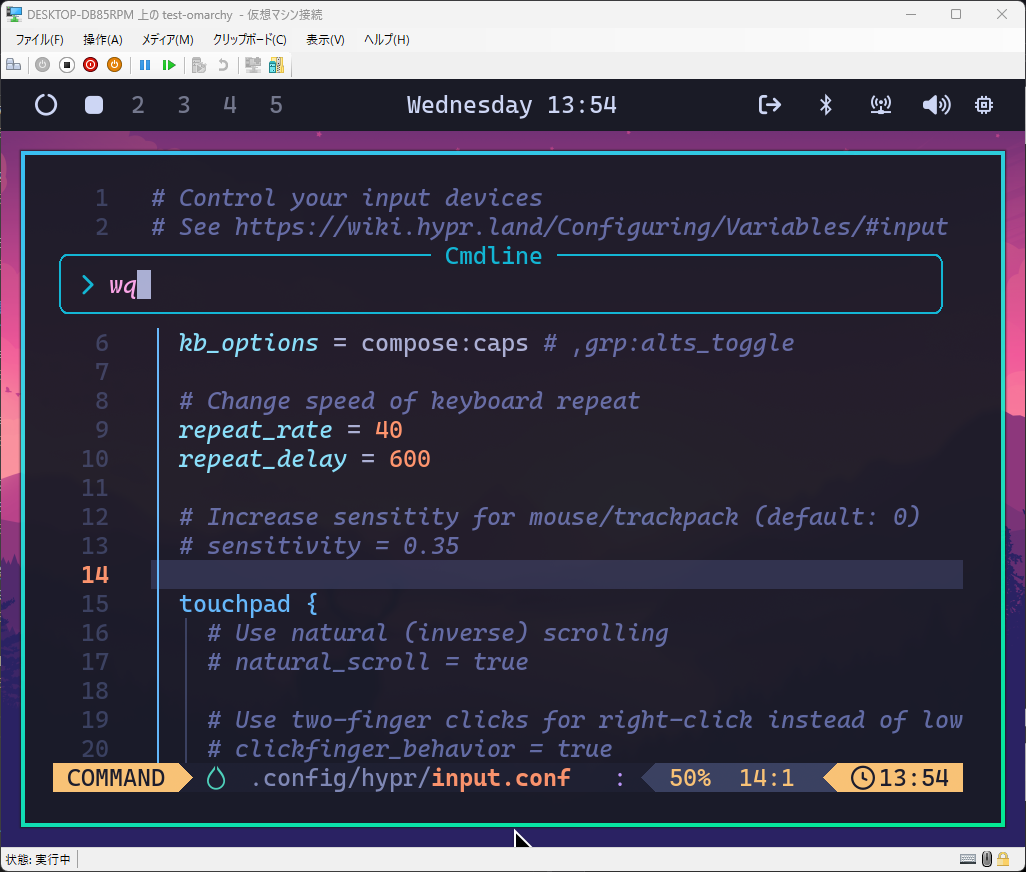
This changes the keyboard layout.
Change UI scale (optional)
Omarchy sets the UI scale to 2x by default. If you are not using a 4K monitor, the UI may look too large, so adjust it here.
Launch the menu with “Super + Alt + Space” and open “Setup” → “Monitors”.
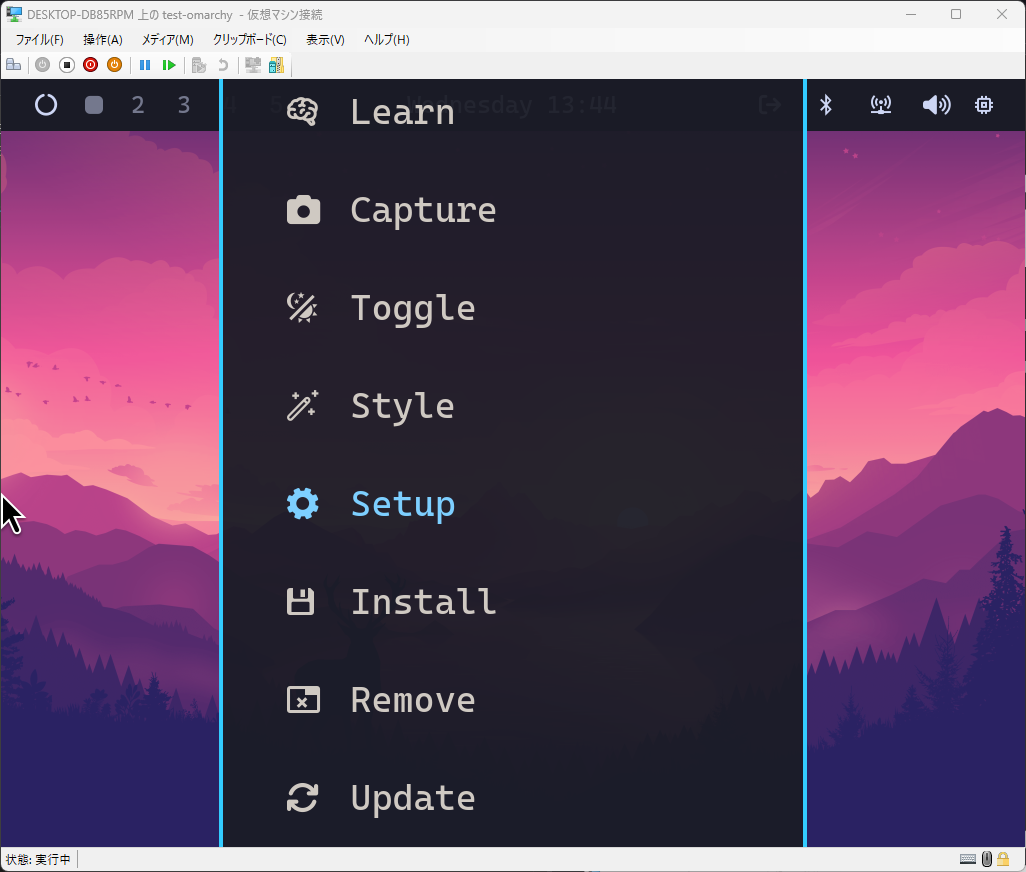
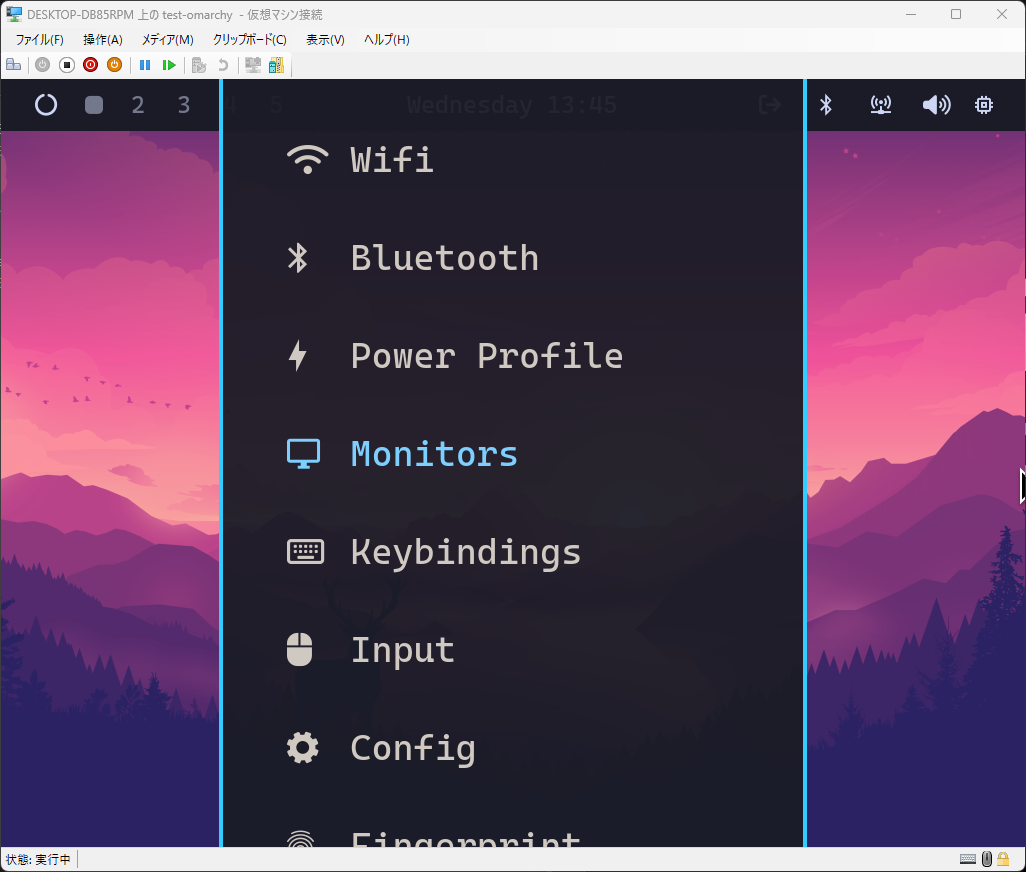
Change 2 to 1 in env = GDK_SCALE, 2.
Change the auto at the end of monitor=,preferred,auto,auto to 1.
The “1” specified here means 1x. If you specify “1.333”, it will be displayed at about 1.3x scale. Specify a scale that suits your environment.
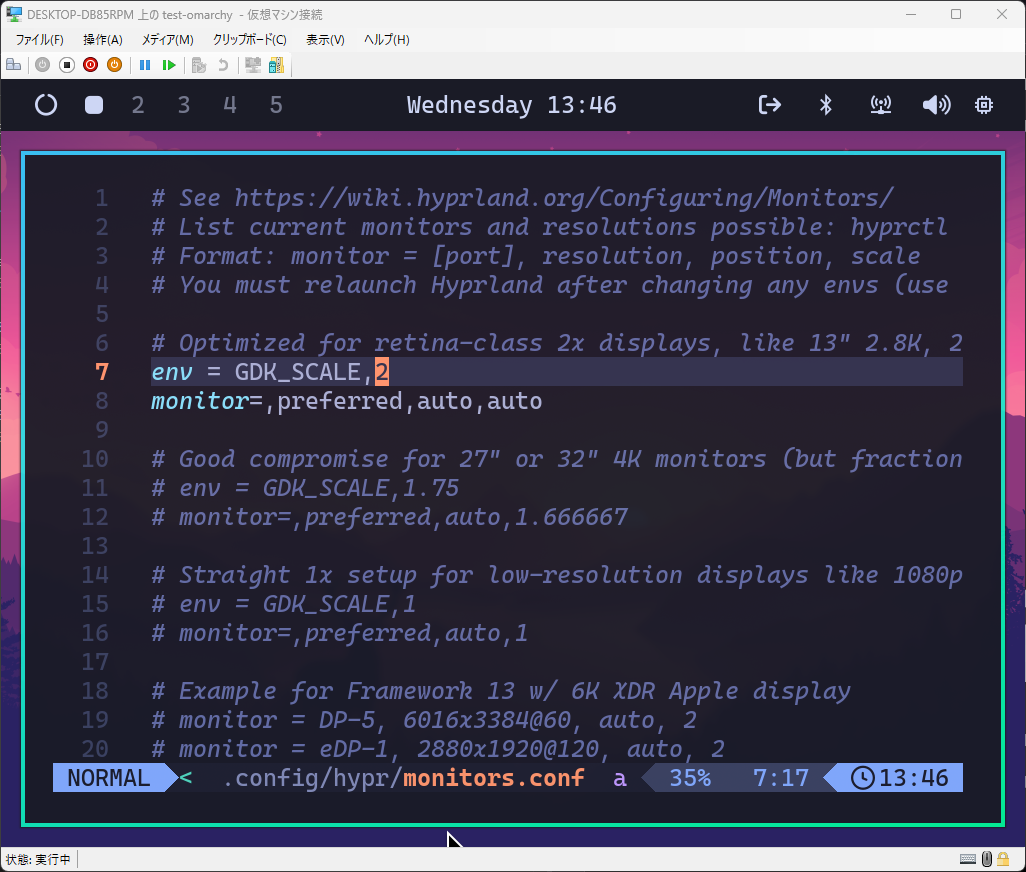
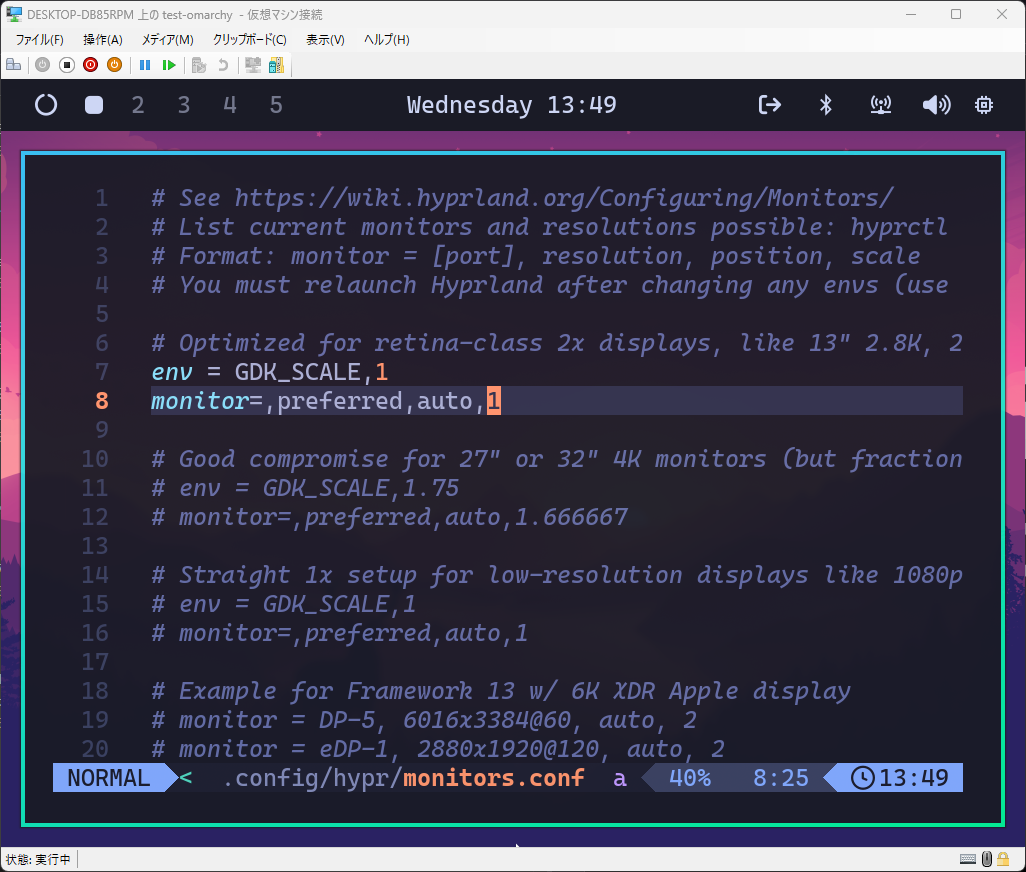
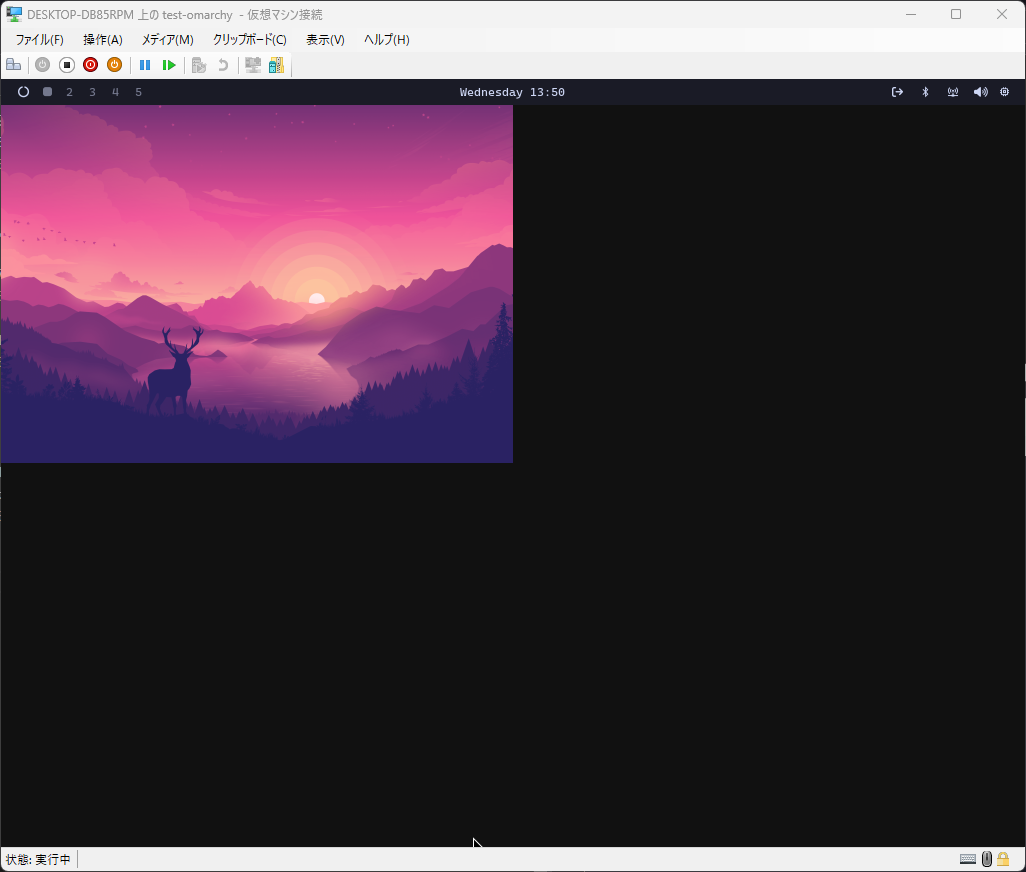
Save with “:wq”. The wallpaper may appear small, but it fixes itself when you open the menu. If it bothers you, try Relaunch or a similar action.
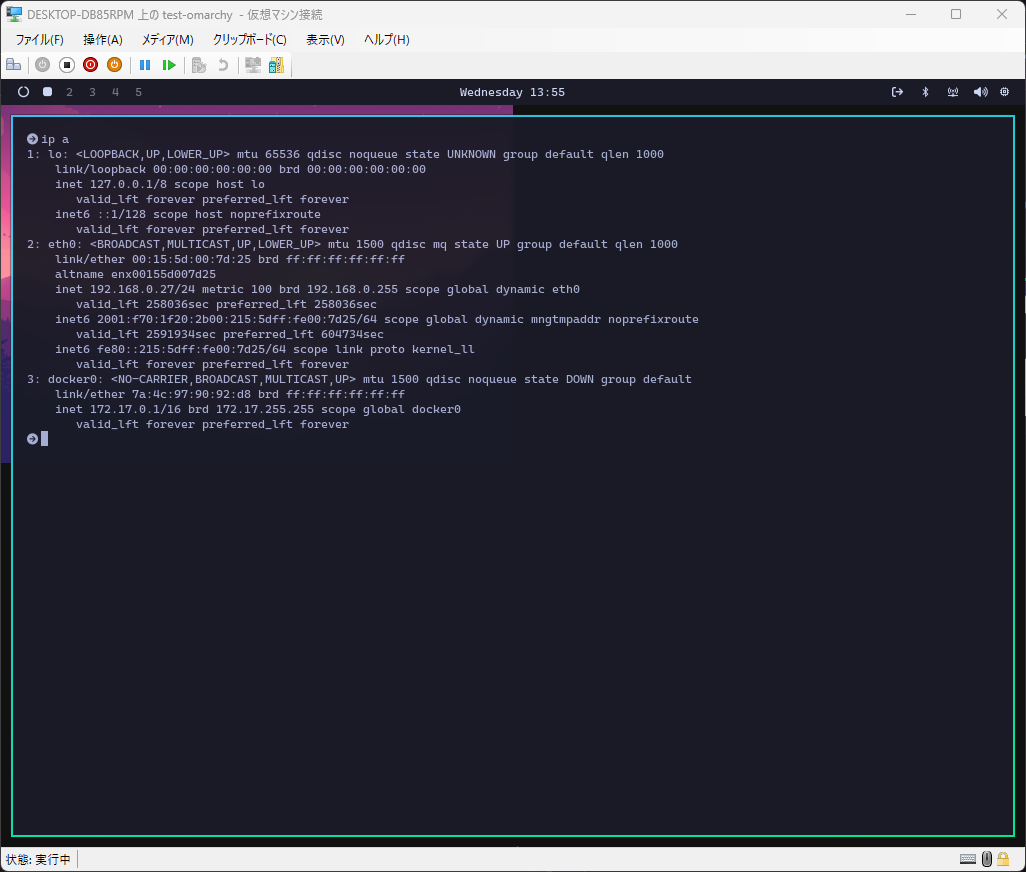
Japanese input settings (optional)
Earlier, I made the keyboard settings compatible with the Japanese keyboard layout, but Japanese input is still not possible in this state.
Therefore, we will install Mozc, an OSS version of Google Japanese Input, to enable Japanese input.
Enter the command below to install Fcitx5 and Mocz.
yay -S --needed fcitx5 fcitx5-configtool fcitx5-gtk fcitx5-qt fcitx5-mozc-utEnter the following command to open the Fcitx5 settings screen.
fcitx5-configtool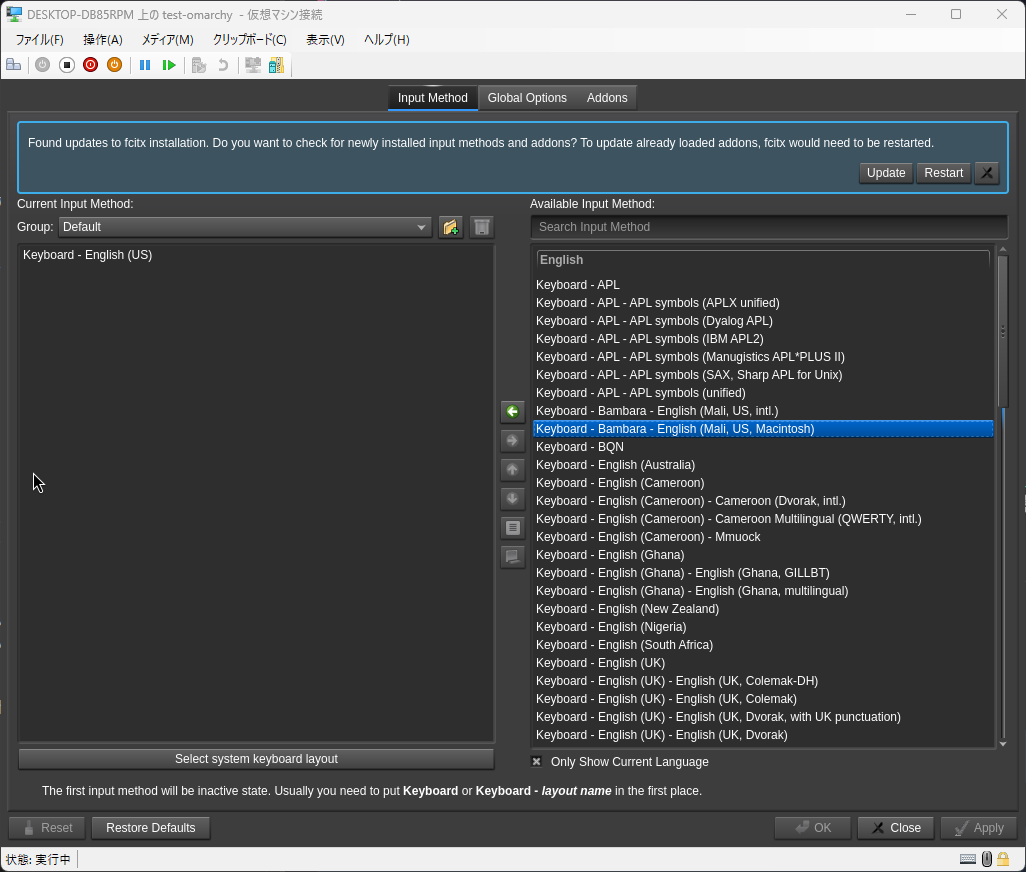
A notification will appear at the top of Fcitx5, so click “Restart”.
Delete “Keyboard - English (US)” in Current Input Method and add “Keyboard - Japanese” and “Mozc”.
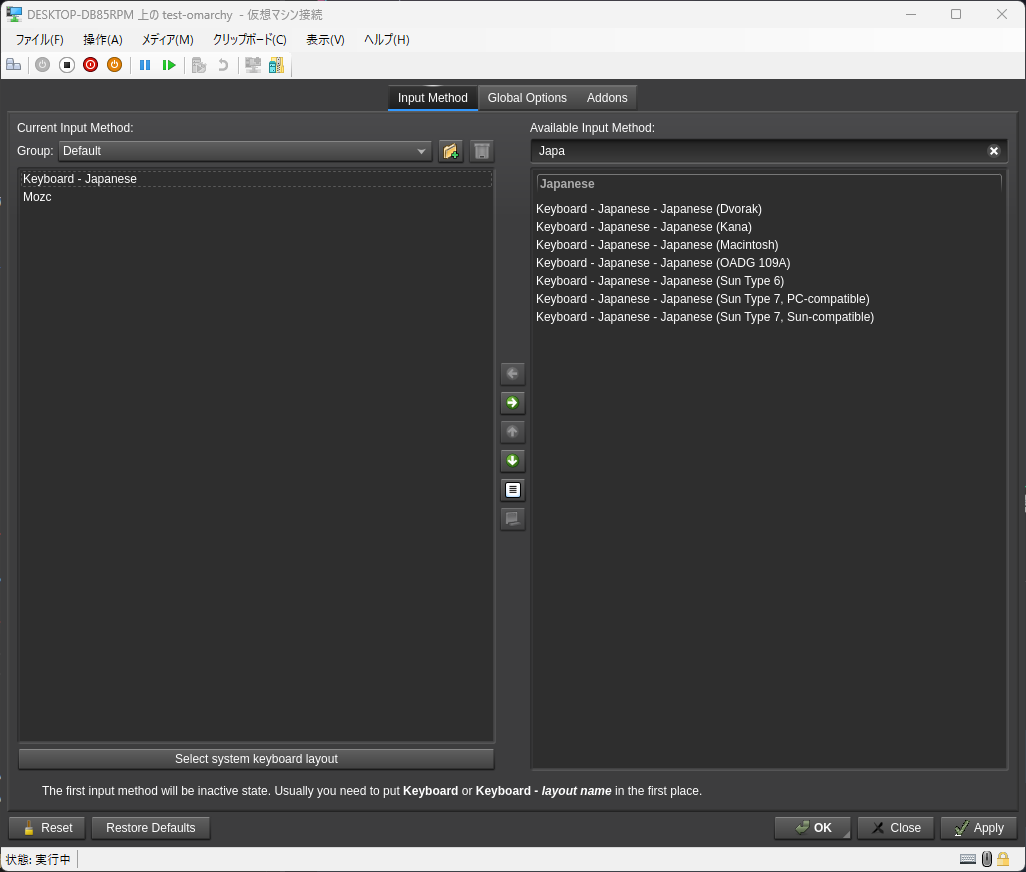
Click “Apply” at the bottom right and close the settings screen.
Now you can input Japanese. The input switching shortcut is “Ctrl + Space” by default.
Configuring a remote desktop environment using VNC (optional)
The settings above are enough for basic Omarchy use. This section is useful when installing Omarchy on a remote server. It may not be necessary if you are running it on a nearby device such as a laptop.
WayVNC configuration
If you install Omarchy on a remote server, you may need a remote desktop environment. Here I will introduce WayVNC, a VNC server compatible with Hyprland (Wayland).
Enter the command below to install WayVNC.
pacman -S wayvncThe basic usage is as follows. With Hyprland, you can create a headless display and share that display via WayVNC.
Start the terminal with “Super + Enter”. Enter the following command to create a headless display. (HEADLESS-1 is an arbitrary name)
hyprctl output create headless HEADLESS-1Enter the command below to start WayVNC.
wayvnc -o HEADLESS-1 0.0.0.0 5900The WayVNC settings are now complete.
VNC connection is now possible with {Omarchy IP address}:5900 from a remote client.
However, running this command every time after starting the server is troublesome, so automate it. Omarchy allows you to configure commands that run automatically after startup.
Open Omarchy’s autostart configuration file with the following command. (n is an alias for Neovim. Since the default vim is not included, use Neovim.)
n ~/.config/hypr/autostart.confAdd the following content.
exec-once = bash -lc 'hyprctl output create headless VNC-1; \
  sleep 0.2; \
  hyprctl keyword monitor "VNC-1,1920x1080@60,auto,1"; \
  wayvnc -o VNC-1 -k jp 0.0.0.0 5900'
Save with “:wq”.
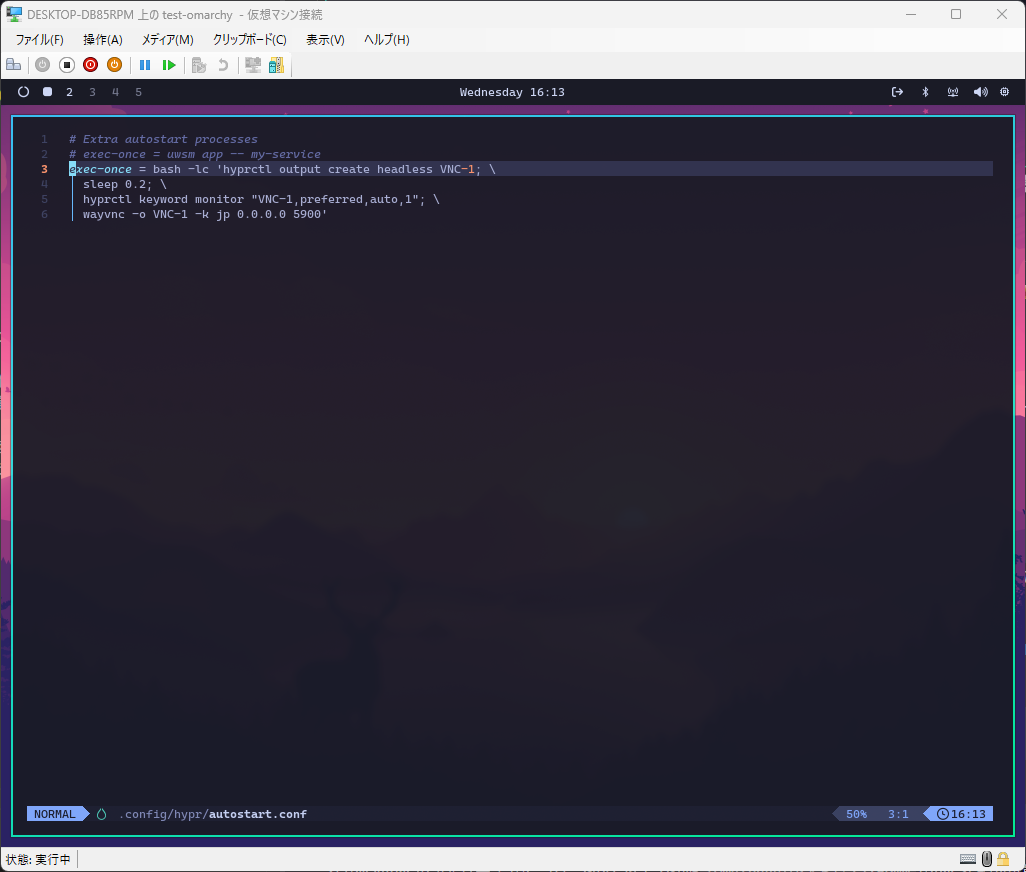
Now WayVNC will start automatically when the OS starts.
*If disk encryption is enabled, WayVNC’s automatic startup will not work until you enter the disk decryption password. Therefore, for this remote server, disk encryption was disabled.
Connection test from Windows
Install RealVNC, a VNC client, on Windows and try to connect.
A warning appears because TLS encryption is disabled by default.
I was able to connect to Omarchy via VNC.
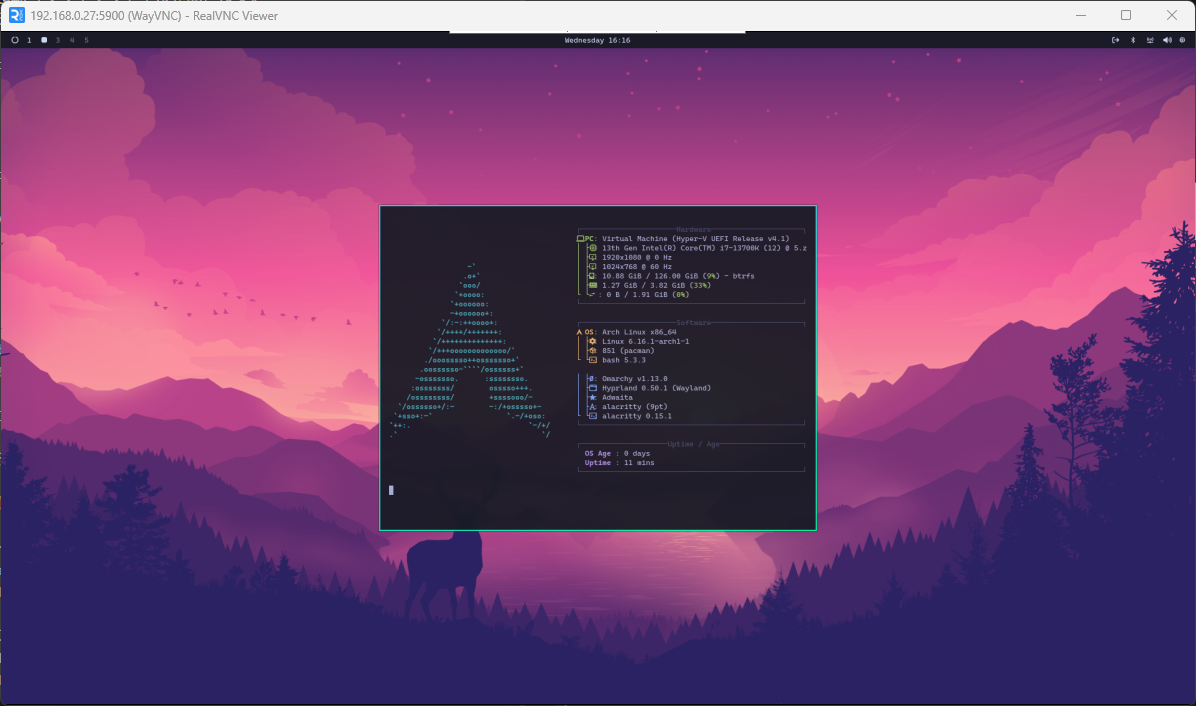
Here are some useful settings on the RealVNC side.
In the connected session, open RealVNC’s “Properties” (gear mark) and search for “DynamicResolution” under “Expert”. Setting this to “True” changes the resolution dynamically. Then, even if you change the window size, margins will not remain visible.
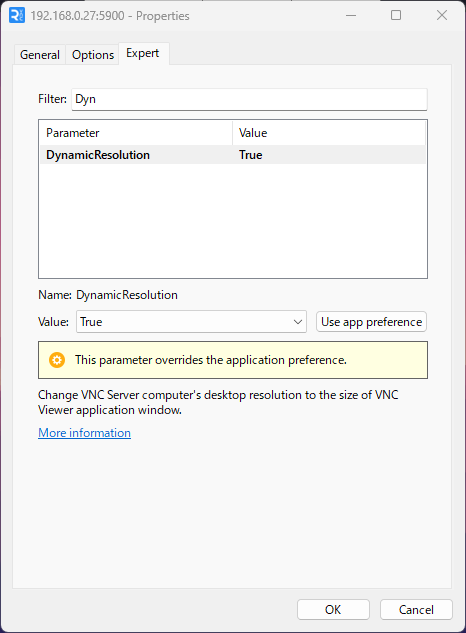
Additionally, if the mouse cursor and pointer dot are displayed separately and the delay bothers you, you can disable the dot display with the following settings.
Open RealVNC’s “Properties” (gear mark) and set both “DotWhenNoCursor” and “UseLocalCursor” to “False” from “Expert”.
Conclusion
Omarchy is a project that brings the freedom of Arch Linux and the beauty of Hyprland within easy reach. It is recommended for those who want an environment they can use immediately without spending time on detailed setup. Since the base environment is already prepared, you can customize it to your liking. A good approach is to first create a working environment, then make adjustments little by little.