
Introduction
This article introduces a generalized Next.js + NestJS + HackMD (CodiMD) system based on the system used for this blog. It is based on Vercel’s official Blog Starter Kit.
Links
Repository

Sample site
https://next-app—main—next-nest-codimd—munenick.coder.munenick.me/
Installation
Building Docker environment
Prepare a docker-compose environment first. See the article below: https://www.munenick.me/blog/centos8-stream-docker
Clone the repository
Clone the repository using the following command.
git clone https://github.com/MuNeNICK/nextjs-nestjs-codimdFirst time setup
A few manual steps are required during the first setup.
Rewriting entrypoint.sh
There is an entrypoint.sh file in both the frontend and backend folders.
Rewrite them as follows.
entrypoint.sh for frontend
#!/bin/bash

cd /usr/src/app

bash

# if grep next package.json >/dev/null; then
#     echo Next exists.
# else
#     cd /usr/src/app
#     yarn create next-app --example blog-starter .
# fi

# while read line
# do
#   if grep "$line" package.json >/dev/null; then
#     echo $line exists.
#   else
#     echo $line does not exist.
#     yarn add $line
#   fi
# done < /packages.txt


# if [ "$STATUS" == "development" ]; then
#   echo Starting in developer mode...
#   yarn dev
# elif [ "$STATUS" == "production" ]; then
#   echo Starting in production mode...
#   yarn build
#   yarn start
# else
#   echo Invalid environment variable.
# fi
entrypoint.sh for backend
#!/bin/bash

cd /usr/src/app

bash

# if grep nest package.json >/dev/null; then
#     echo Nest exists.
# else
#     echo Nest does not exist.
#     git clone https://github.com/nestjs/typescript-starter.git .
#     yarn install
# fi

# while read line
# do
#   if grep "$line" package.json >/dev/null; then
#     echo $line exists.
#   else
#     echo $line does not exist.
#     yarn add $line
#   fi
# done < /packages.txt


# if [ "$STATUS" == "development" ]; then
#   echo Starting in developer mode...
#   yarn prisma studio &
#   yarn start:dev
# elif [ "$STATUS" == "production" ]; then
#   echo Starting in production mode...
#   yarn start
# else
#   echo Invalid environment variable.
# fi
Building an application
Build the application with the following command.
docker-compose up -d --buildInstalling required packages
You need to install packages in the Next.js and NestJS containers. Install packages in the Next.js container:
docker-compose exec next bash
yarn install
Install packages in the NestJS container:
docker-compose exec nest bash
yarn install
Stopping Docker
Stop Docker with the command below.
docker-compose downRewriting entrypoint.sh
Restore the original entrypoint.sh files.
Rewriting docker-compose.yml
Rewrite STATUS in the next and nest environment fields of docker-compose.yml as follows.
- production: used when releasing the site
- Build and launch with Next.js
- development: used when developing the site
- Start in developer mode
version: "3"

services:
  next:
    build:
      context: .
      dockerfile: ./frontend/Dockerfile
    container_name: next-container
    hostname: next-server
    tty: true
    environment:
      - STATUS=production
      - WATCHPACK_POLLING=true
      - NEXT_PUBLIC_BACKEND_URL=${PUBLIC_BACKEND_URL}
      - NEXT_PUBLIC_HACKMD_URL=${PUBLIC_HACKMD_URL}
    ports:
      - 3000:3000
    volumes:
      - ./frontend/app:/usr/src/app
    restart: always

  nest:
    build:
      context: .
      dockerfile: ./backend/Dockerfile
    container_name: nest-container
    hostname: nest-server
    tty: true
    environment:
      - STATUS=production
      - DATABASE_URL=${POSTGRES_URL}
      - POSTGRES_PASSWORD=${POSTGRES_PASSWORD}
      - JWT_SECRET=${JWT_SECRET}
    ports:
      - 3001:3000
      - 5555:5555
    volumes:
      - ./backend/app:/usr/src/app
    restart: always

  codimd:
    build:
      context: .
      dockerfile: ./codimd/Dockerfile
    container_name: codimd-container
    hostname: codimd-server
    environment:
      - CMD_DB_URL=${POSTGRES_URL}
      - CMD_DOMAIN=${PUBLIC_DOMAIN}
      - CMD_URL_PATH=${CODIMD_PATH}
      - CMD_PROTOCOL_USESSL=true
      - CMD_IMAGE_UPLOAD_TYPE=filesystem
      - CMD_ALLOW_EMAIL_REGISTER=false
      - CMD_ALLOW_ANONYMOUS=true
    depends_on:
      - postgres
    ports:
      - "3002:3000"
    volumes:
      - upload-data:/home/hackmd/app/public/uploads
    restart: always

  postgres:
    image: postgres:11.6-alpine
    container_name: postgres-container
    hostname: postgres-server
    environment:
      - POSTGRES_USER=codimd
      - POSTGRES_PASSWORD=${POSTGRES_PASSWORD}
      - POSTGRES_DB=codimd
    volumes:
      - "database-data:/var/lib/postgresql/data"
    restart: always

volumes:
  database-data: {}
  upload-data: {}
Rewriting .env file
Rewrite each parameter to suit your own environment. This site requires a JWT token. You can generate a token using the following command.
node -e "console.log(require('crypto').randomBytes(256).toString('base64'));"## Arbitrary parameters. Rewrite as appropriate.
## POSTGRES-related parameters
POSTGRES_PASSWORD=ChangeMe
POSTGRES_URL=postgres://codimd:${POSTGRES_PASSWORD}@postgres/codimd
## CODIMD-related parameters
CODIMD_PASSWORD=ChangeMe
## If subdirectories are used, describe their paths
CODIMD_PATH=
## URL-related parameters
PUBLIC_DOMAIN=
PUBLIC_FRONTEND_URL=
PUBLIC_BACKEND_URL=
PUBLIC_HACKMD_URL=
## JWT token. To generate a token:
## node -e "console.log(require('crypto').randomBytes(256).toString('base64'));"
JWT_SECRET=""Starting Docker
Start Docker with the command below.
docker-compose up -d --buildThe repository is now ready to use.
How to use the sample site
This section explains how to use the sample site.
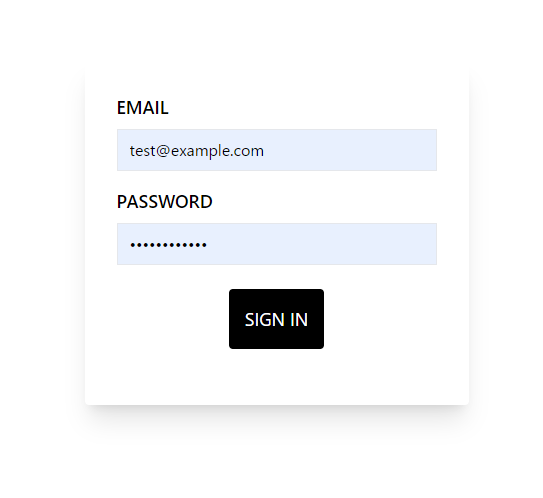
Login
https://next-app—main—next-nest-codimd—munenick.coder.munenick.me/login Open the URL and enter the following email and password.
[email protected]
testtesttest
Enter them to log in.
Dashboard
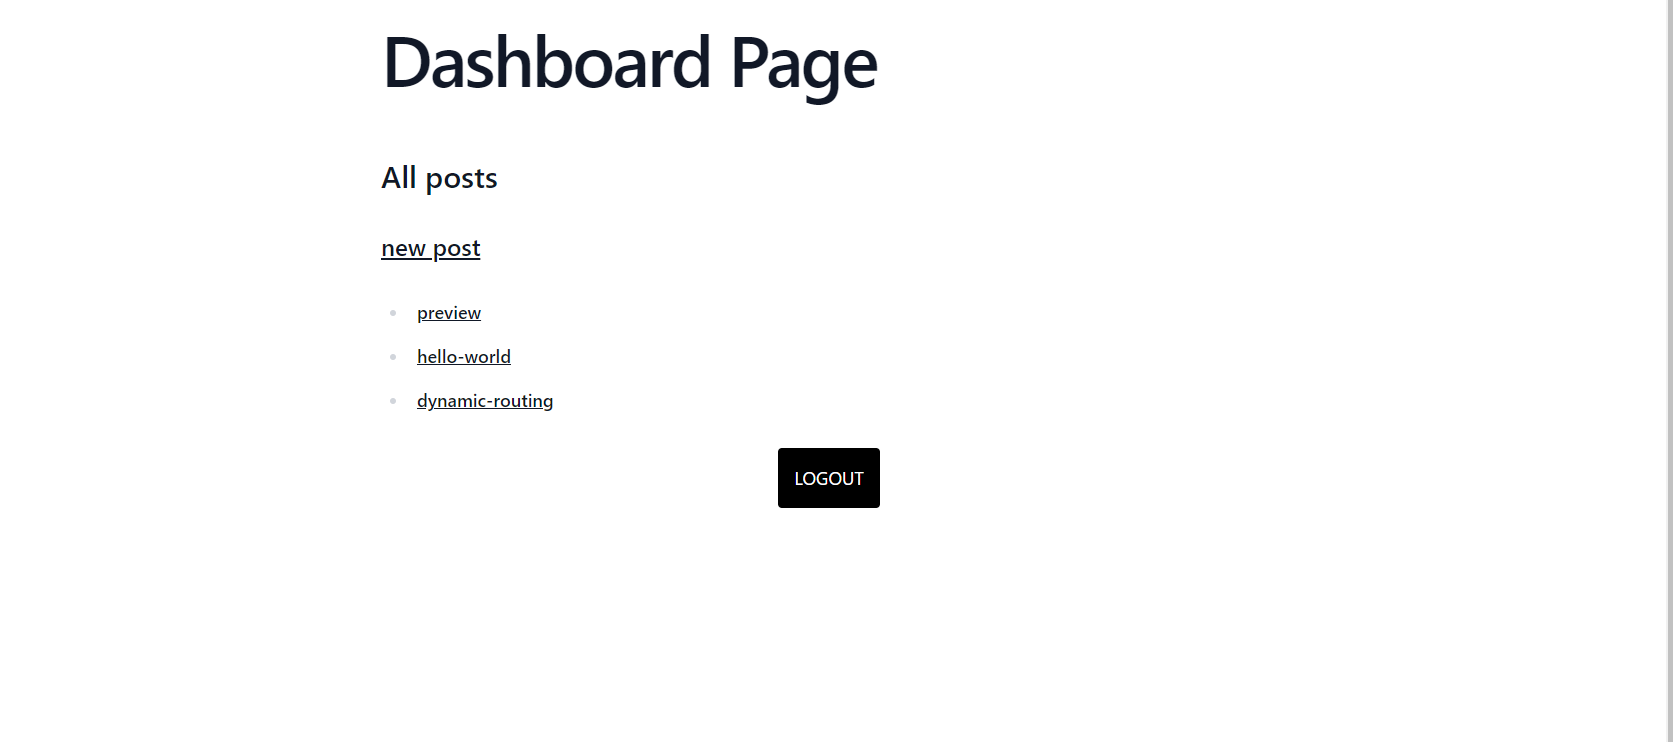
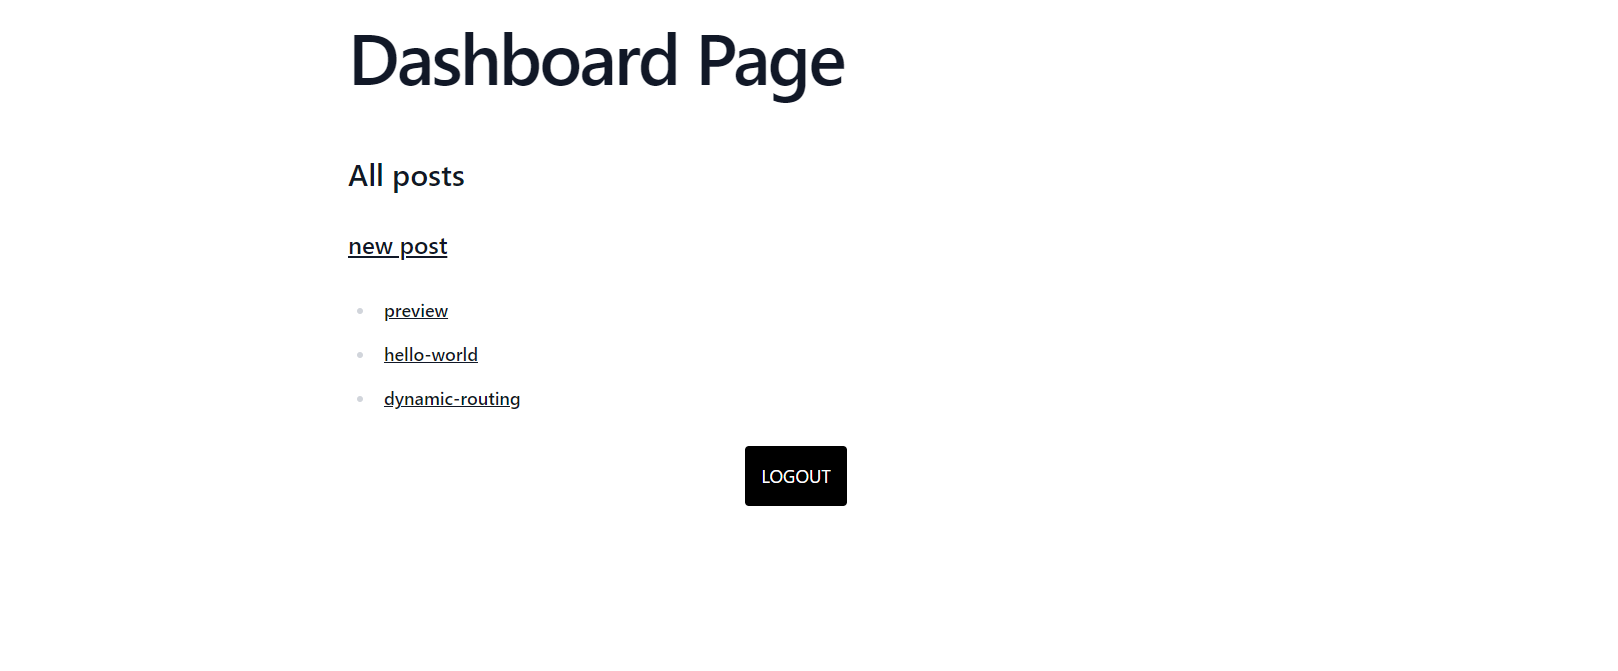
We have a dashboard page. Clicking “new posts” takes you to the new post page. You can move to each page by clicking the links displayed in the list.
New post
You can create a new post by clicking “new posts” from the dashboard or by accessing the link below. https://next-app—main—next-nest-codimd—munenick.coder.munenick.me/new
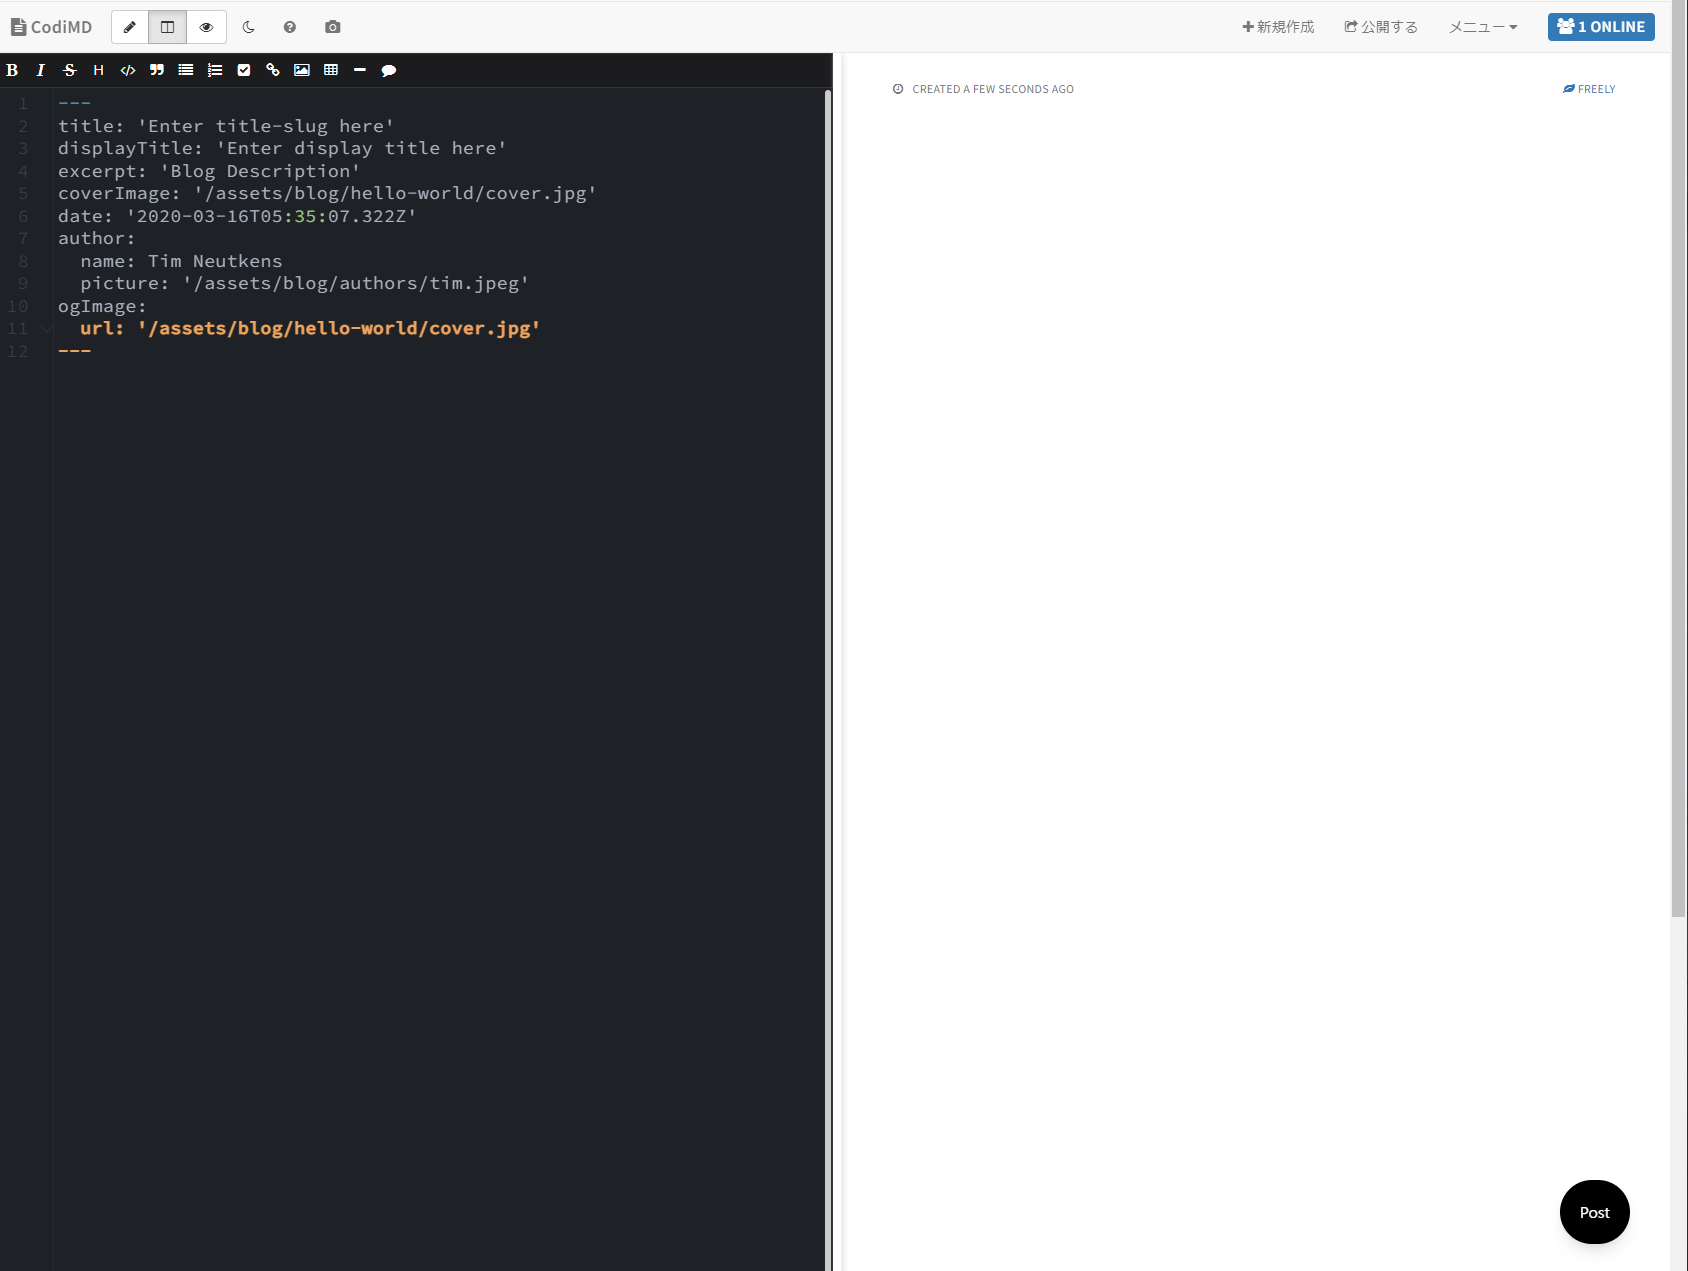
When you open CodiMD, the following is written by default.
---
title: 'Enter title-slug here'
displayTitle: 'Enter display title here'
excerpt: 'Blog Description'
coverImage: '/assets/blog/hello-world/cover.jpg'
date: '2020-03-16T05:35:07.322Z'
author:
  name: Tim Neutkens
  picture: '/assets/blog/authors/tim.jpeg'
ogImage:
  url: '/assets/blog/hello-world/cover.jpg'
---- title: slug name, used in URL. Example: hello-world
- displayTitle: Display title, corresponding to the blog title.
- excerpt: Article description
- coverImage: cover image path
- date: Posting date and time
- author: author’s name and photo path
- ogImage: Image path used for OG image
After editing each item and writing the main text, you can post using the Post button at the bottom right.
Editing
When you open an article while logged in, an Edit button will be displayed at the bottom right.
Before login

After login

Clicking the Edit button moves you to the article editing screen.
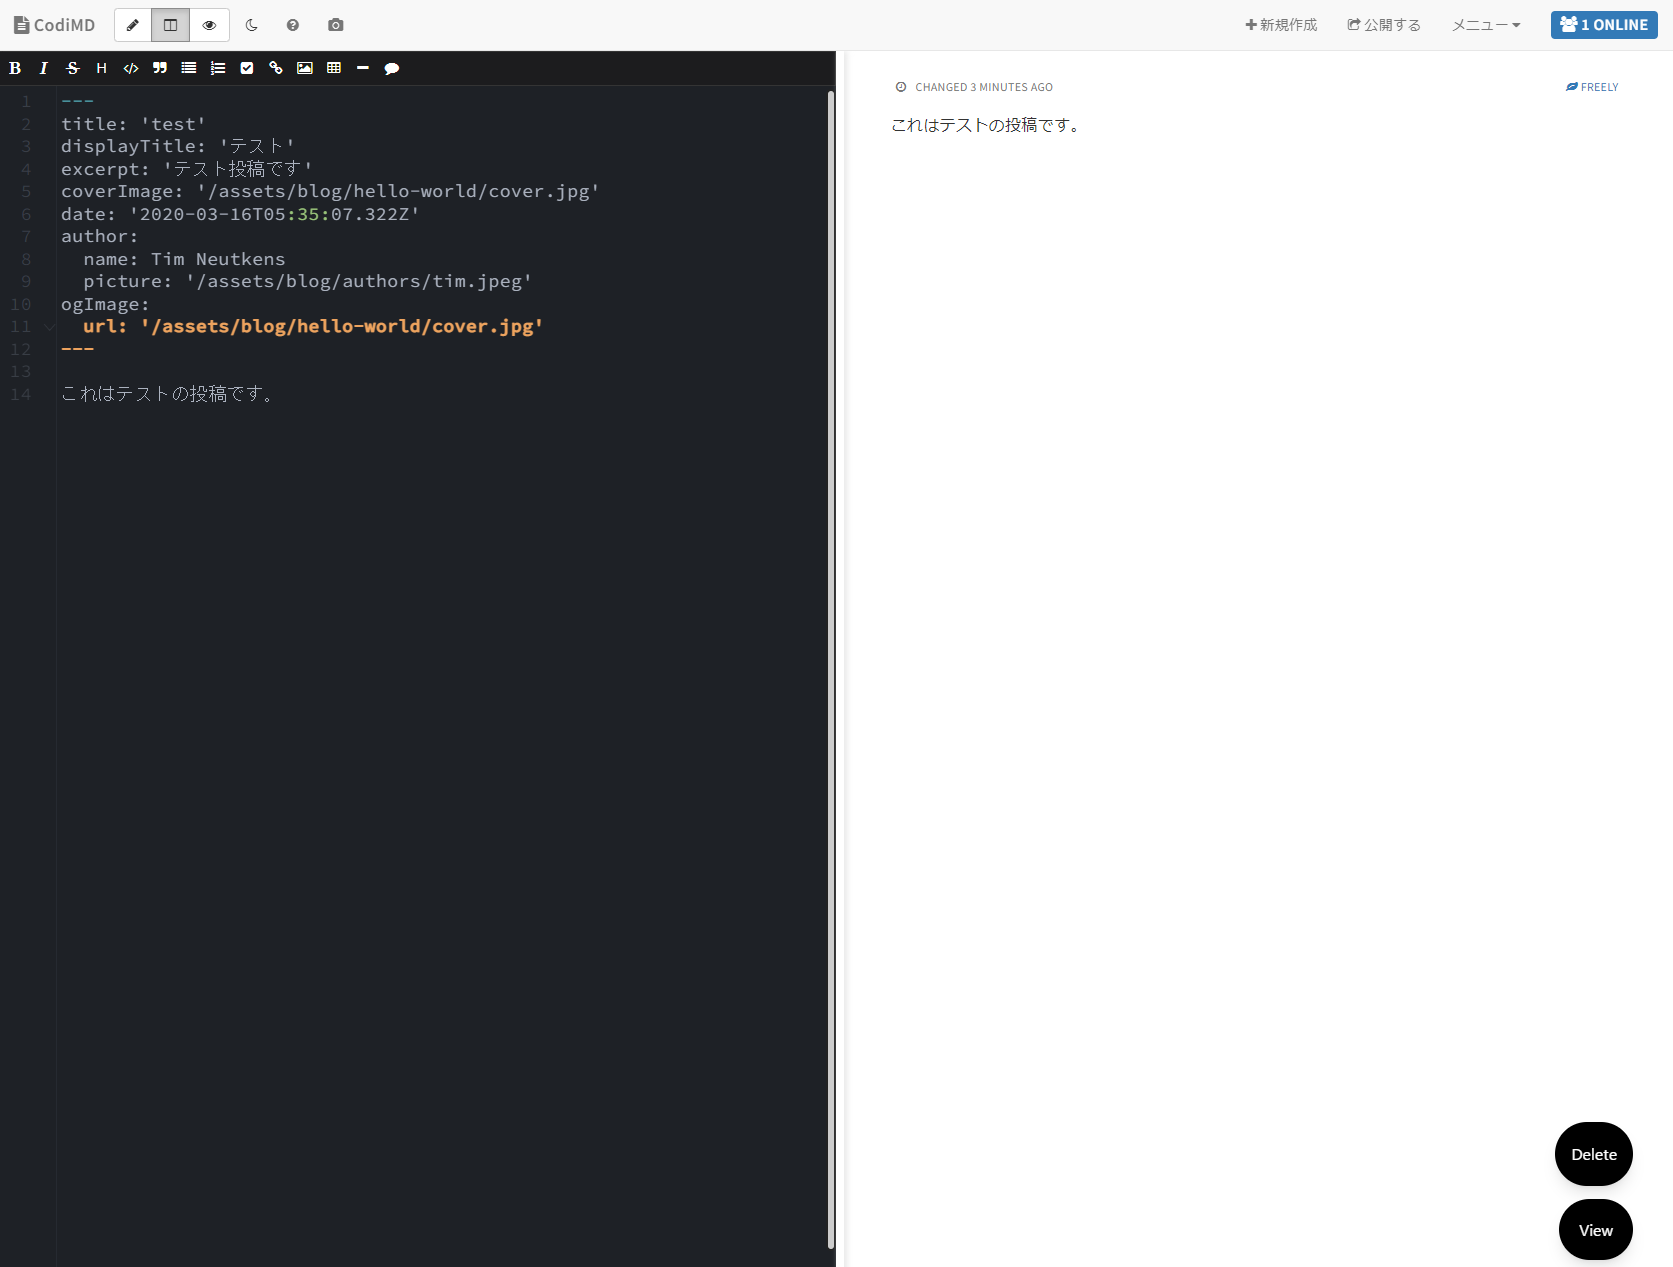
After editing, click the View button at the bottom right to finish.
Delete
Go to the article editing screen.
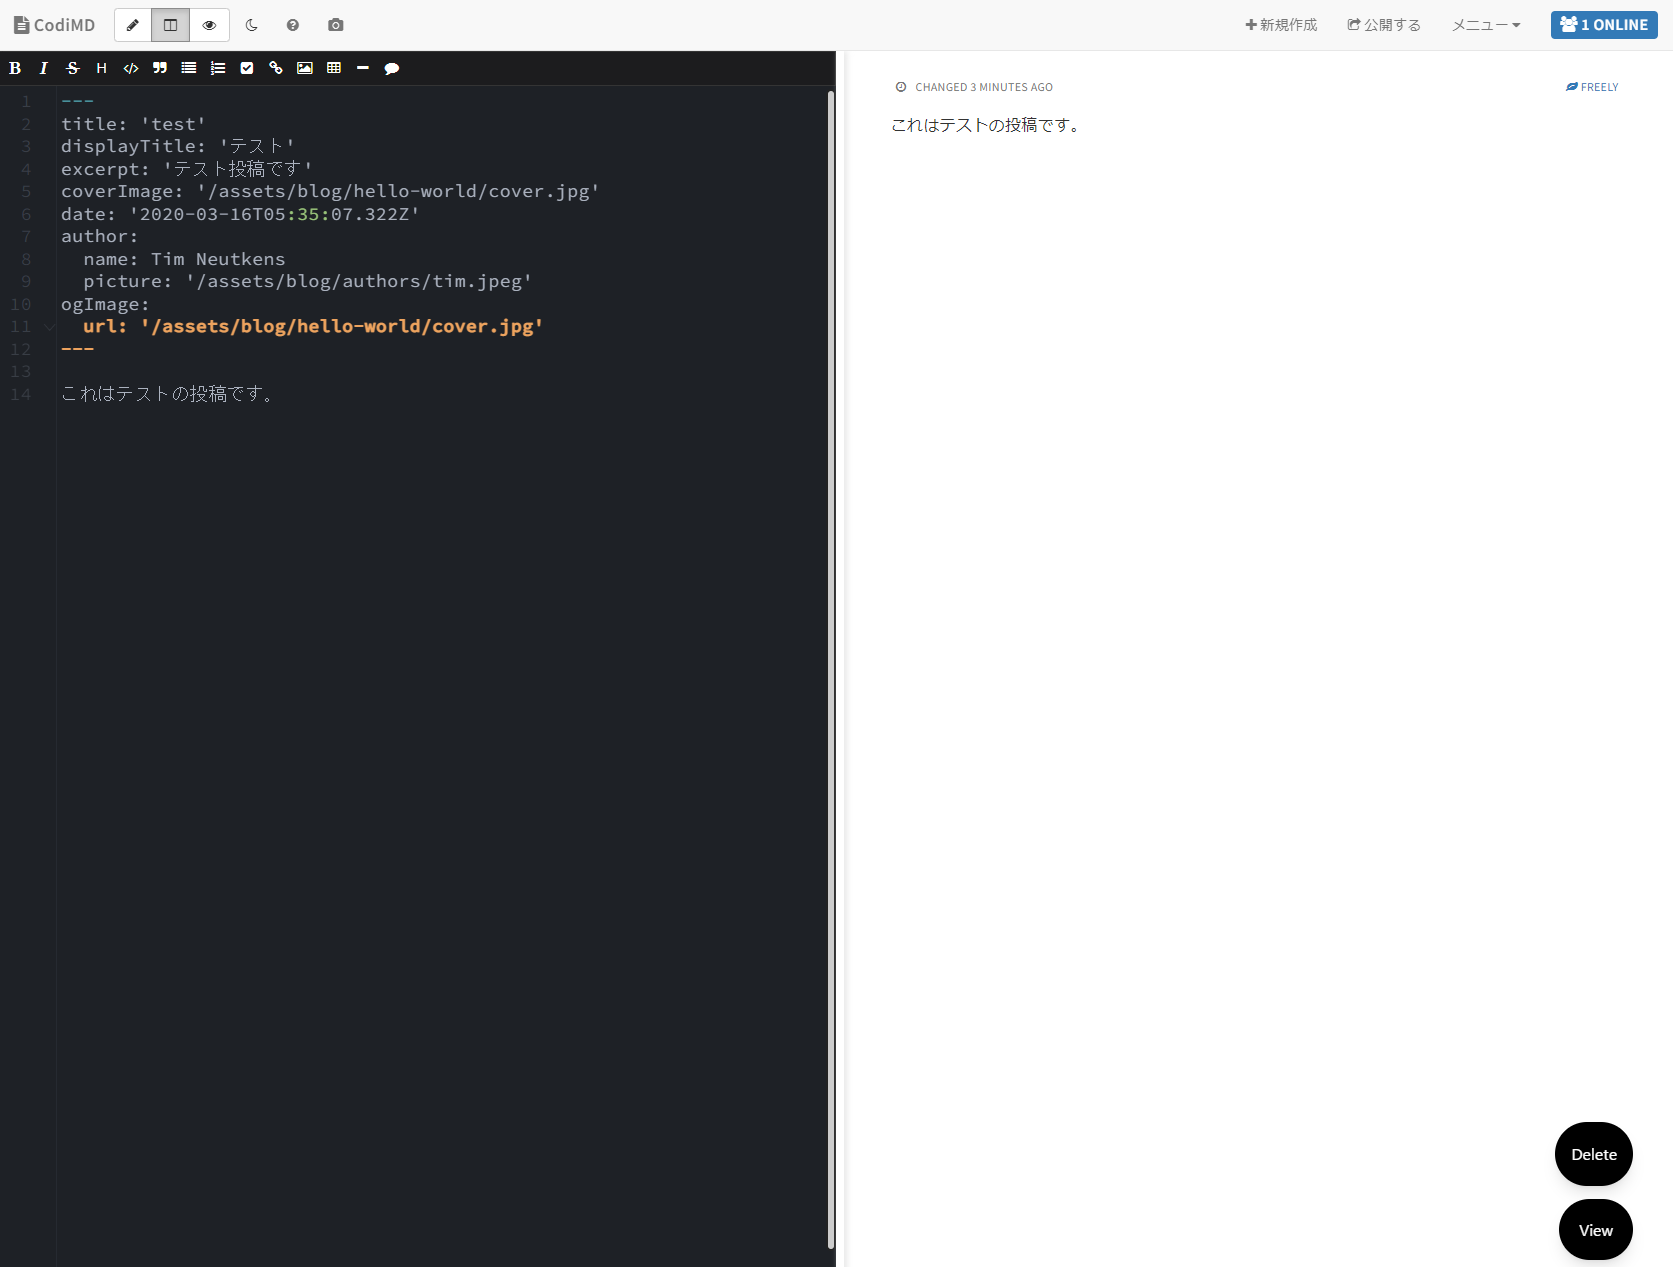
A Delete button will appear at the bottom right.
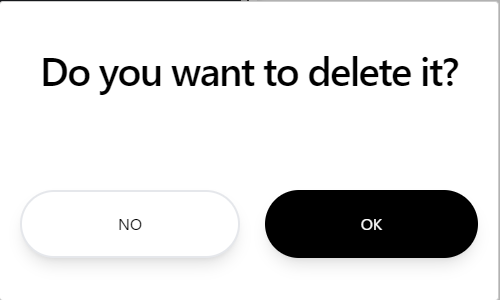
Clicking the Delete button displays a confirmation screen for deleting the article. You can delete the article by clicking OK.
Logout
You can log out by returning to the dashboard and clicking the LOGOUT button.
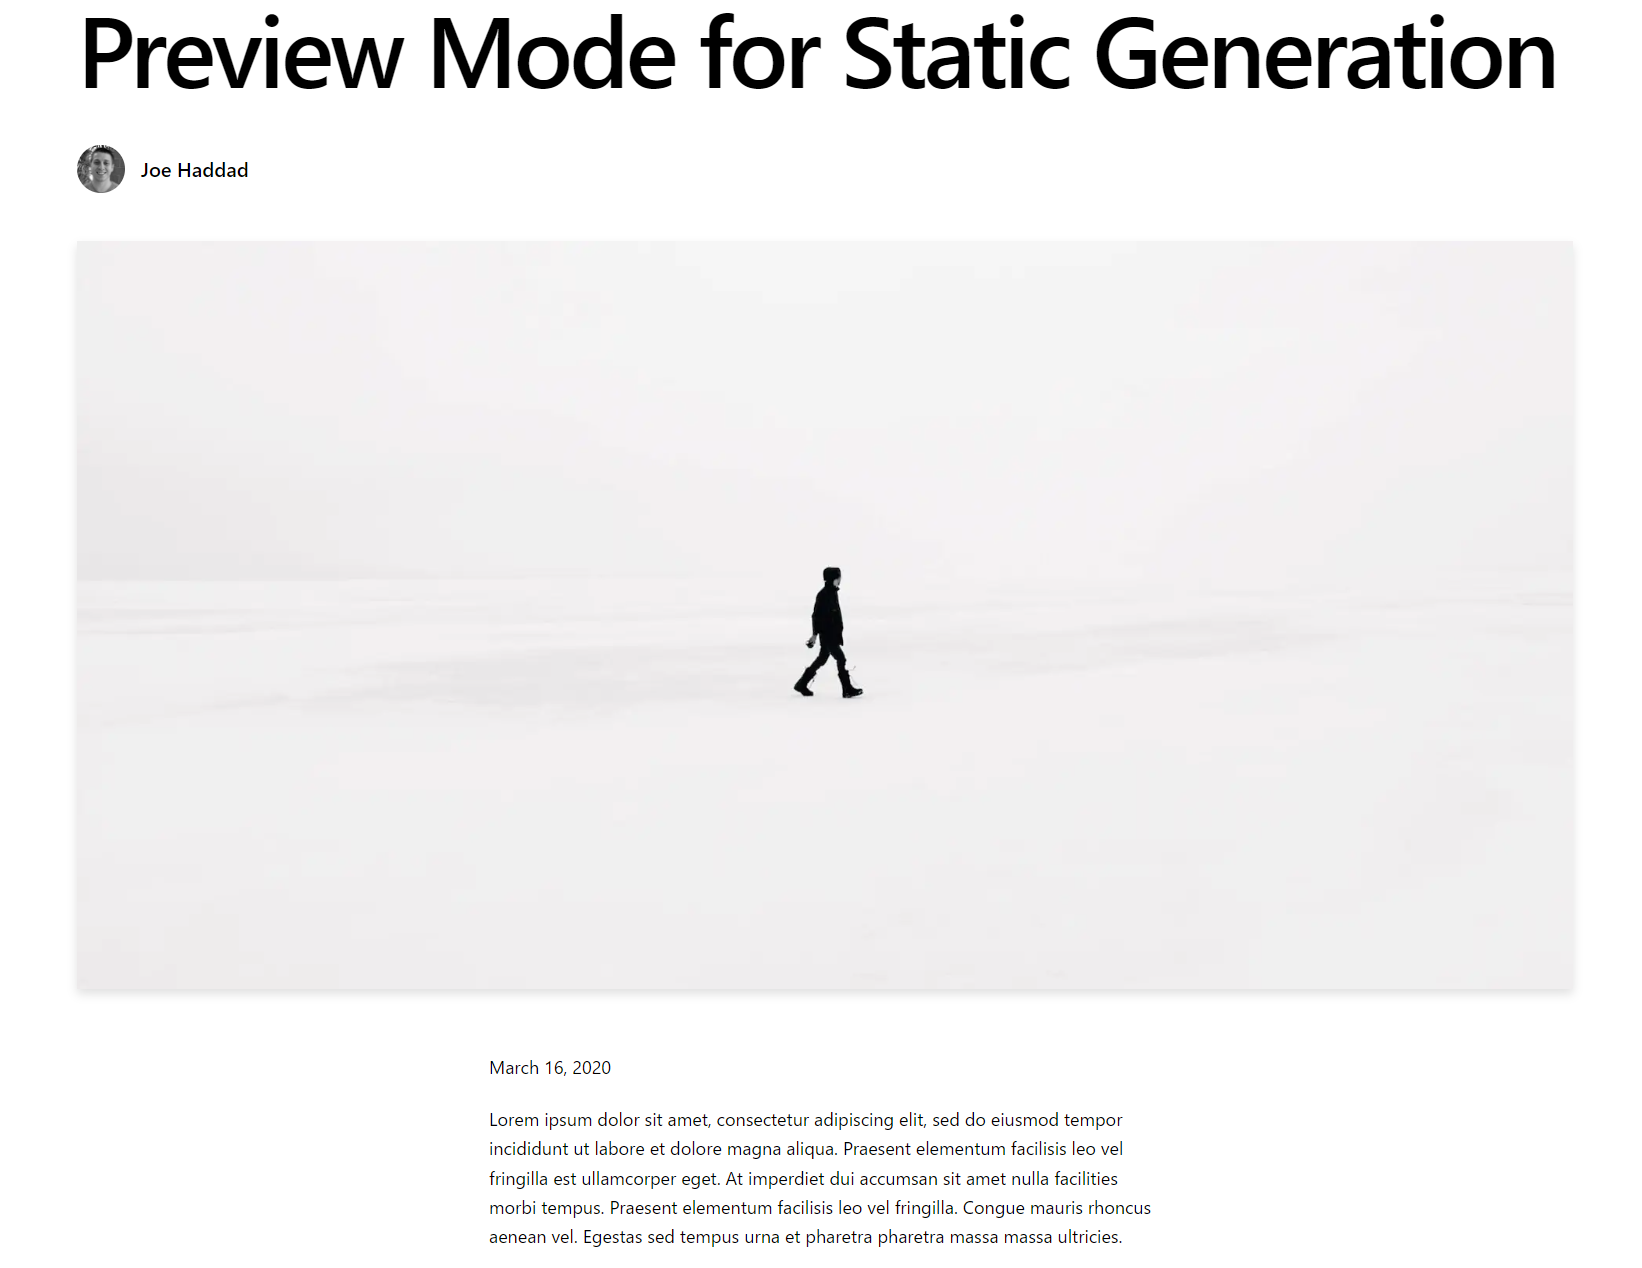
After logging out, the Edit button will no longer be displayed.
Background
I will briefly explain why I created a blog system with Next.js + NestJS + HackMD (CodiMD). When creating blogs with Next.js, many examples use cloud-based headless CMS services such as microCMS. However, I wanted to create a blog site without using cloud services. Then I remembered an OSS project called Growi. It is wiki software that can be edited with HackMD (CodiMD). Inspired by this, I thought it should be possible to embed CodiMD in an iframe and manage blog articles without using a headless CMS, so I created this blog.