
Introduction
This article explains how to use code-server on a remote server to run VSCode in a browser and use Claude Code there.
Claude Code is an AI-powered coding tool developed by Anthropic that provides natural language instructions for editing code, fixing bugs, running tests, and more. By combining it with code-server, you will be able to access the AI-assisted development environment via a browser from anywhere.
Prerequisites
This article assumes an Ubuntu environment. For more information about code-server, see the official code-server page.
Overview
Claude Code is an AI-powered coding tool developed by Anthropic that works directly on your terminal. By combining it with code-server, you will be able to access a development environment using Claude Code from anywhere via a browser.
Setup steps
1. Installing code-server
curl -fsSL https://code-server.dev/install.sh | sh2. First start code-server (to create the configuration file)
sudo systemctl enable --now code-server@$USER3. Edit the settings for external access
vi ~/.config/code-server/config.yamlConfiguration file contents:
bind-addr: 0.0.0.0:8080
auth: password
password: secure-password
cert: false
4. Restart code-server
sudo systemctl restart code-server@$USER5. Access from a browser
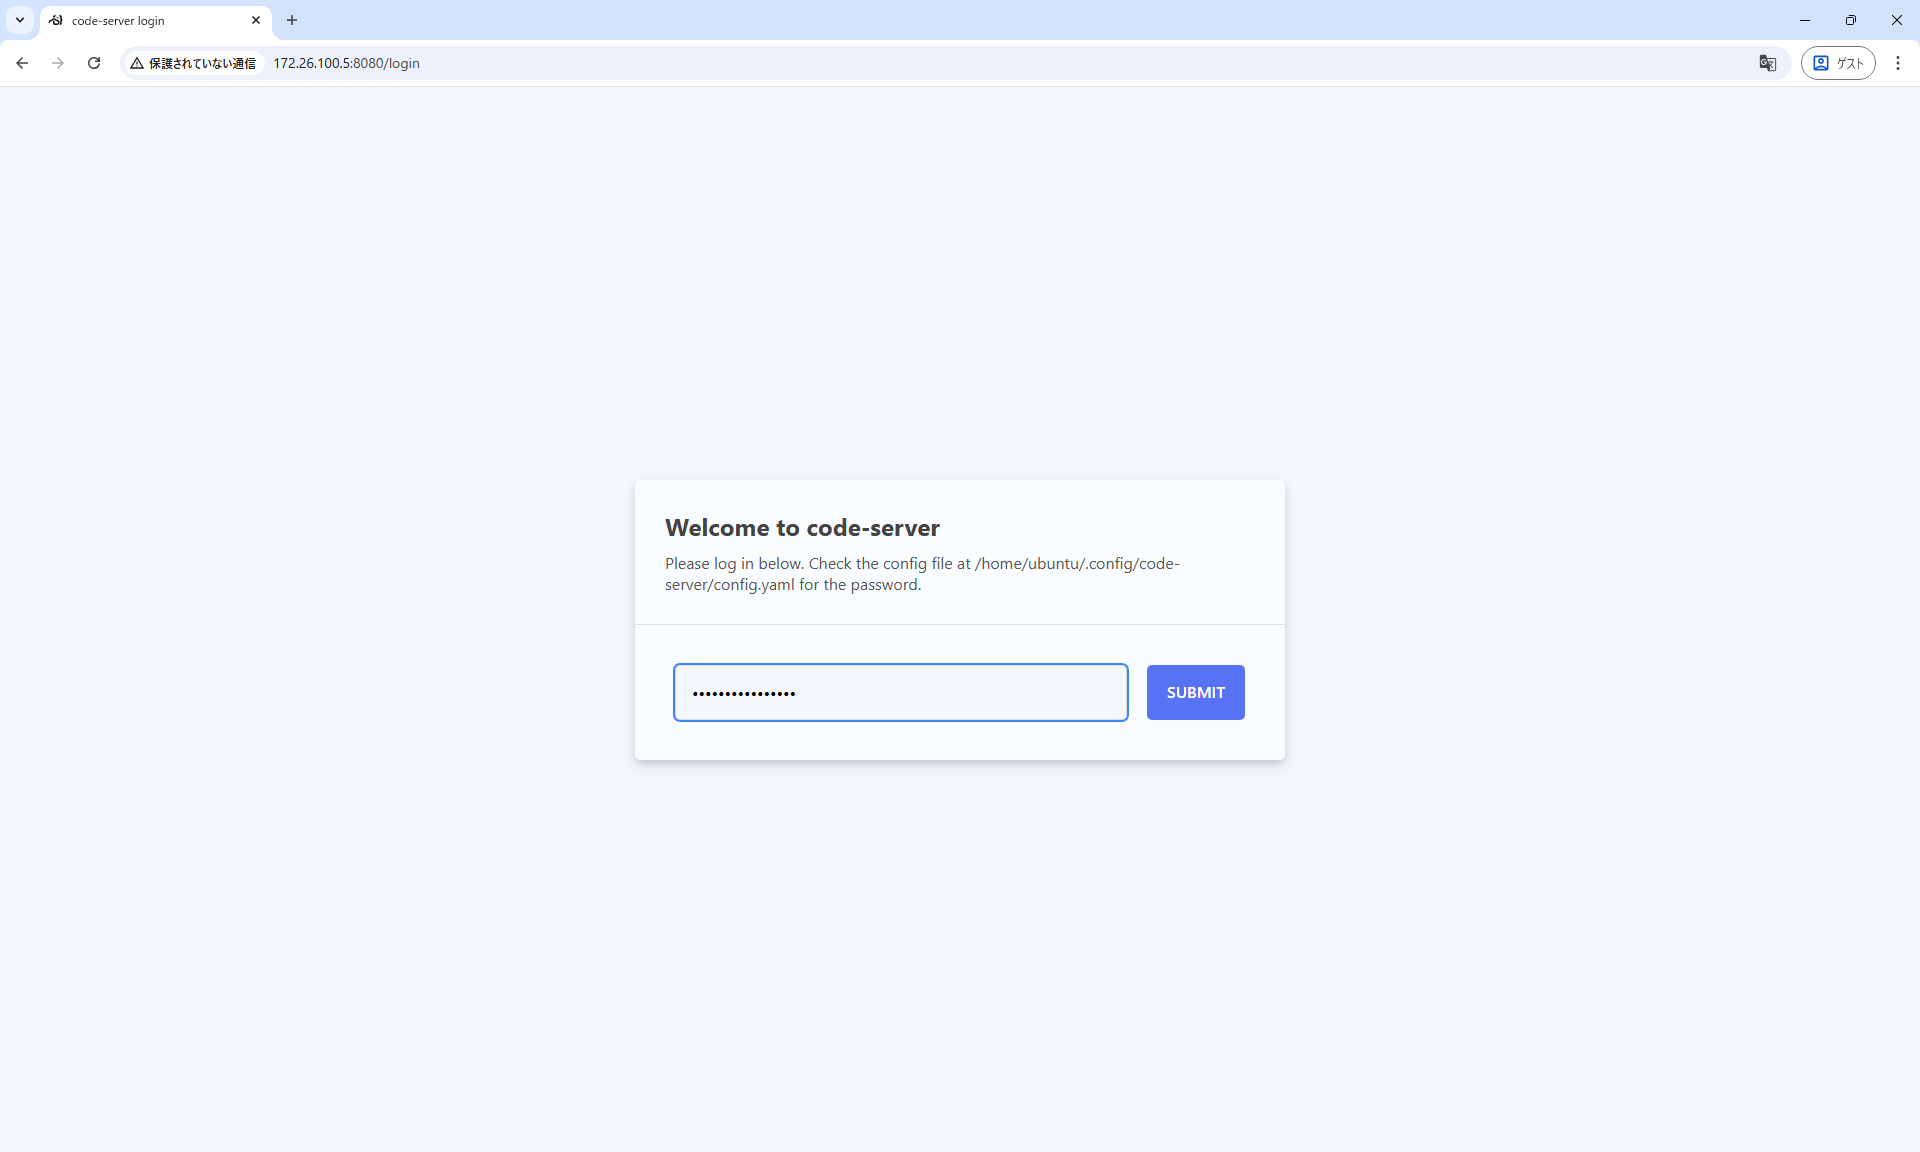
Access http://your-server-ip:8080 and log in with the password you set.
6. Open a terminal
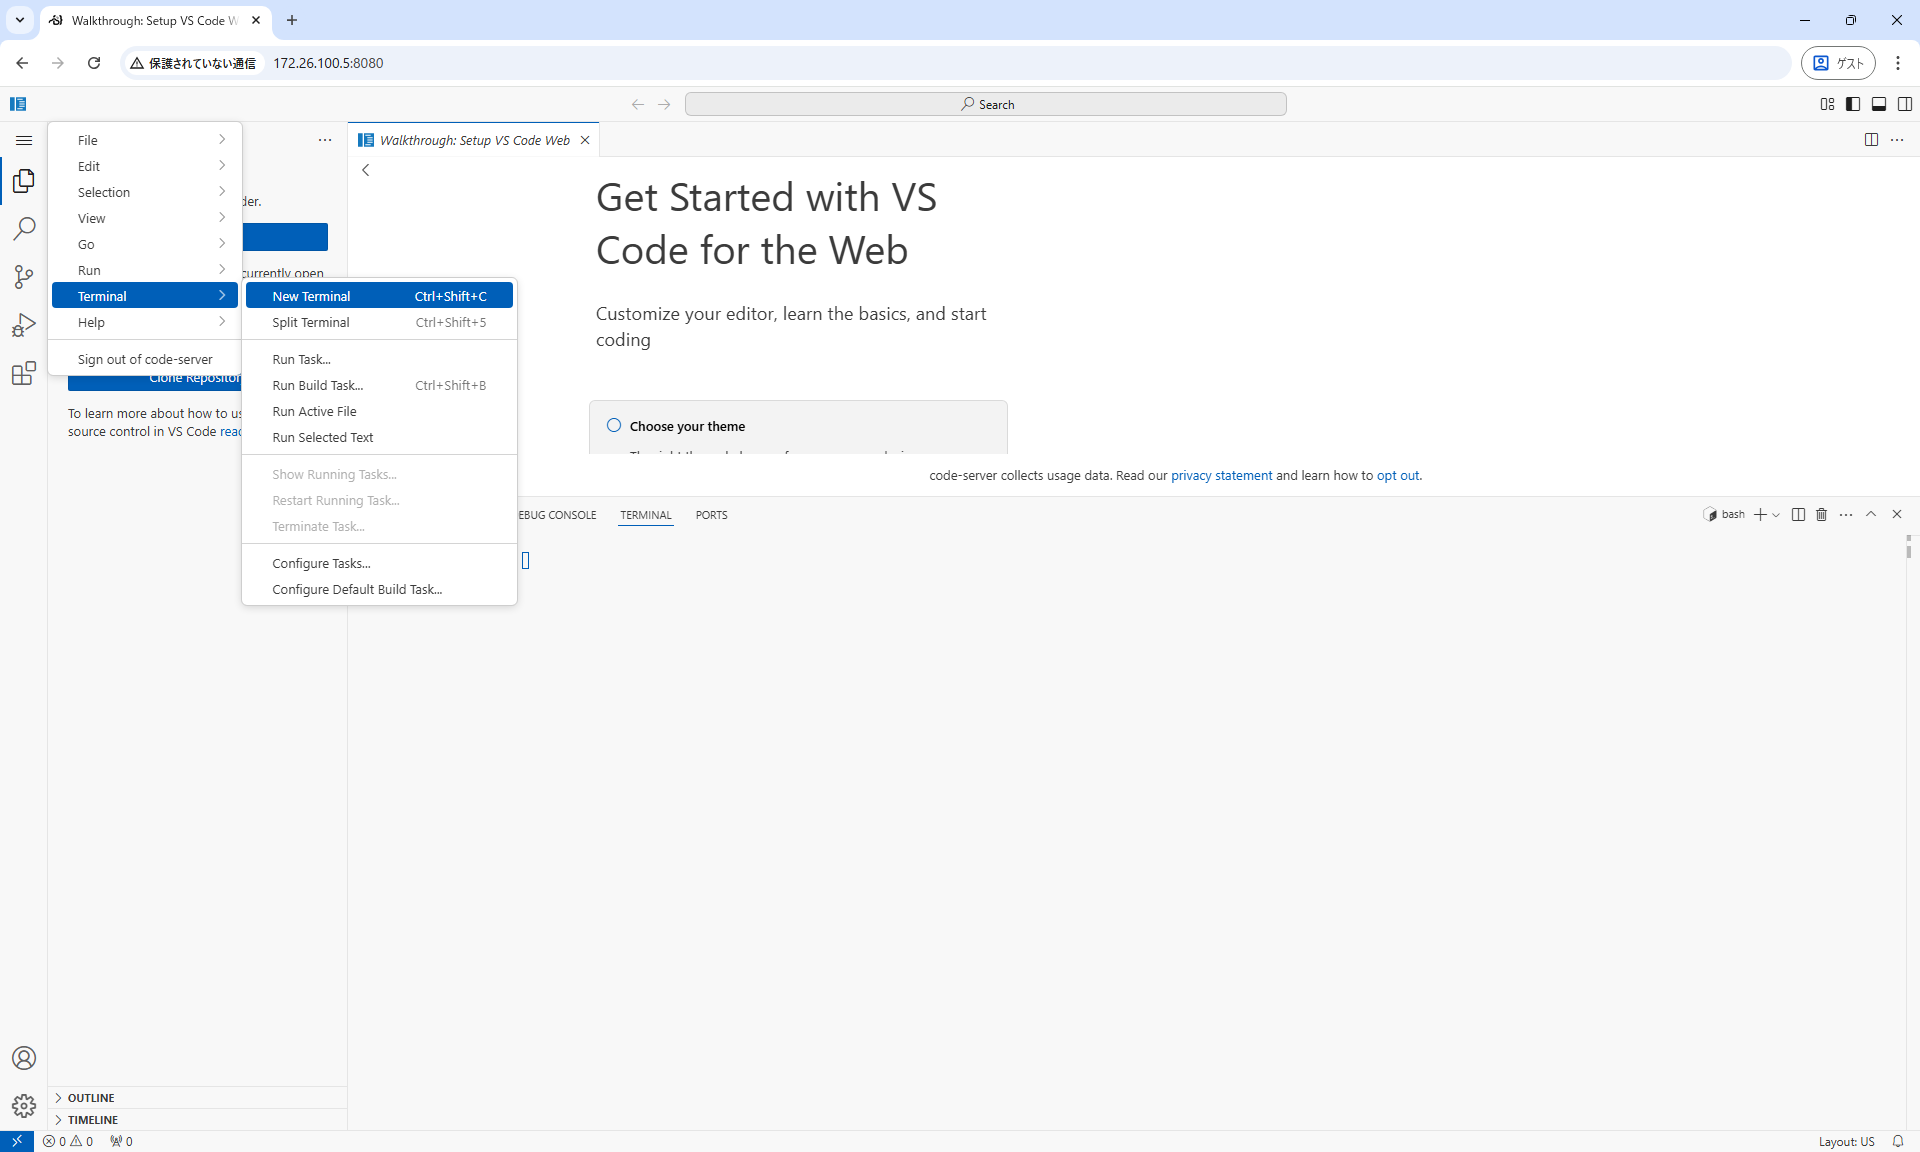
Open a terminal inside code-server (Menu → Terminal → New Terminal).
7. Installing nvm
curl -o- https://raw.githubusercontent.com/nvm-sh/nvm/v0.40.3/install.sh | bash
source ~/.bashrc
nvm --version
8. Installing Node.js
nvm install node
node --version
9. Installing Claude Code
npm install -g @anthropic-ai/claude-code10. Start Claude Code and complete the initial settings
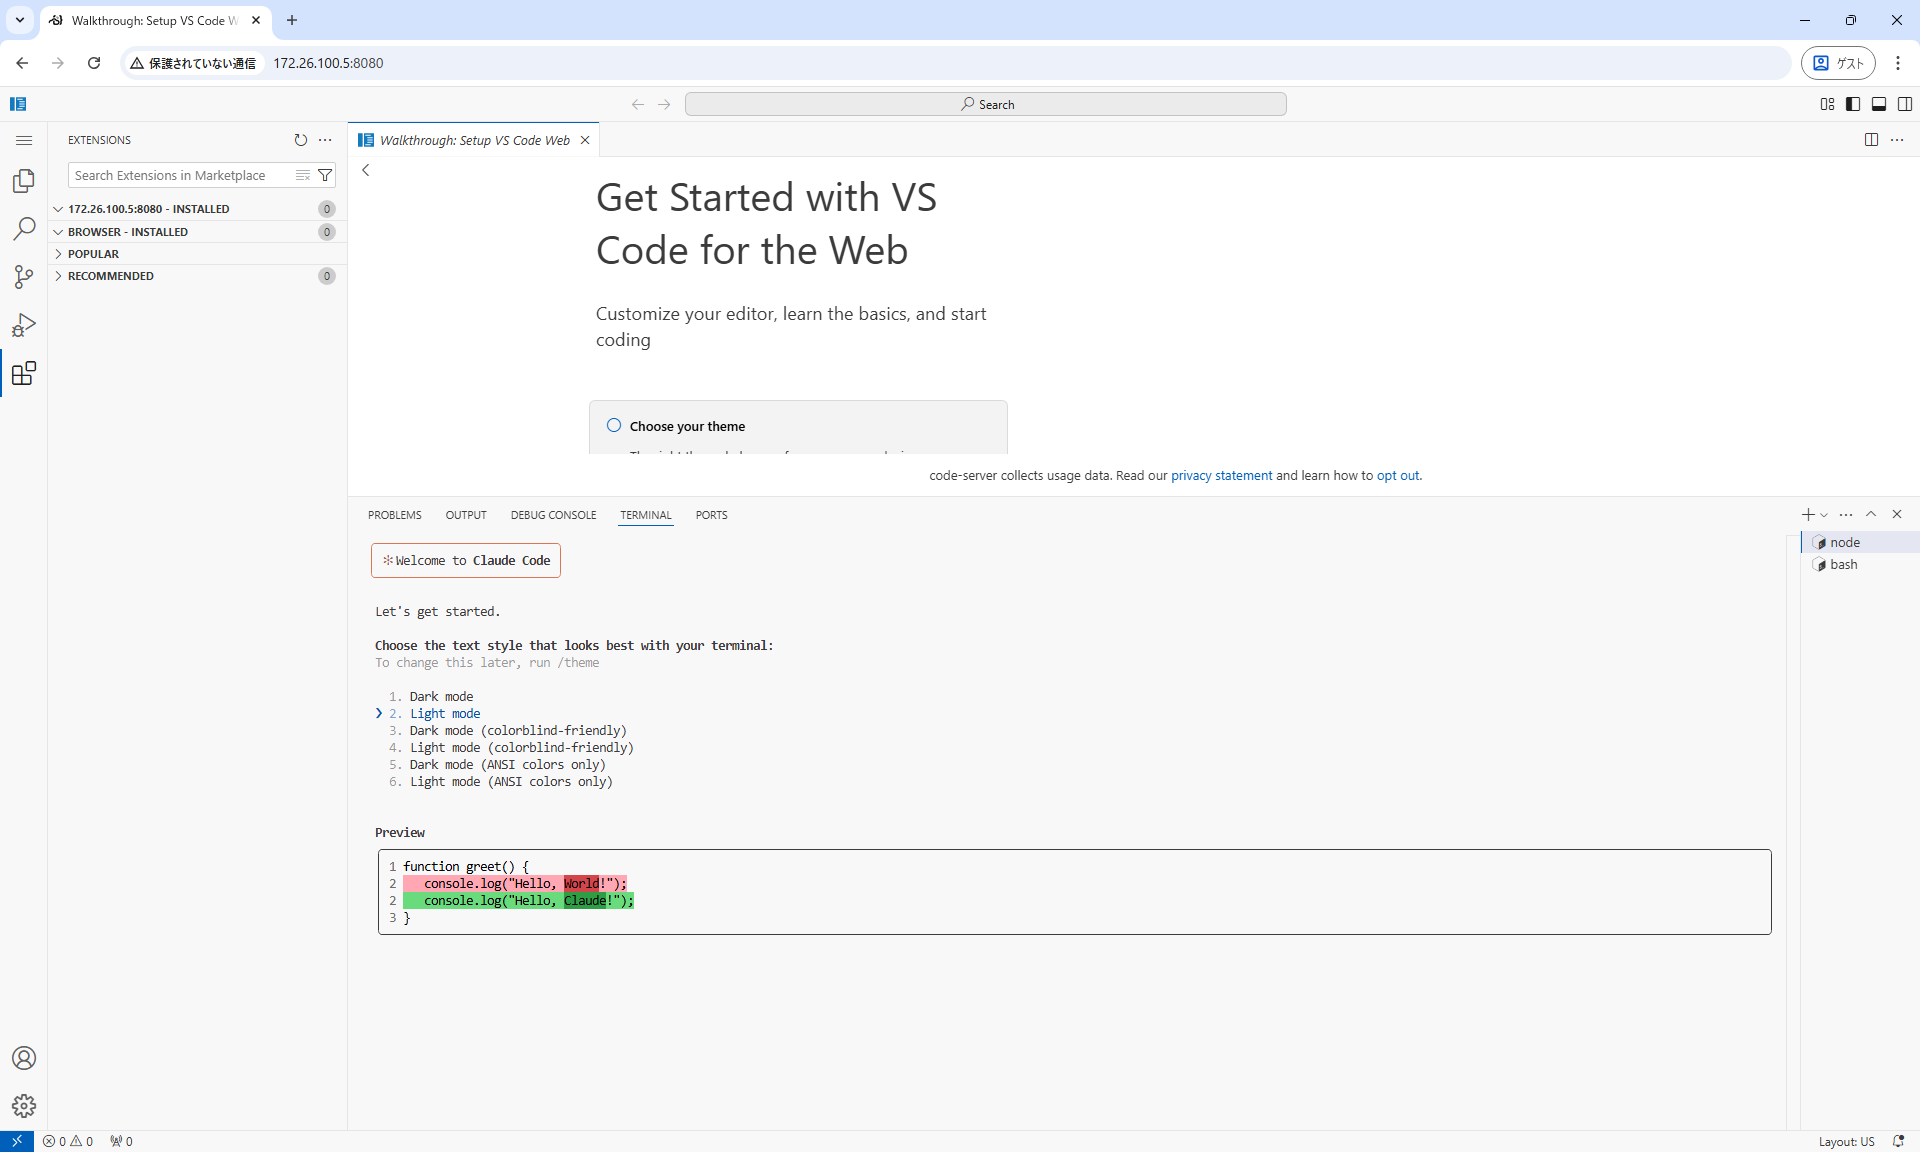
claudeWhen you start Claude Code, you will see the following configuration screen:
- Choose a theme: Select your preferred theme.
- Choose how to use Claude Code: Authentication is required the first time.
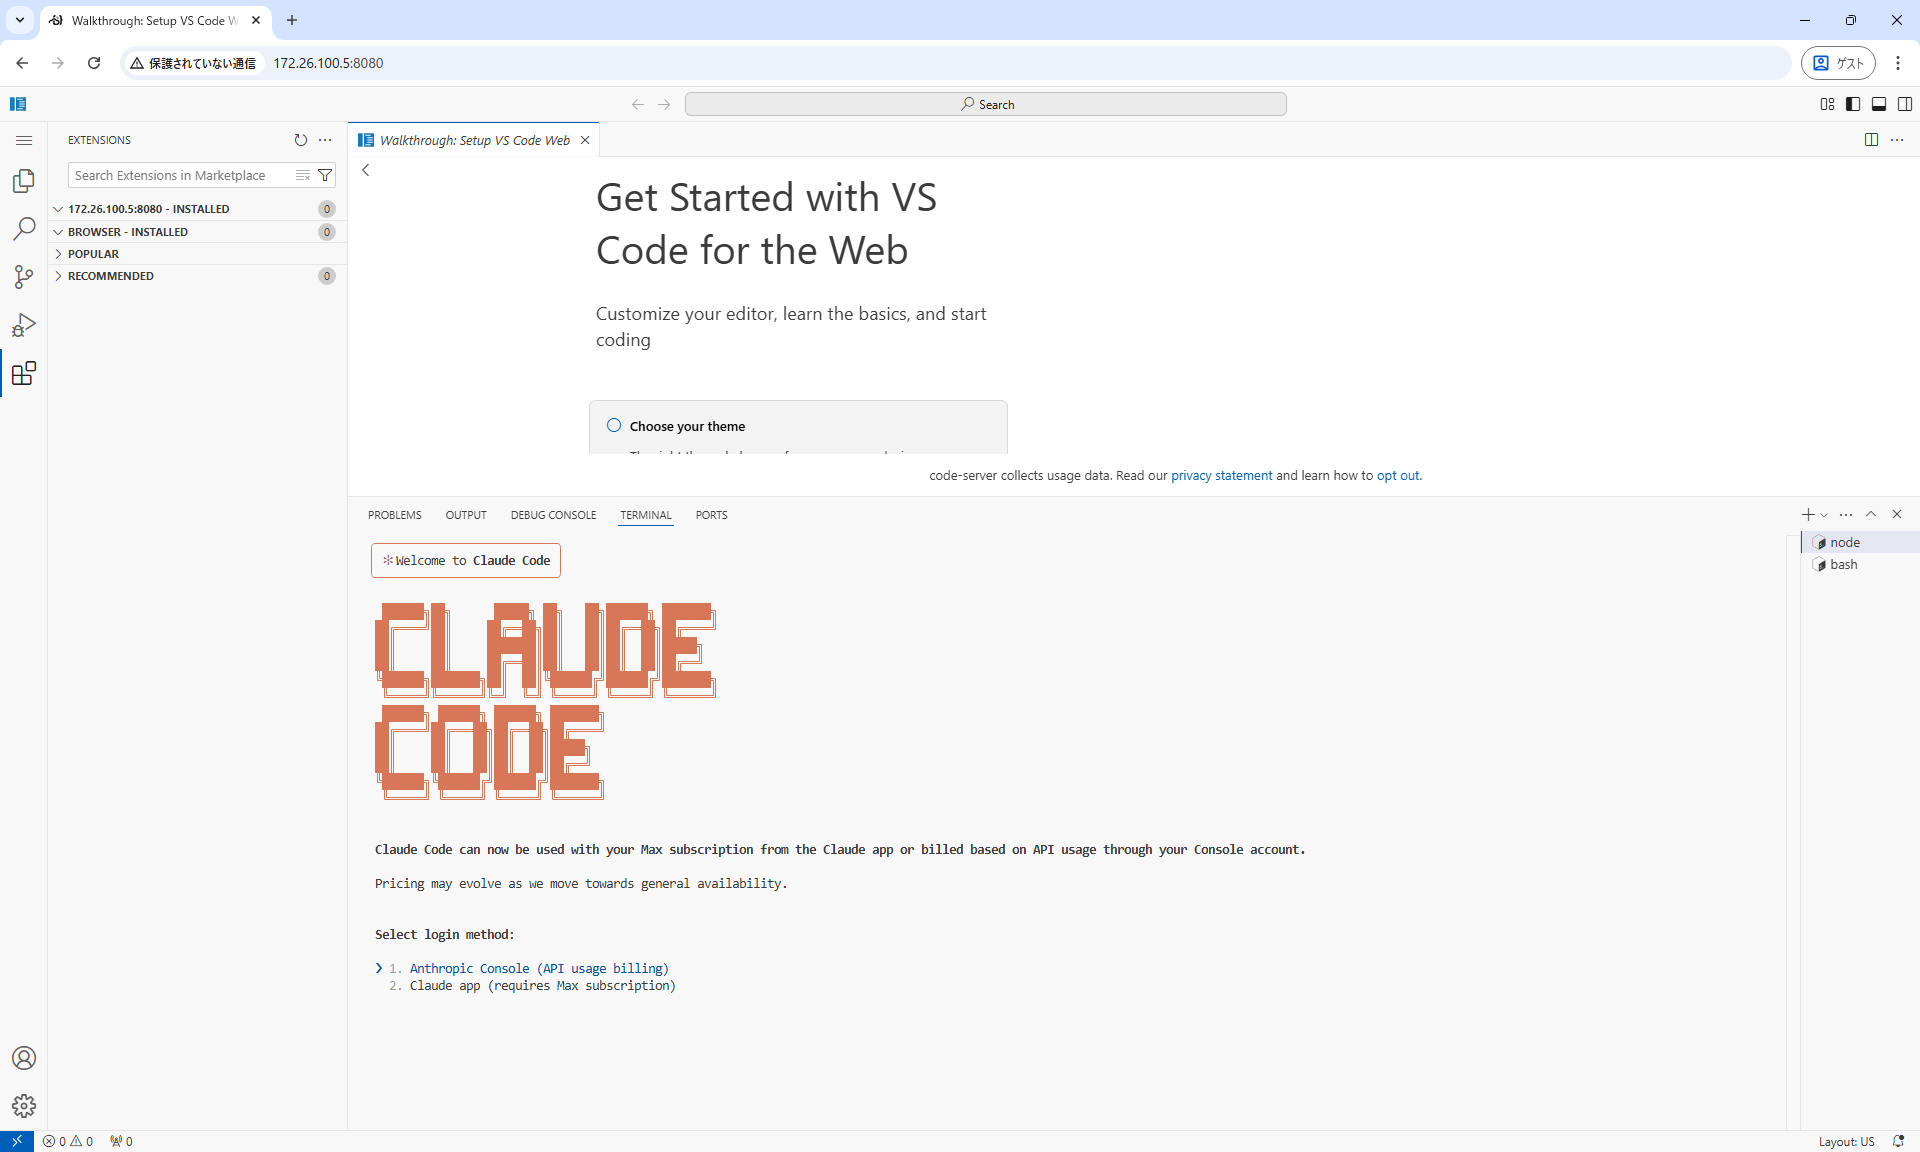
- Authentication: Log in to your Anthropic account in a browser and get the verification code.
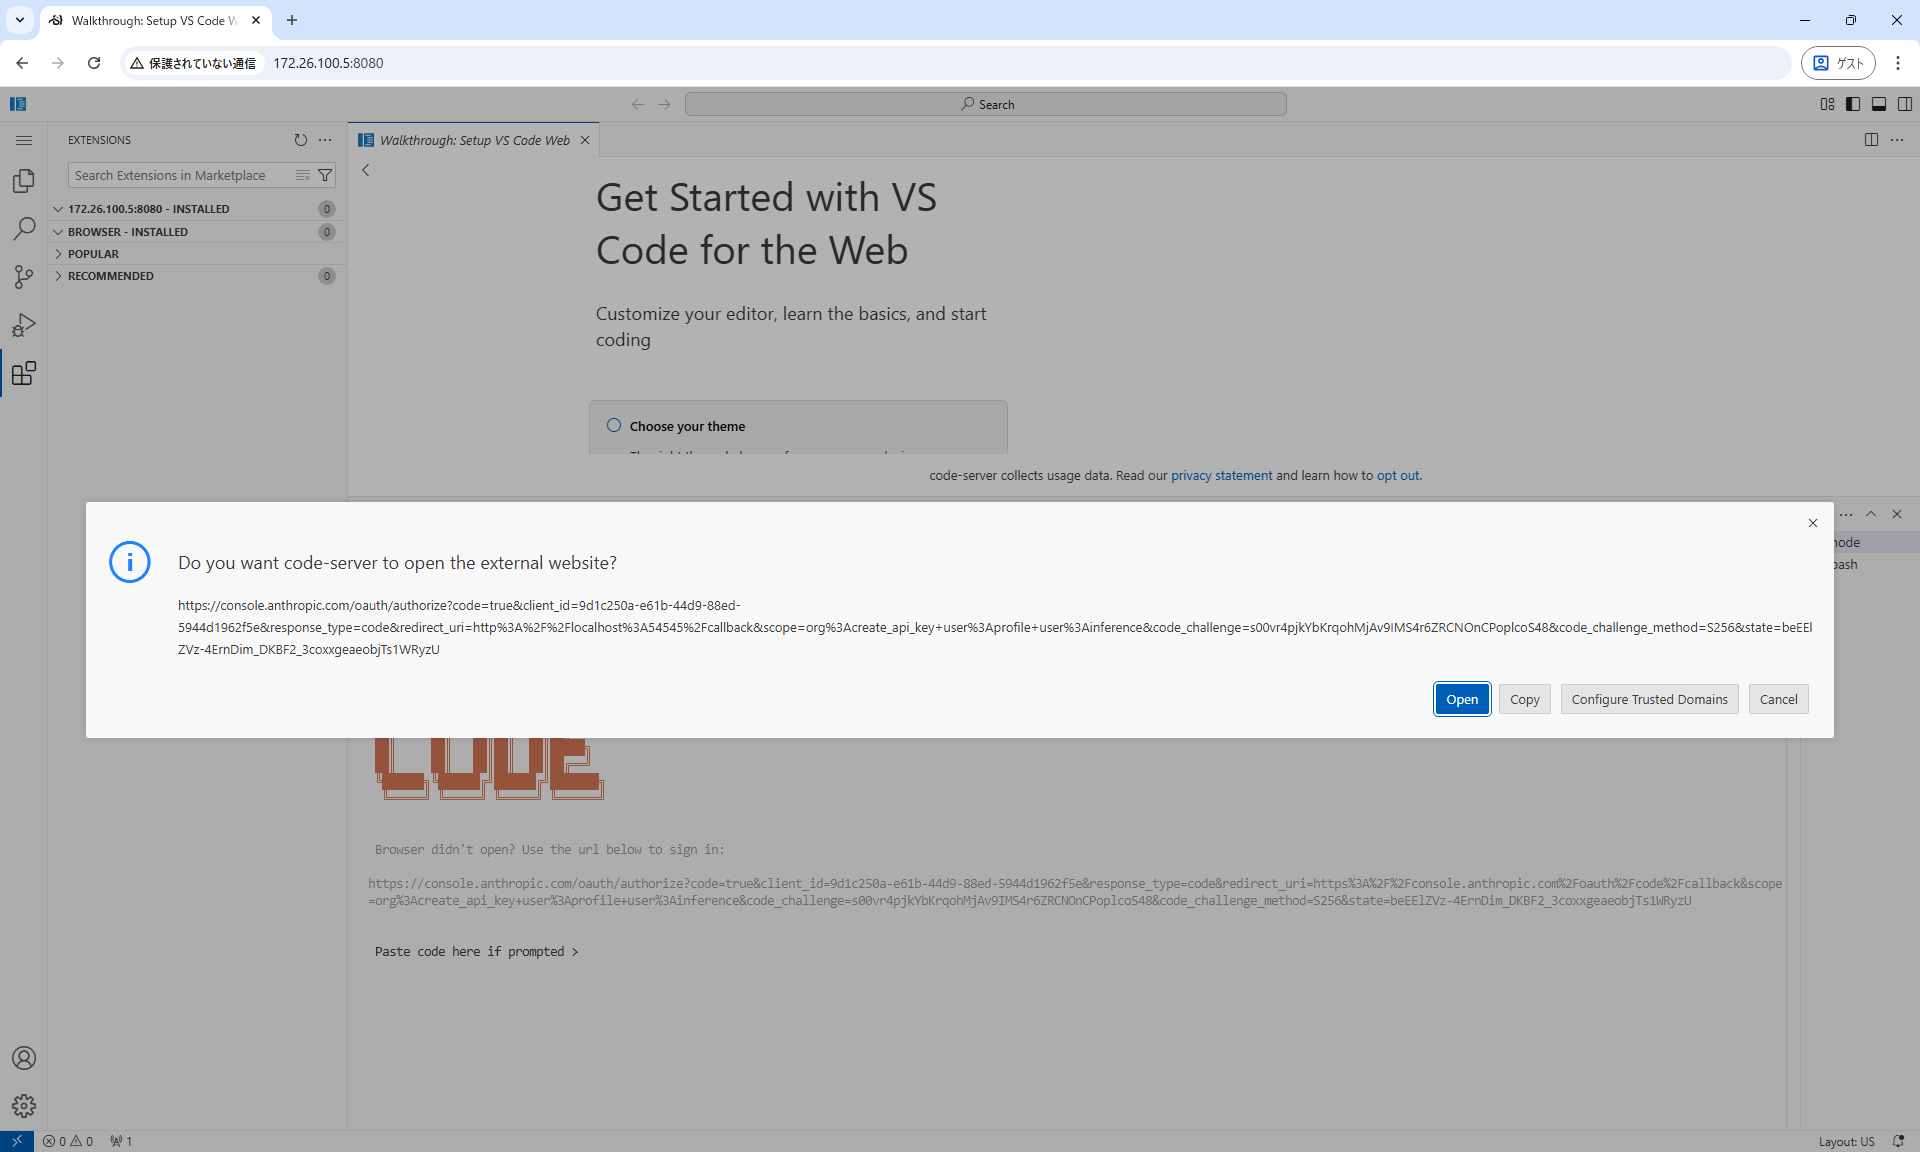
- Enter the authentication code: Paste the code you obtained and press Enter.
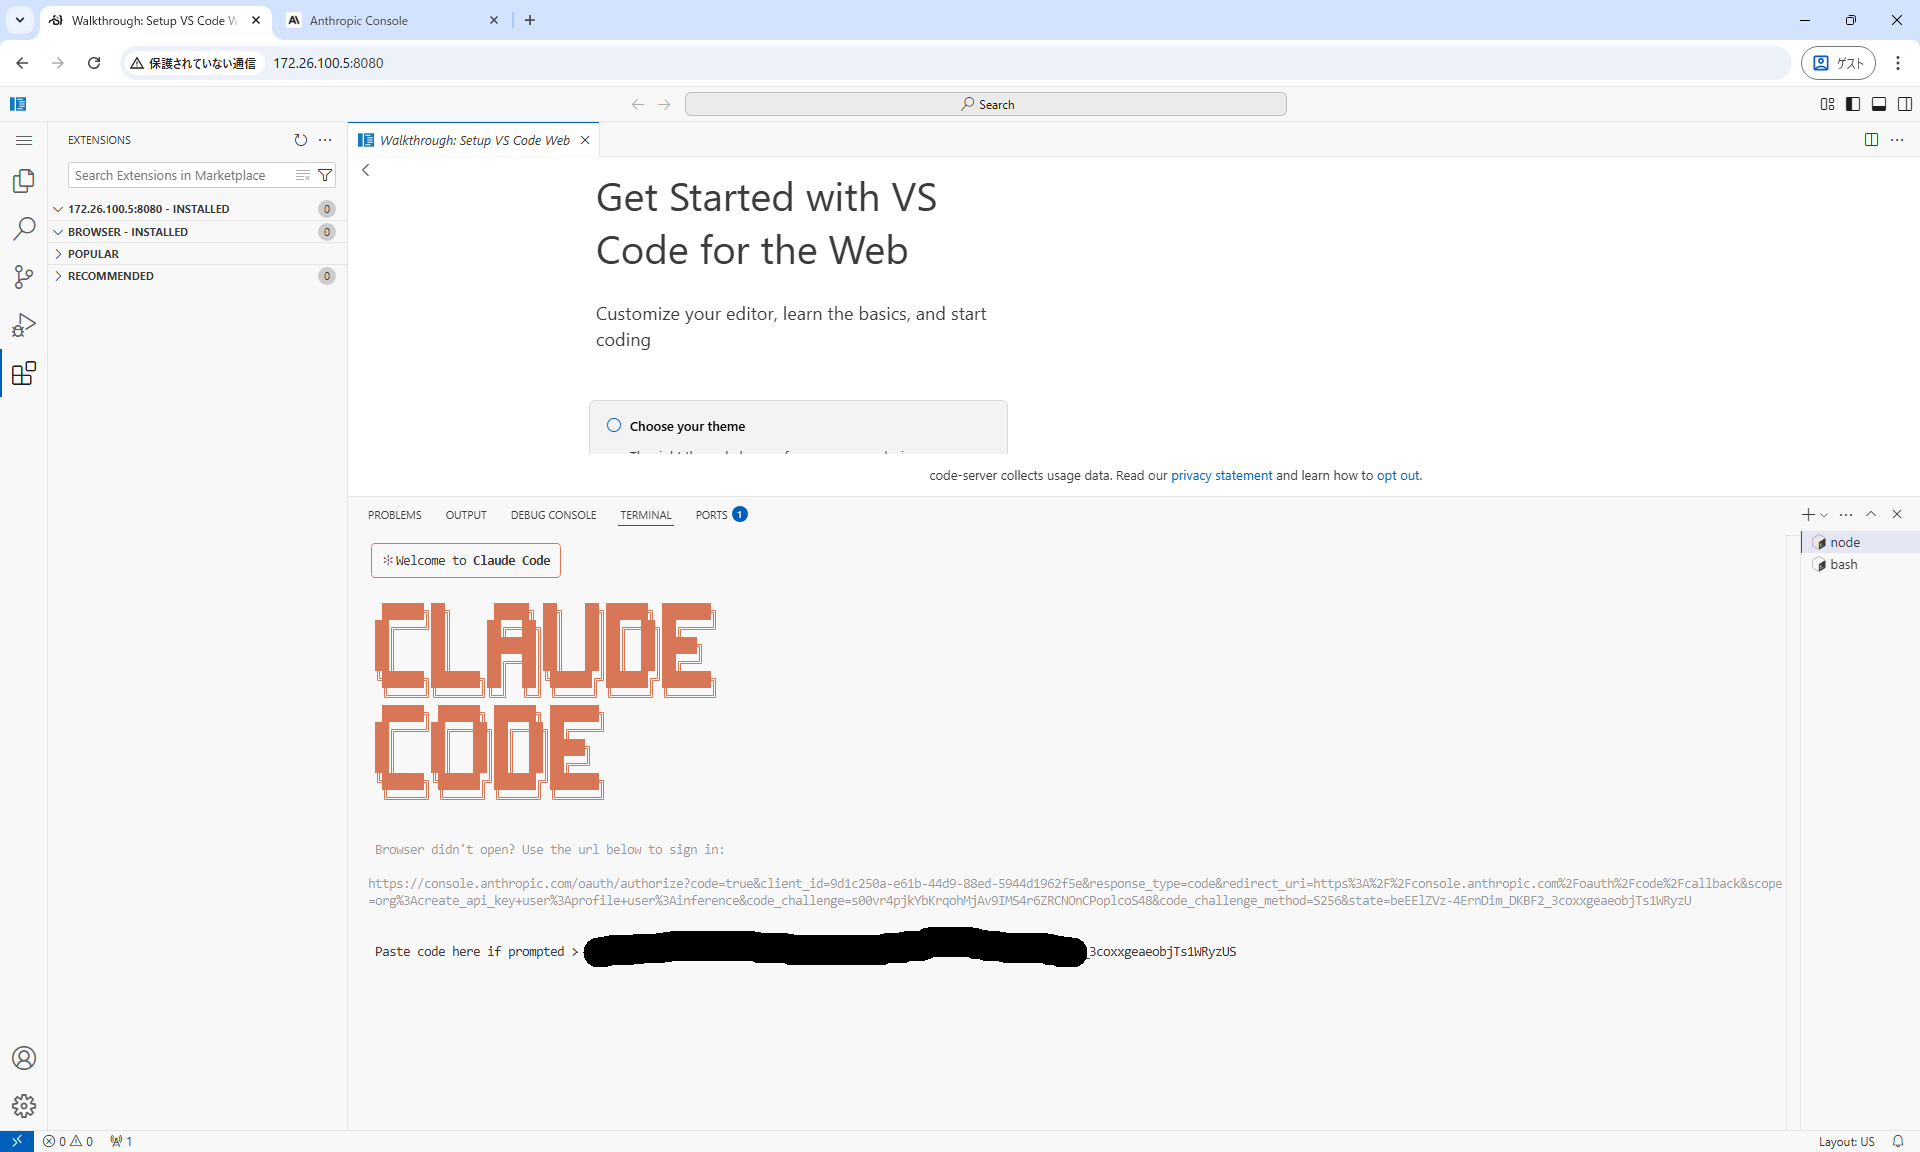
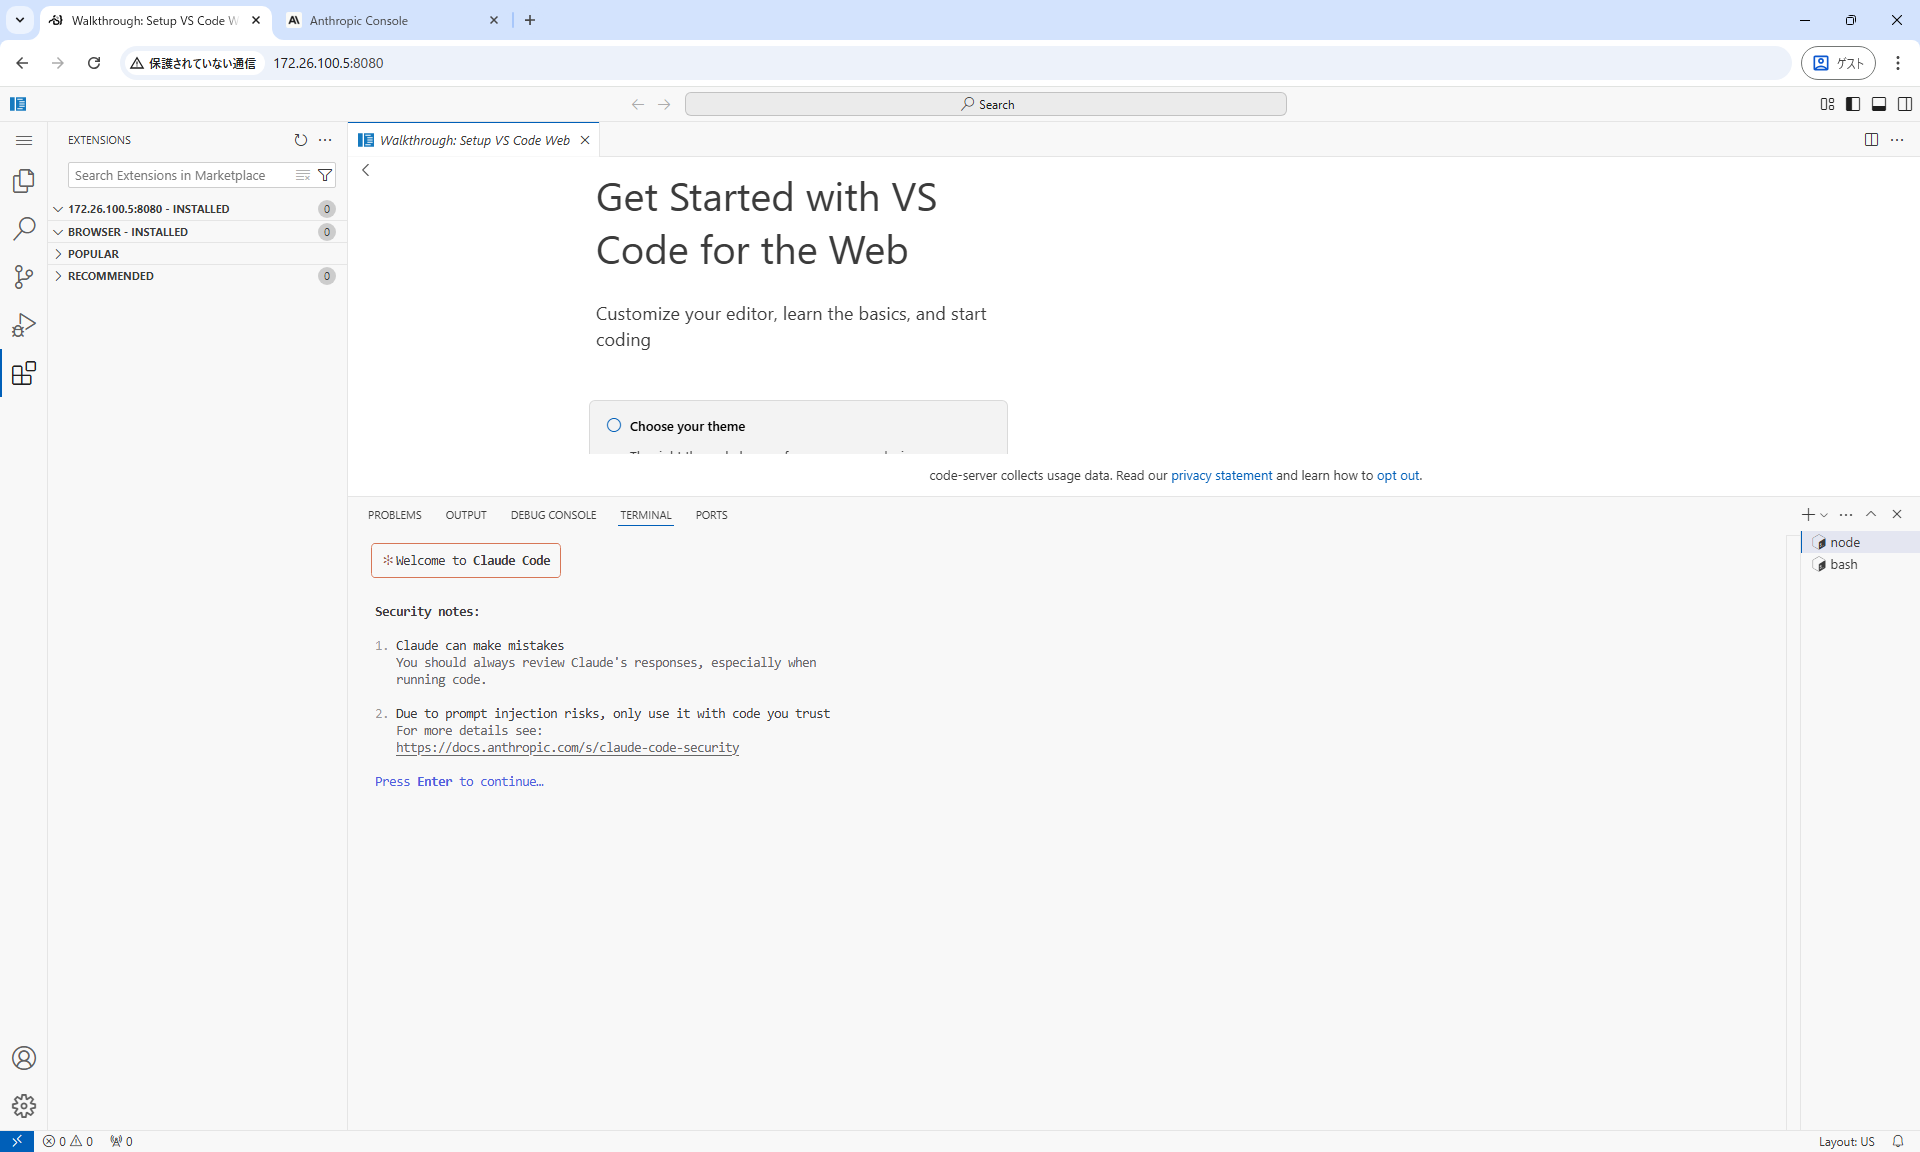
- Review the notes: Review the terms of use and notes.
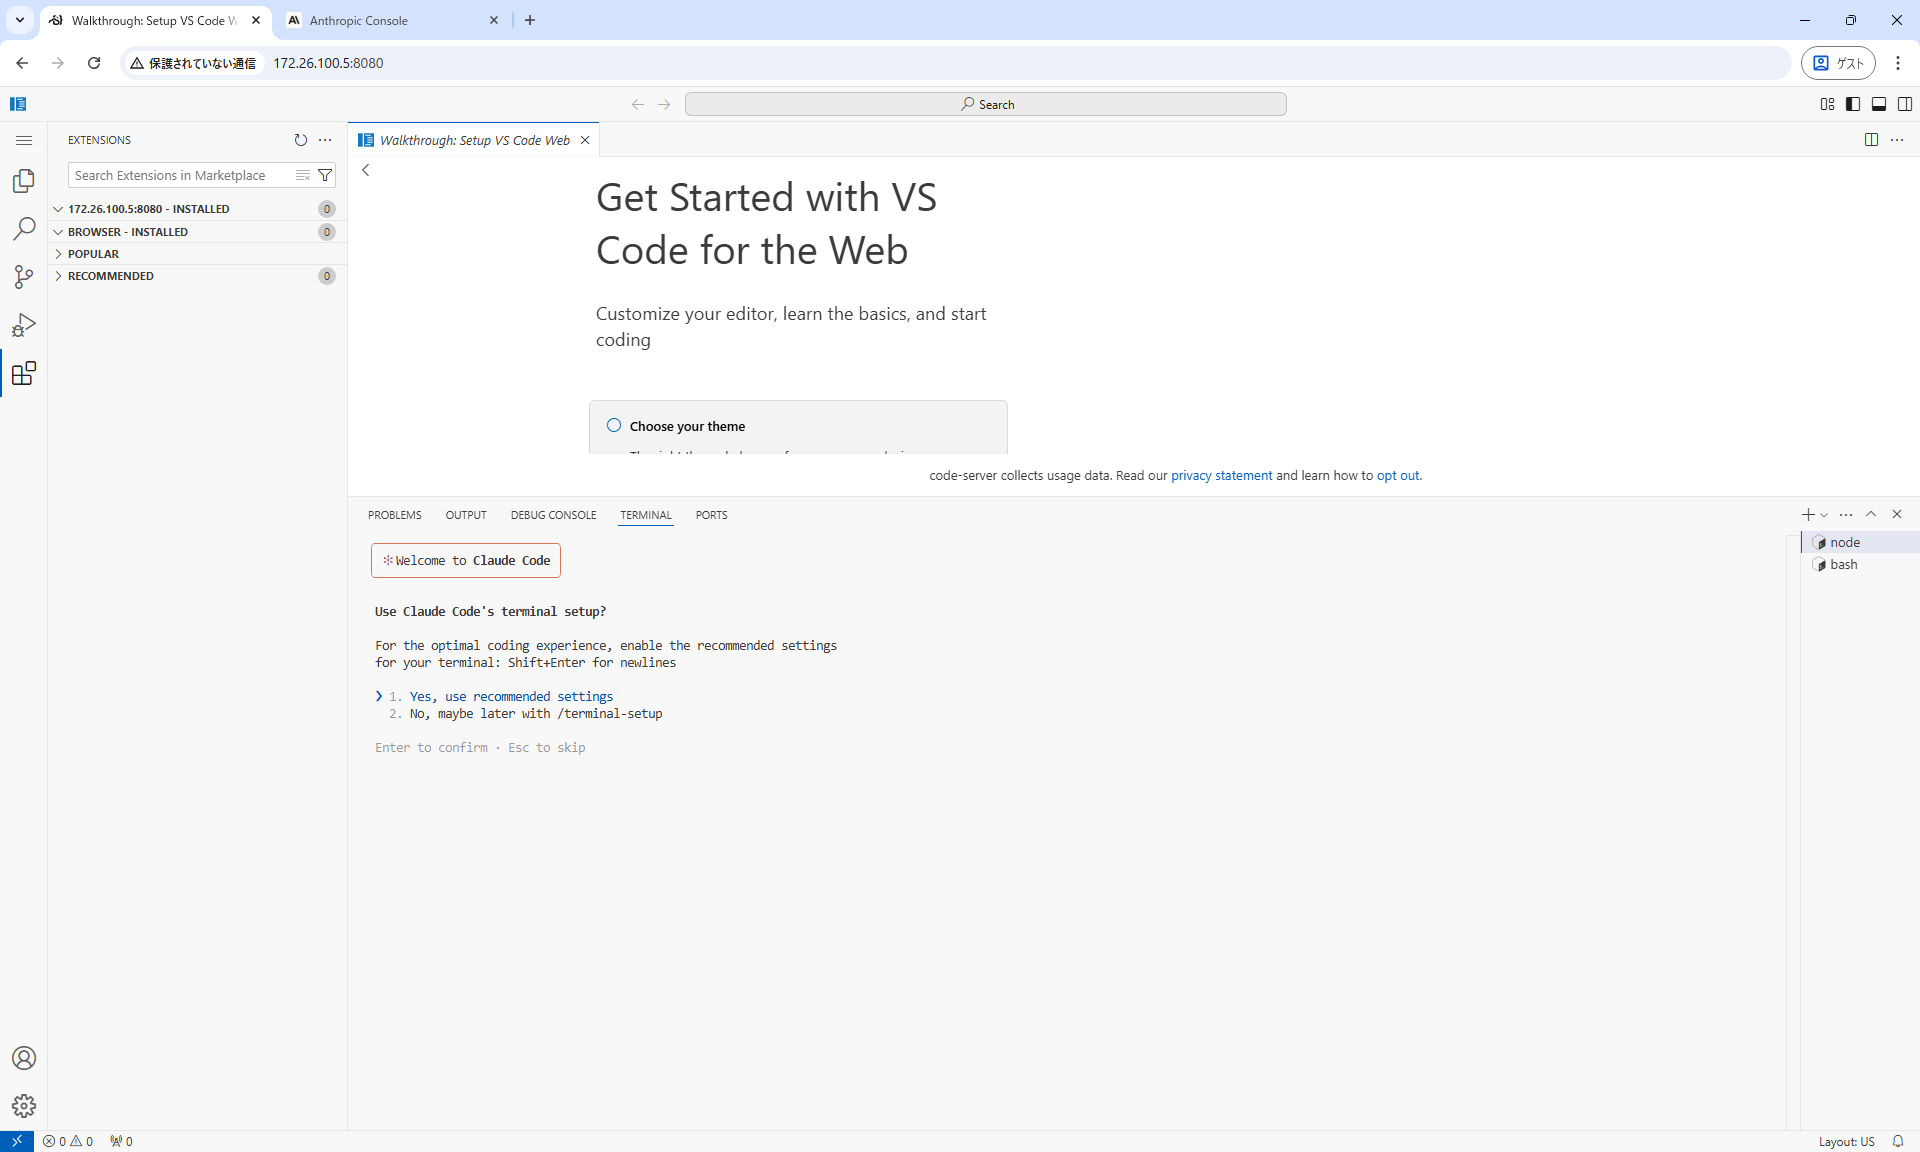
- Terminal settings: Configure the terminal as needed.
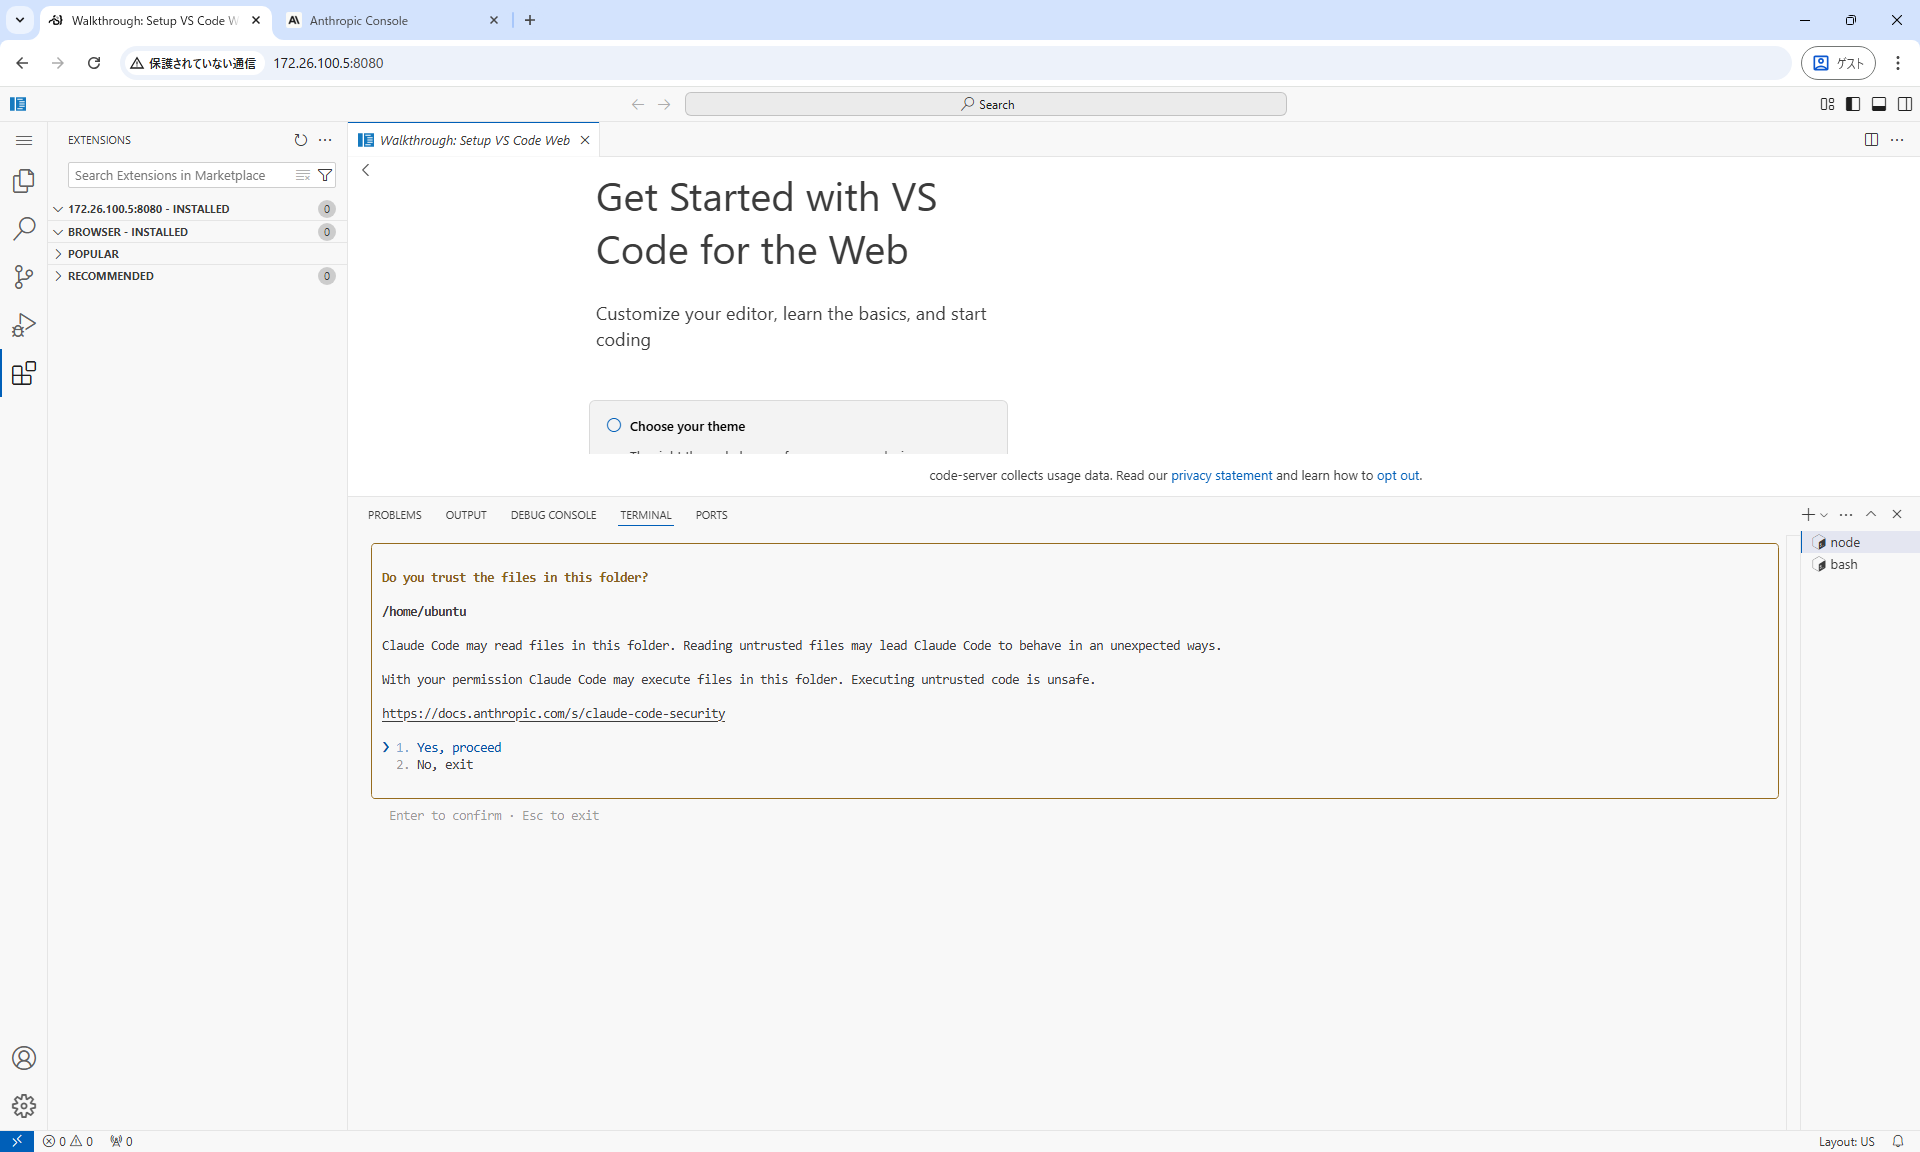
- Directory permissions: Grant permission to access the working directory.
11. Installing VSCode extensions (important)
To use Claude Code with VS Code (code-server), you need to install its extension.
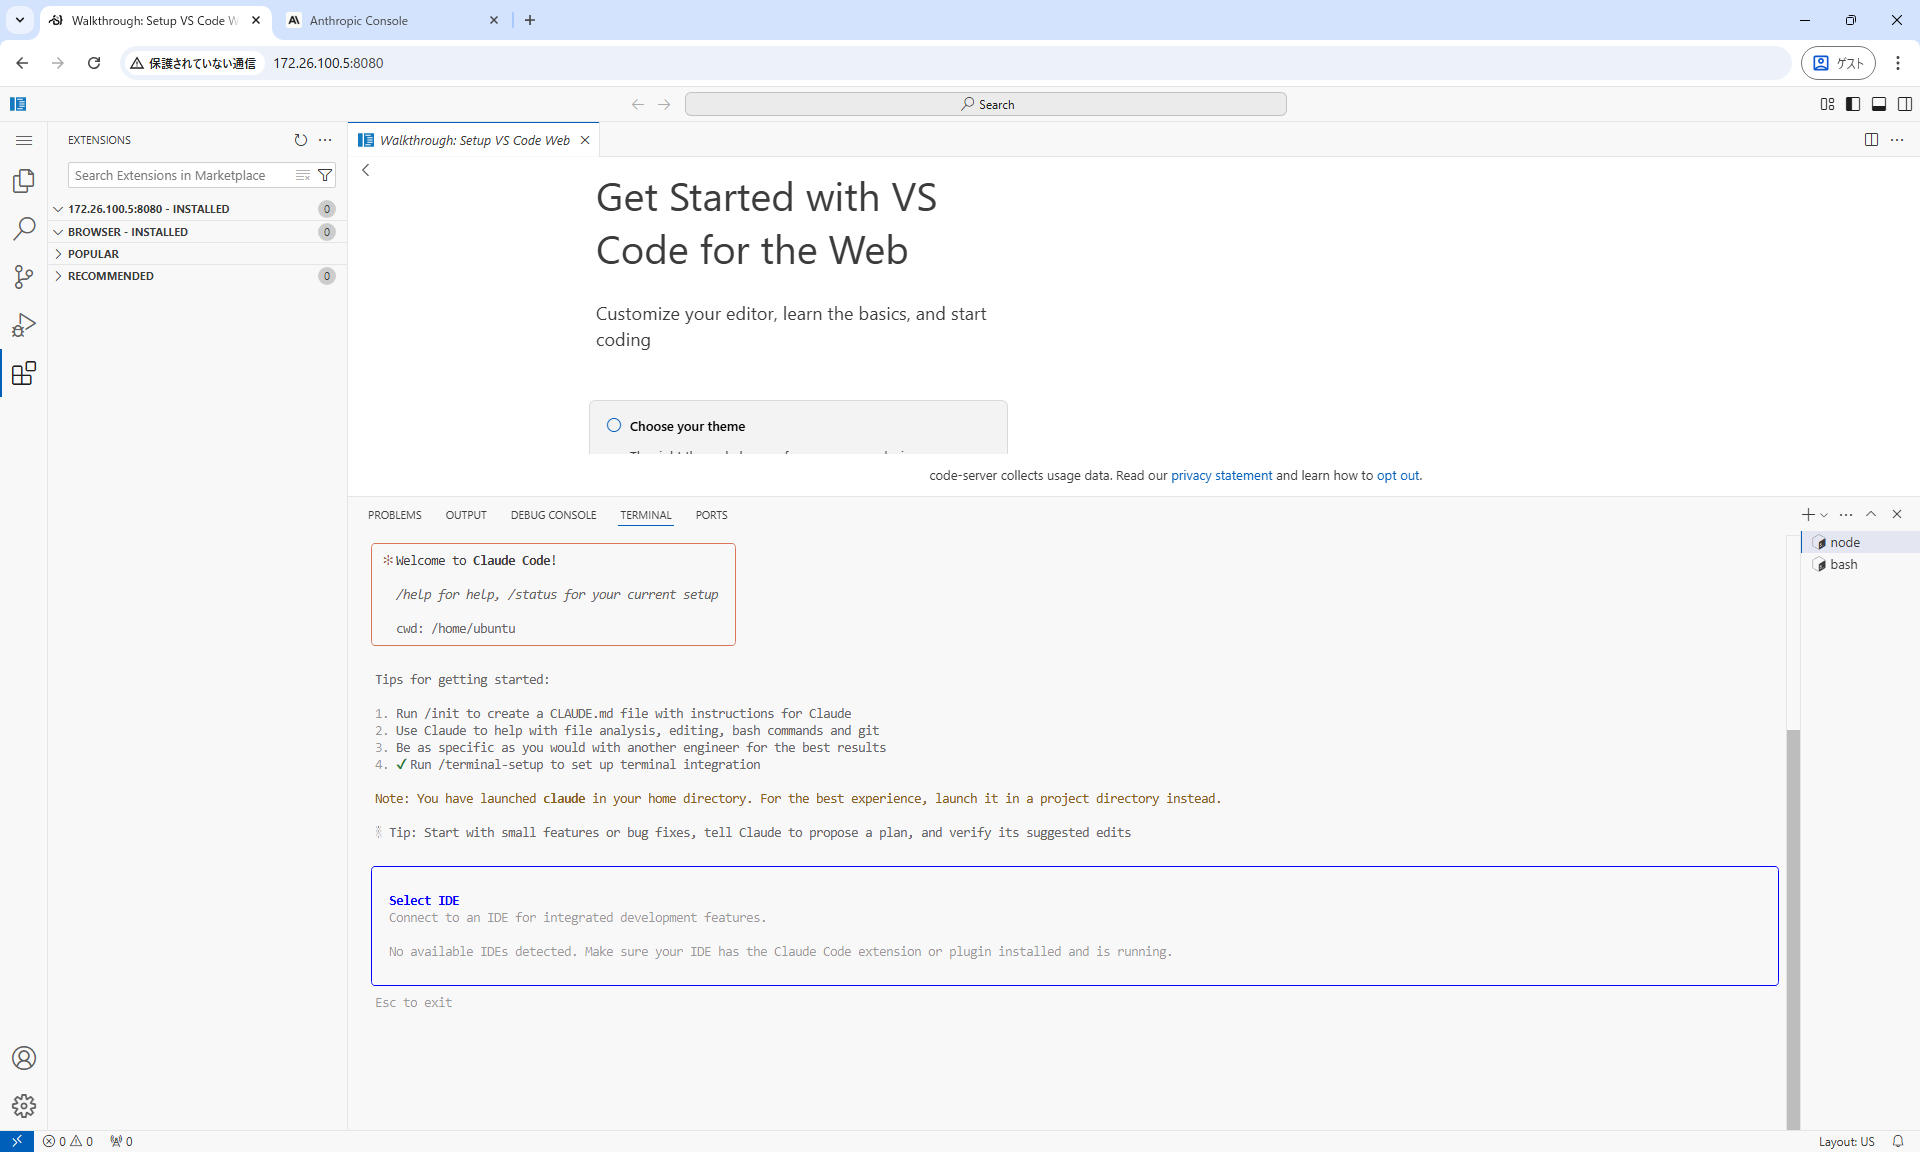
At this point, Claude Code itself is available, but the VS Code extension is not installed.
If you try to connect to the extension with /ide, it will not appear:
Search for the extension file
find ~/ -name "*.vsix" -type fIn my environment, it was located here:
~/.nvm/versions/node/v24.1.0/lib/node_modules/@anthropic-ai/claude-code/vendor/claude-code.vsixInstall the extension
code-server --install-extension /path/to/claude-code.vsixActual command example:
code-server --install-extension /home/ubuntu/.nvm/versions/node/v24.1.0/lib/node_modules/@anthropic-ai/claude-code/vendor/claude-code.vsixIf the extension installation is successful, you will see something like this:
ubuntu@vm-ubuntu22:~$ code-server --install-extension /home/ubuntu/.nvm/versions/node/v24.1.0/lib/node_modules/@anthropic-ai/claude-code/vendor/claude-code.vsix
Installing extensions on 172.26.100.5:8080...
Extension 'claude-code.vsix' was successfully installed.
ubuntu@vm-ubuntu22:~$
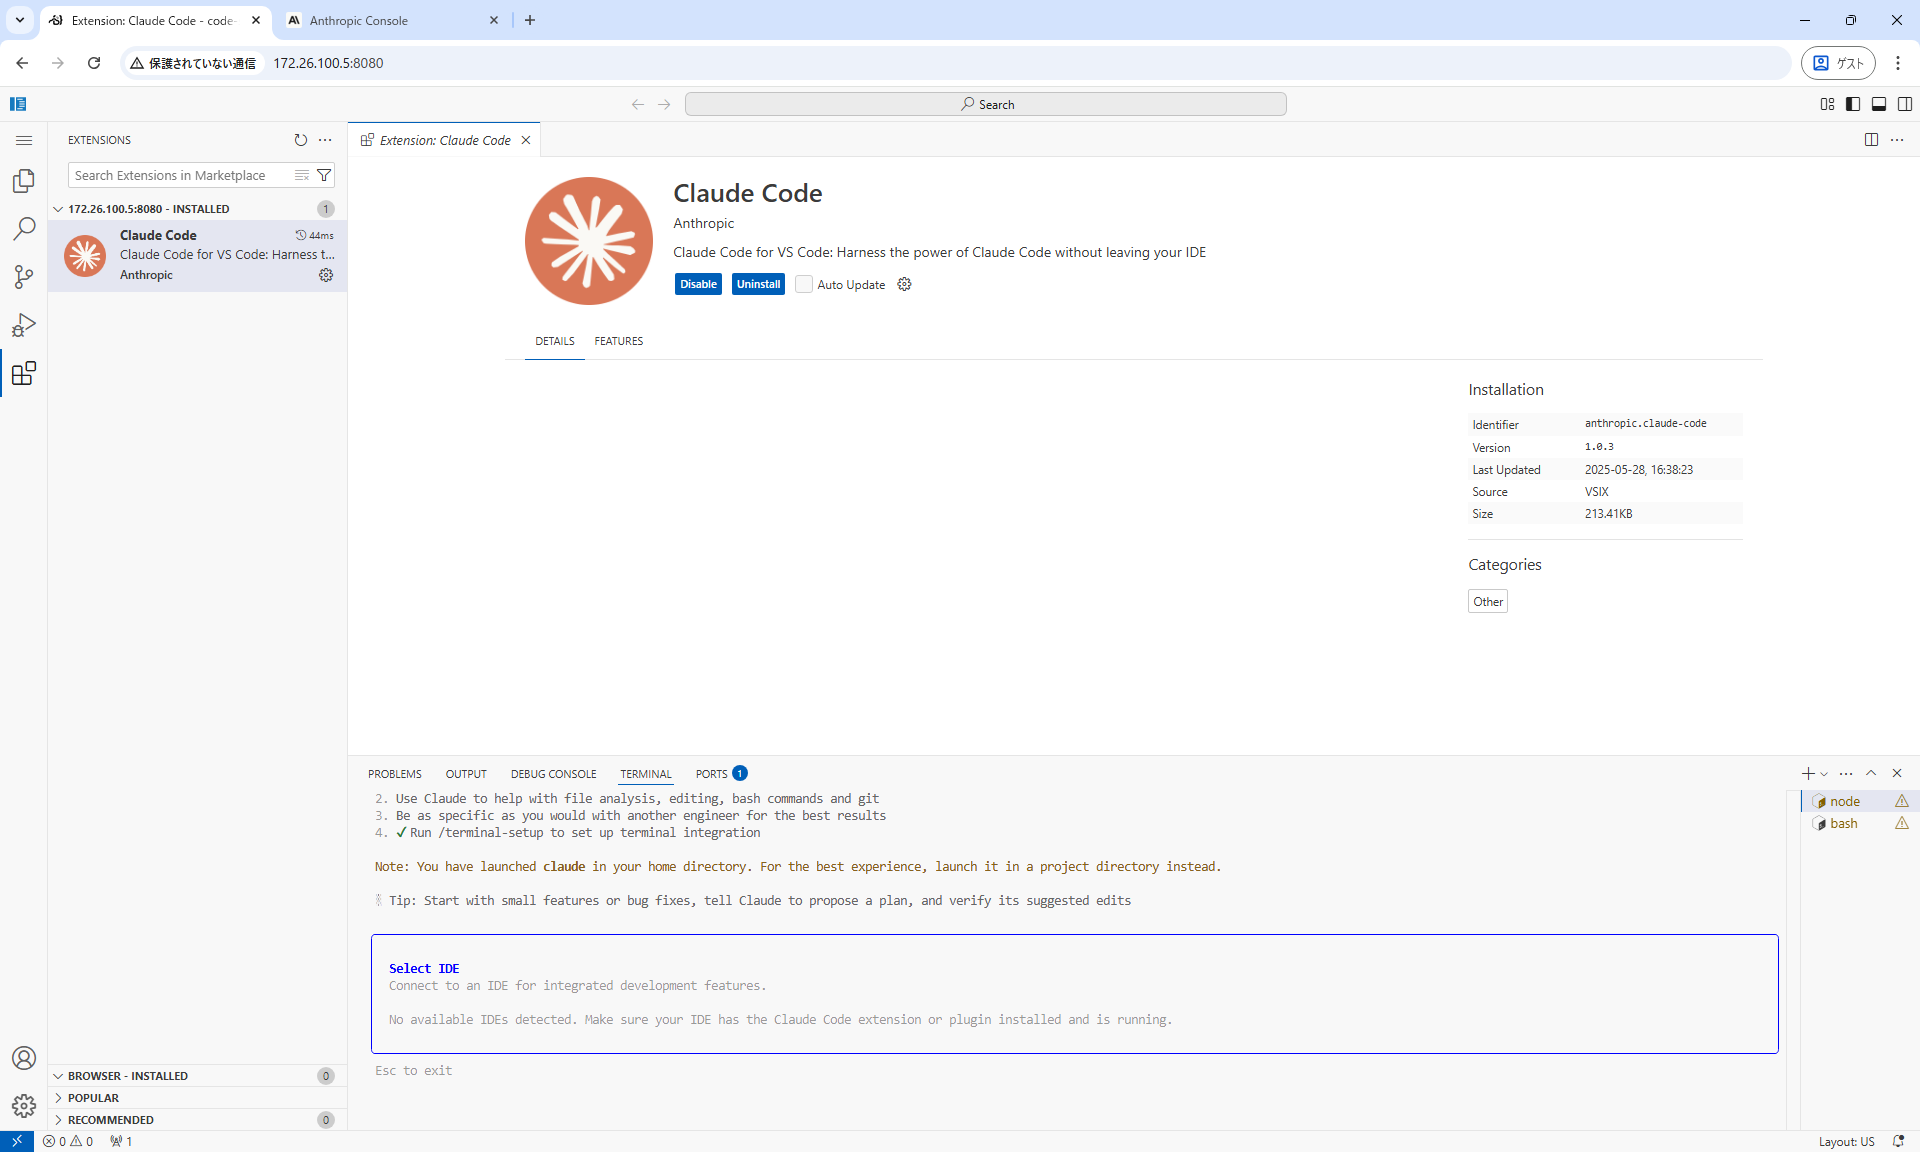
You can also confirm the installation from the Extensions tab.
12. Connect Claude Code and VS Code
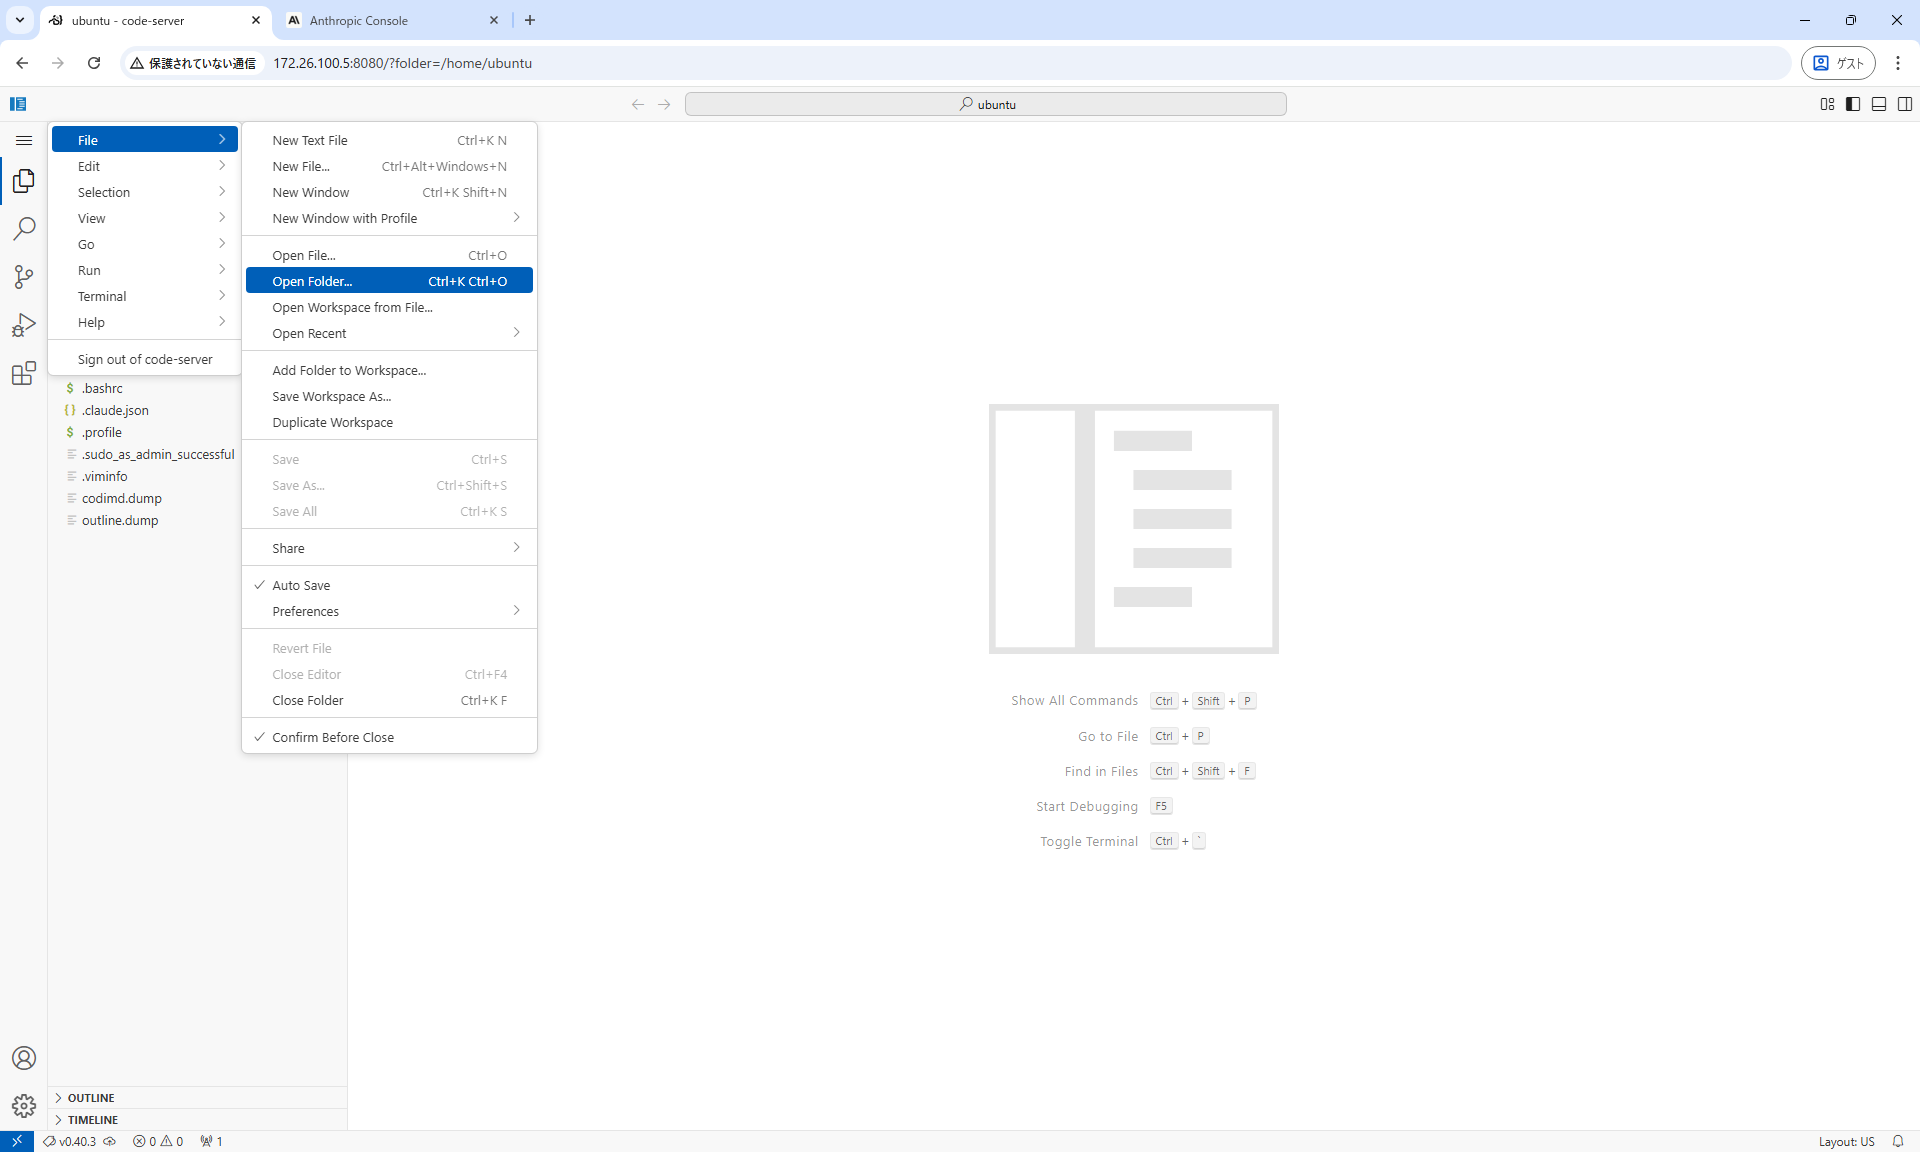
- Open the home directory with code-server
- Run the
/idecommand in the Claude Code terminal
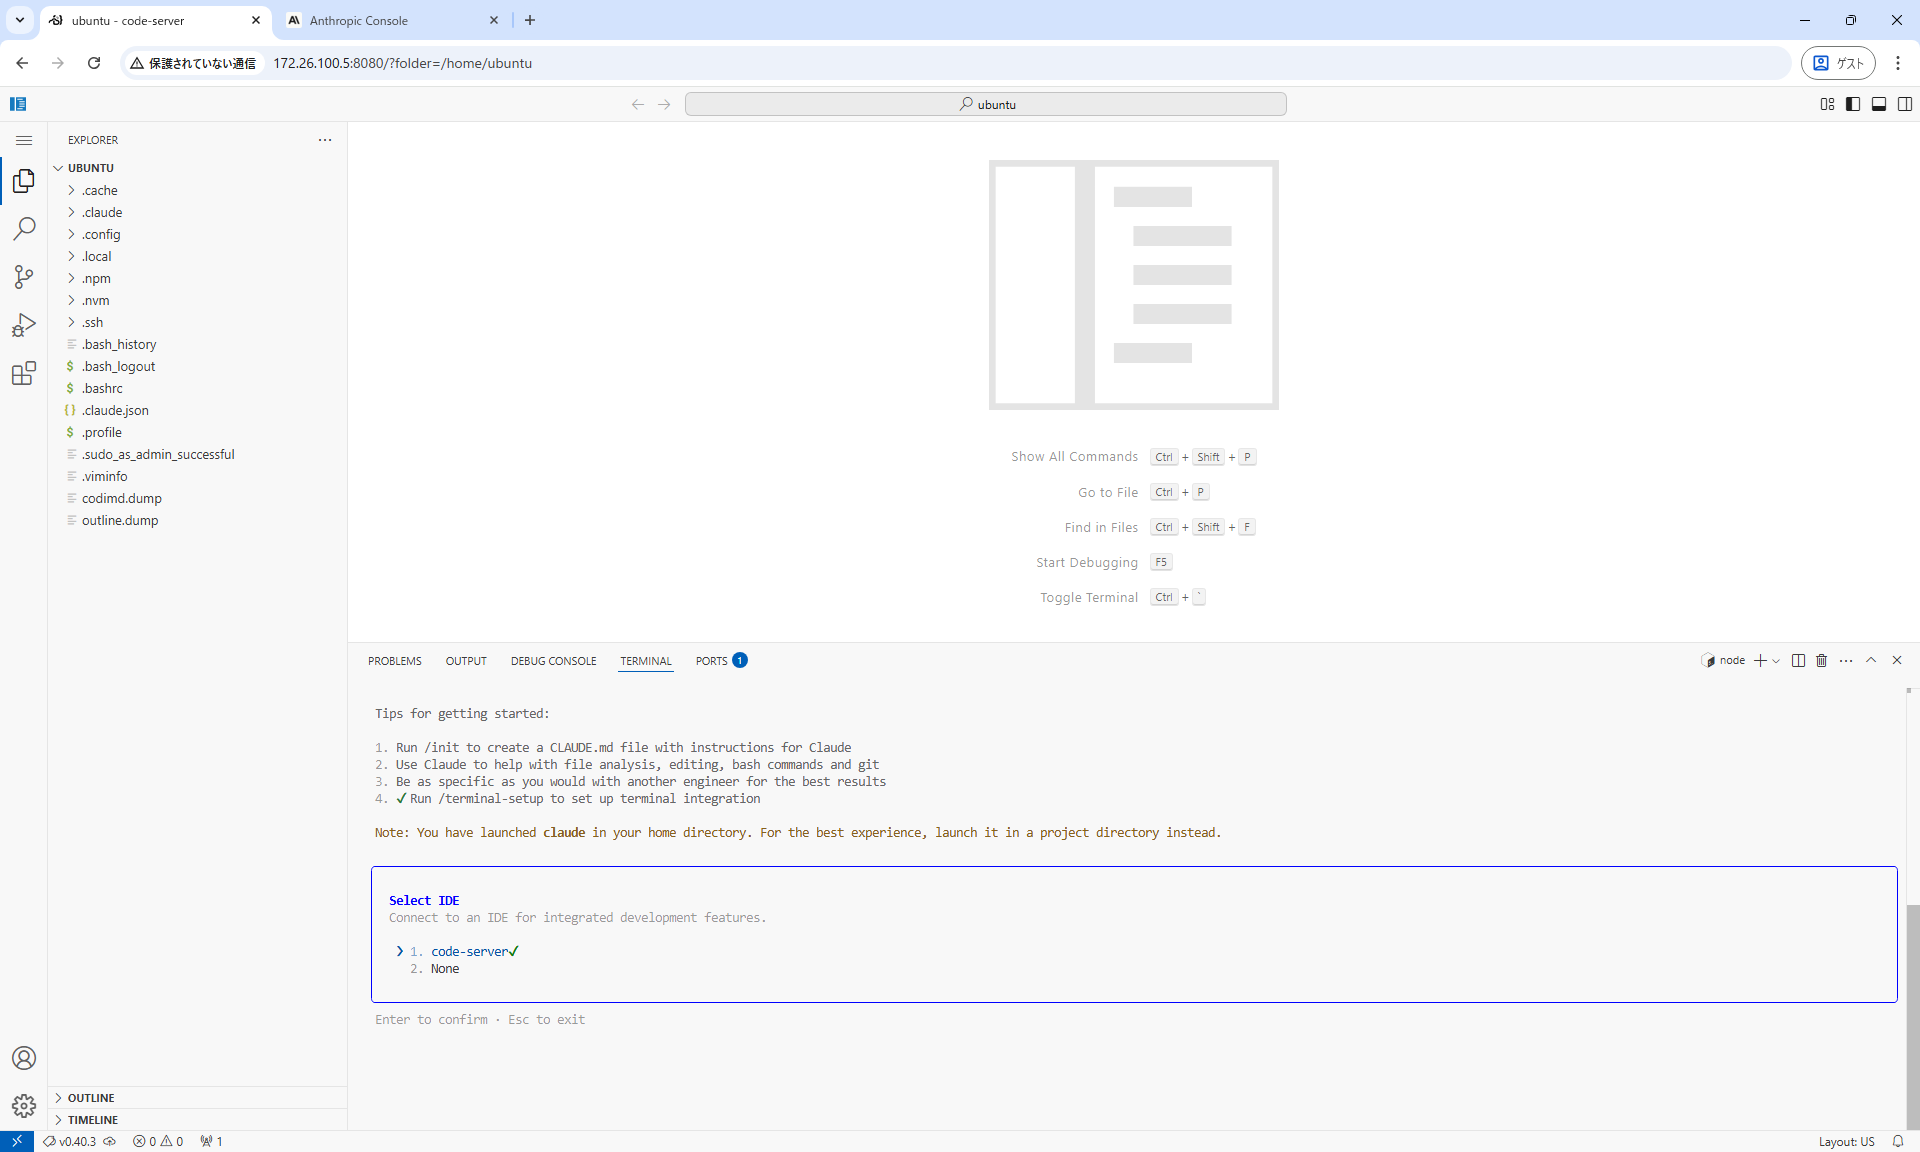
- Connect to the extension by selecting code-server
- If “Connected to code-server” is displayed, the connection was successful
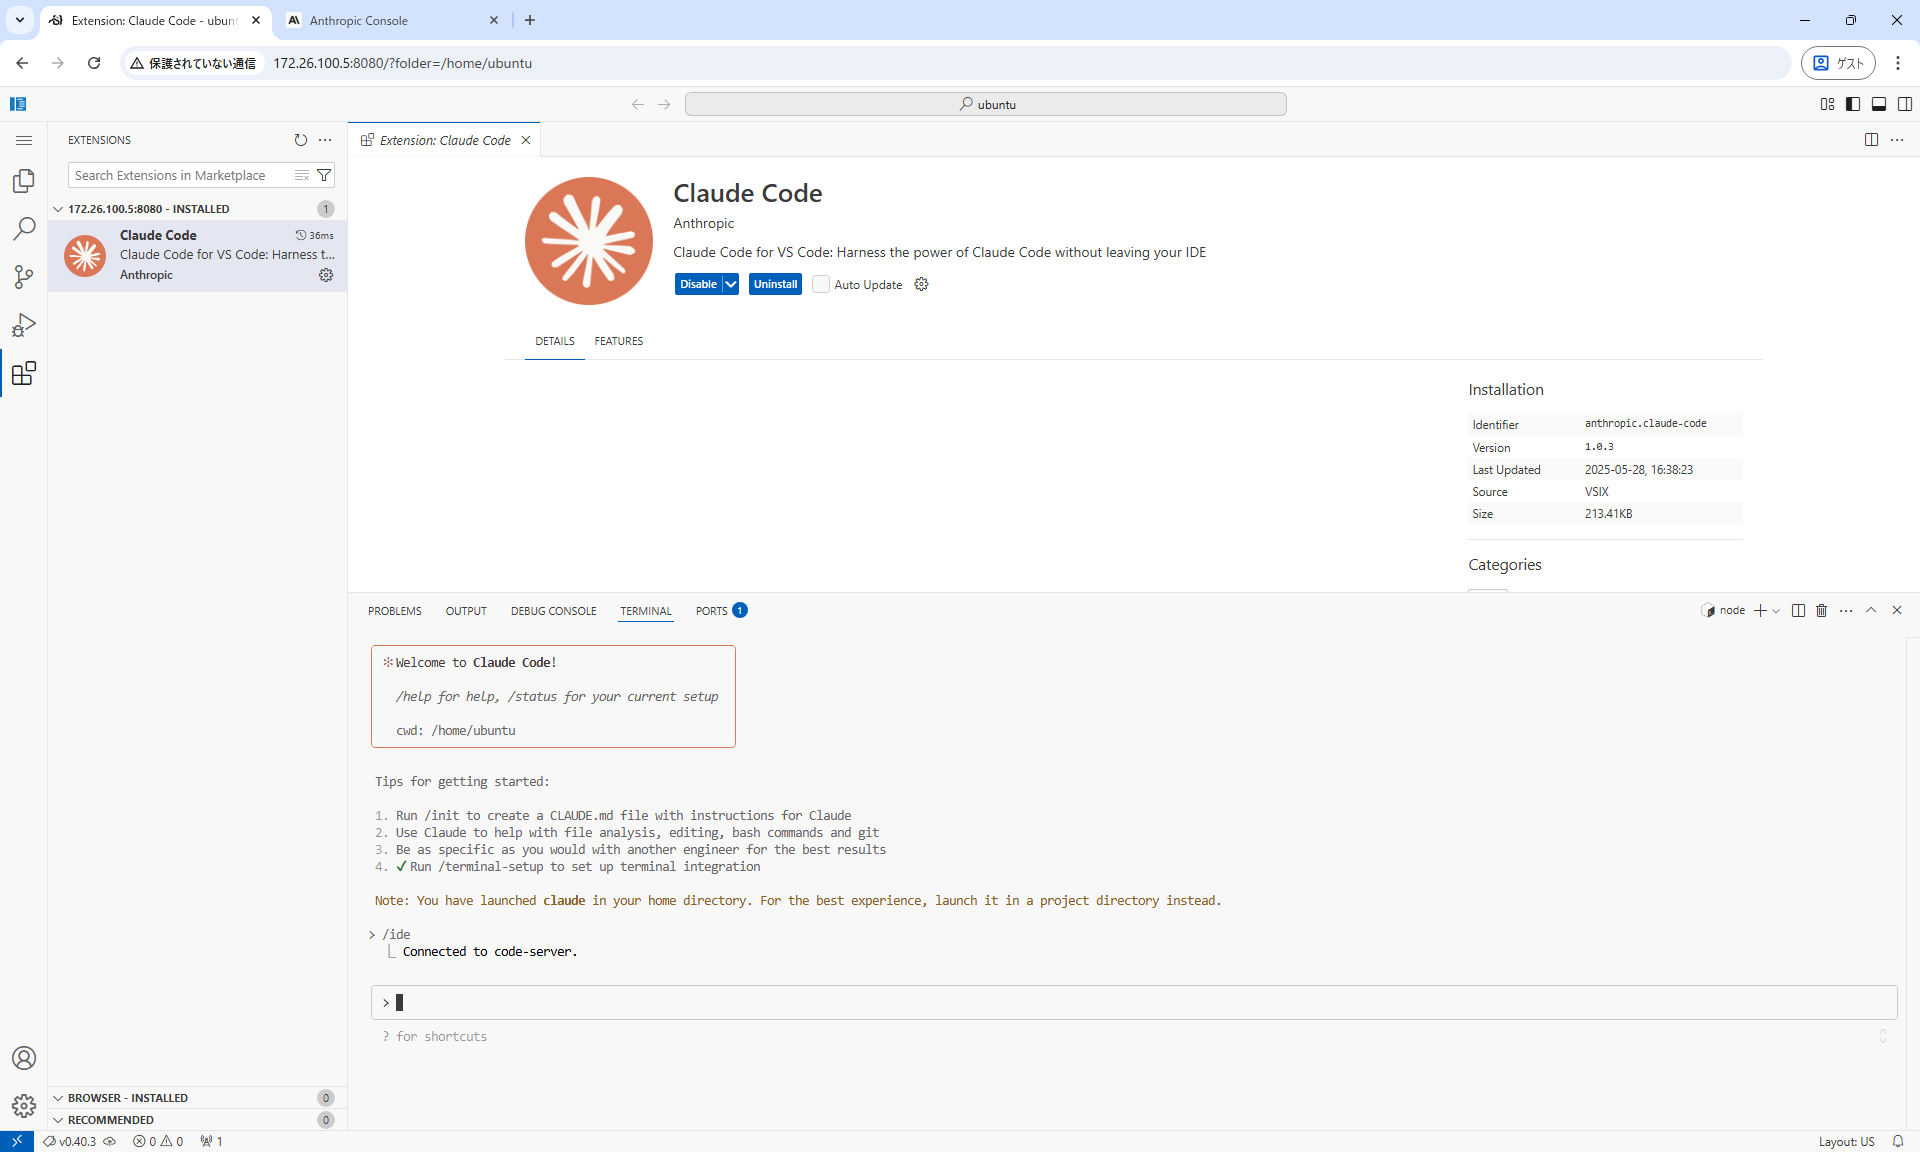
Now you can use the full functionality of Claude Code in your VS Code environment.
Conclusion
By running Claude Code on code-server, you can do AI-assisted development with only a browser.
Use this setup when you want a browser-based development environment with Claude Code.